Tag: Felting
The Frolicking Calf Fresco Fragment
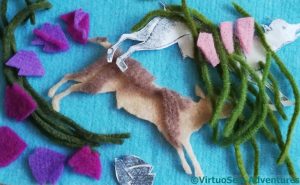
In among my image sources, I found a really joyful image of a calf bounding through vegetation, kicking up its heels. I decided it would be fun to do another felted piece. Like the Two Princesses, there will be stitchery, too, but it’s a change of pace and scale compared to Akhenaten, and I try to have more than one project on the go so that I can think about tricky bits of one while doing easy bits of another…
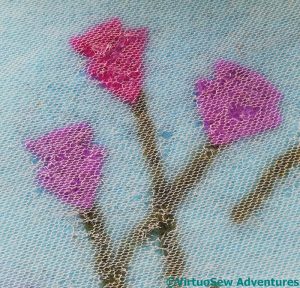
When I first bought my embellisher, the lady demonstrating them told me about using hexagonal net to control pieces of felt and wool while running them under the embellisher. So I bought several yards of cheap hexagonal net, and I’ve found it very useful indeed. It doesn’t get felted in, or at least, not to the extent it can’t be picked out with tweezers, and you can see through it to what you’re working on. So I begin by laying out the pieces I want, hand-needlefelt it roughly in place, and then lay the net over the top and run the embellisher in little moving circles to attach the layers properly.
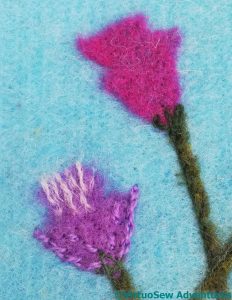
Once the initial felting has been done, I can start adding stitchery. In this case, I’ve stitched a dark line down one side of each of the stems, and twisted chain down the edges of the lilac flower. I wanted a slightly ruffled effect to the mouth of the flower, so I’ve hand-needlefelted some detwisted yarn into place. I’m not quite sure that I’m pleased with it as it stands. Still, more to do!
The pink flower is still entirely un-detailled. I don’t want to use the same stitches and processes for those, so there’s more thinking to come…
Starting on the Hunting Cat Fresco
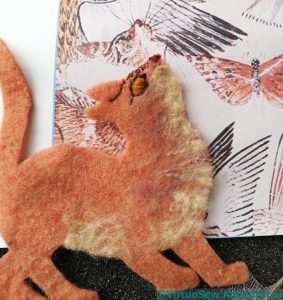
I was leafing through my image sources, looking for some relief from the concentration of Akhenaten, when a fragment of fresco caught my eye. I’d not really registered it before, but it’s full of vitality, and I thought it might give scope for more Fun With Felt.
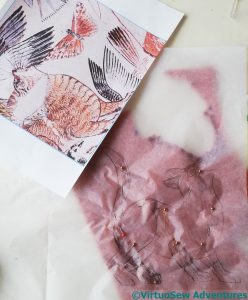
I may simplify – or complicate – my ideas as I go along, but since I wanted to include the whole cat, the first thing I did was spend some time looking at pictures of cats on the internet (which just goes to show that one can find a research excuse for almost anything!) to see whether I could draft some suitable hindquarters to replace what my source didn’t show.
I’m sure my cat isn’t quite the way the Egyptians rendered him, but as ever, I’m aiming at a “reinterpretation” or “realisation”, not a photographic rendering. As it was, I had to tug at my felt and give thanks that there’s no grain in non-wovens to get it to fit at all. Especially since I had decided to make use of the leftovers of stitching for the cushions for the Two Princesses to give me a head start on his nose.
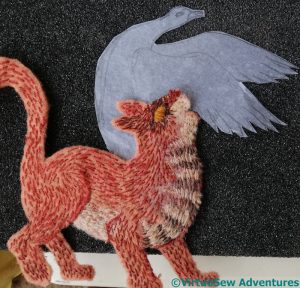
I began with a few lines of stitching, and a golden eye, and then needle-felted fragments of felt and untwisted plies of thread onto his neck and chest (for some reason I feel as though the cat is a very young boy cat!).
The next thing to do was to do an initial layer of stitching all over my cat. I’ve just used simple straight stitches, to echo both the cat’s fur and the simple brush strokes of the ancient Egyptian painter. When the cat is needle-felted onto the eventual background, that will blur the stitches into the felt, and created a softer effect.
I had to draft a body for the bird as well. This might be less successful, but I think it will do..
Mounting the Two Amarna Princesses
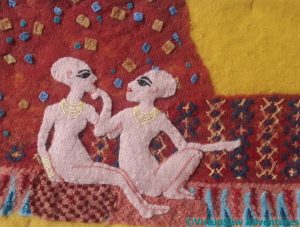
I felt that the finishing technique for the Amarna Geese really worked, creating just the right impression of a fragment of fresco, so, after thinking it over a little more, I tackled the Princesses.
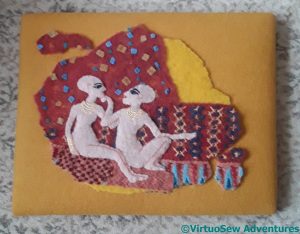
The depth of layering of the felts made it much easier to attach to the padded mount, although if I could only have found my curved needles, it might have been yet easier.
Again, I couldn’t bring myself to chop the princesses into bits. If I had thought of the display method to begin with, and created the piece with that in mind, I might have been able to do so, but as it is – they are so exquisite, I simply couldn’t do it!
Finally mounted, with the separate bits on the corners. They look just the way I hoped they would!
Trialling a finishing technique
I’ve not been finishing any of the Amarna pieces for presentation, because once mounted and framed, they take up much more space, and also because I’m not sure which pieces are going where. However, the needlefelted pieces are not going to form part of the main panels, and I rather think it may take more than one attempt to get them just right. I’ve decided I want to present them rather as pieces of fresco are presented in museums, on a background which is similar in colour to the main colour, but not close enough to mislead.
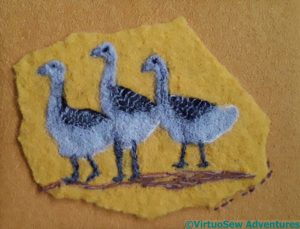
So the first thing to do was to find a suitably-sized artist’s canvas, and cover it with some padding and then a nice woollen fabric which is a warm yellow, slightly darker than the felt background. Then I cut around the Amarna Geese to make a rough, uneven shape. I should probably have cut off a head or something so that the fresco would look suitably fragmentary, but I simply couldn’t bring myself to do that!
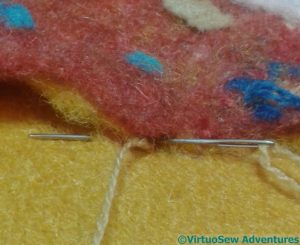
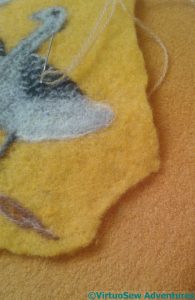
I used a fine woollen thread to attach the felt to the background fabric, as far as possible remaining within the thickness of the felt. That was quite tricky, and I wonder whether there might be an easier way. I’m glad I didn’t start with the two princesses!
My Morse Code signature is in double straight stitches, following an edge. And there’s a bit of a corner left open there. I might do an extra goose head and add it in as a separate fragment!
Two Amarna Princesses – Finishing Details
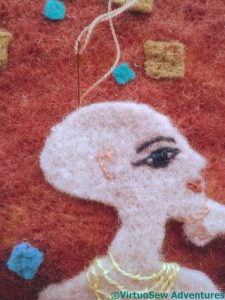
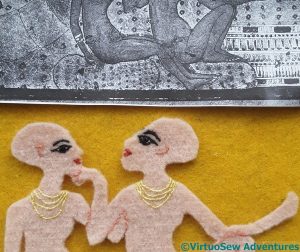
I decided that I would actually sew down the princesses. Everything else has been needlefelted into place, but the texture that creates, especially on a light felt, is a bit too regimented for the impression I want to convey.
I’ve very carefully, and as near as I can make it, invisibly, attached the felt around the edges, stitching into the thickness of the felt that makes the two girls and using a wool thread that is close in colour to the felt.
So far, so good.
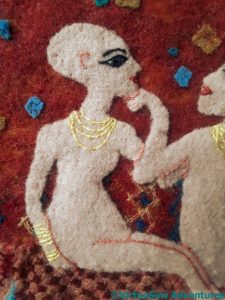
I then used a hand needlefelting tool and went just around the edges, and into the sections that are further back. I’m trying to create a slightly sculptural effect, so that the princesses have a slight roundness to them. Remember how, at the beginning, I said I wanted to recall the scene as the original fresco artist may have seen it, as well as recalling the fresco itself?
I’m rather pleased with my two little princesses.
I need to work a little magic in straightening up the panel and working out how to display it, as I think the three felt panels that I’ve done so far would all die if put behind glass, and may not even be happy in frames. A question for another day.
Dig House Progress
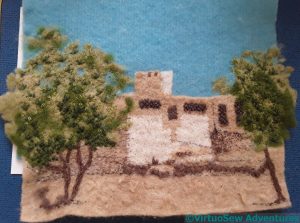
I’ve not finished the Dig House panel yet, but I’m working on it!
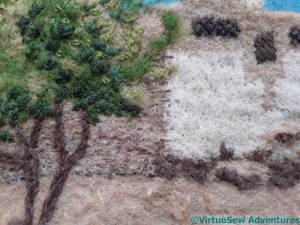
I’ve tried to add detail and shading to the walls of the house by running threads underneath the top layer of felt, and then running the embellisher over the top to help that added layer to show through a little more.
I’m also adding a lot of detached chain stitch leaves to the trees. This is overbalancing the detail on the whole piece, pulling the eye out to the side, so although I still need to do more of this, I need to sharpen up the details on the central section a bit more as well.
It’s easy to make this sort of mistake when you’re making something up as you go along – they don’t always arrive in your head fully formed! – but fortunately, a bit of my favourite thoughtful staring helped me to work out what I need to do.
Now it is just a matter of actually doing it right….
Two Amarna Princesses – the results of thought
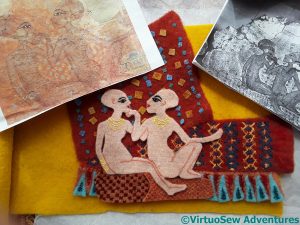
The felted cushion fragments worked rather well, surviving the cutting out procedure so that I could start to play with the layout. Prints of the images I’d used to hand, I fiddled happily for quite a while.
This isn’t quite what I ended up with, but you can see how vividly the colours play off against one another. Very promising!
The first stage was to attach the drapery assembly to the background. This is where the experimental nature of my needlefelting may come back to bite me, because there is a risk that I have taken it too far, and that I will finish with a completely destroyed background.
However, the goldeny-mustardy-yellow wall shows through a bit, which is what I want, as that helps to make the connection with the frescoes at Amarna as they are found by archaeologists – fragile and fragmentary, only a hint of their former glory. I may have to hand-needlefelt some of those little squares, as they’re not as well attached as I would like. I don’t want them falling off at some time in the future!
Two Amarna Princesses – having to think again
A little while ago, the Ashmolean Museum tweeted another reproduction of that fresco of the two little princesses, this one in black and white, and it brought to the fore something that had been less clear in the colour reproductions I had seen – the girls are actually sitting on cushions. Originally, I had interpreted the lowest border design as fabric covering a divan of some sort, but now I found myself developing some possible cushion fabrics..
- Satin Stitch Spots
- Sorbello Stitch Spots
- Cross Stitch Spots
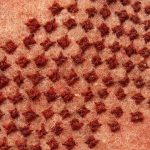
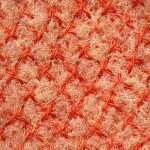
Once again, as with the drapery, I stitched patterns with additional needlefelting in mind. I decided in the end that the satin stitch spots weren’t working very well. Sorbello stitch is the stitch I used for the villages on the Map of Amarna. It’s another stitch I rather like, as it produces a neat, square stitch, with an interesting texture – more obvious with some fabrics and threads than others, of course. The cross stitch spots are in a colour closer to that of the felt, and should produce a more subtle effect.
What I have done is to stitch the patterns on a section of felt, and then pass it under my embellisher. I hope that this will create enough fibre entanglement that when I cut out the cushion shapes, the stitches will not unstitch themselves.
I wonder whether it will work…!
Two Amarna Princesses – Assembling the Drapery
Having chosen my bits of drapery, I’ve stitched them together at the edges.
This means that they won’t move when I’m felting them to the background, and that I could actually cut off some of the second drapery, rather than overlapping it on the first. This will reduce the number of layers I will be felting through, which turns out to be a good idea. I don’t want any more broken needles, thank you very much!
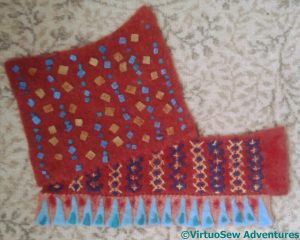
The assembled drapery now makes a rather peculiar shape, but it gives me part of the background for my princesses, and a basis for any further embellishment I may feel is necessary.
However, as I was contemplating that eventual embellishment, I found another source picture and now I have to do a little more thinking.
The Two Amarna Princesses – Drapery, stage 3
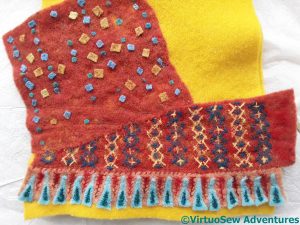
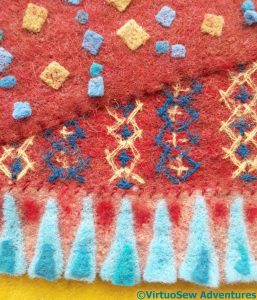
For my next drapery experiment, I began by using the embellisher to add some of that divided felt onto another piece – do you see that the red is in patches, a dark pink (the background) and a rather brighter scarlet? That worked well, I think, as it has warmed up the colour, and made it more interesting.
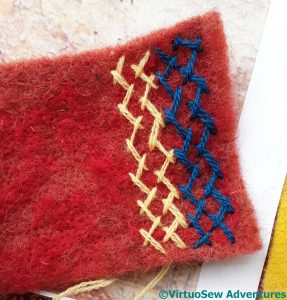
I had decided that I would stitch a pattern and then use the embellisher to make it blend in a little more, but once I’d worked this pattern of herringbone stitch stripes, I sat back, stared at it, and said “No”.
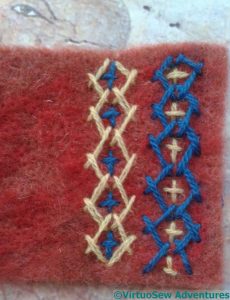
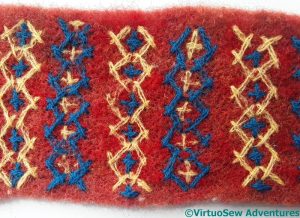
So the second pattern I tried was a little more complex. It’s still worked largely in herringbone stitch, and the colours are the same, but this time I’ve reversed the second row to create a series of lozenge shapes, which could then be filled in, after a fashion, with little upright cross stitches.
I liked this much more, so I decided to go with this pattern.
Although, of course, I was referring to the picture that was my original spacing, that red is very reminiscent of Persian carpets, and the combination with blue and yellow is one which we still find in widespread use.
The next stage was to use the embellisher again. To begin with, I covered the stitching with a layer of net, and worked an initial pass of small circling movements, up and down each stripe. Then I removed the net and kept going.
As you can see, the stitching is almost melting into the background. Certainly it’s a more convincing representation of a piece of fabric than my first piece of drapery, although I will be using both.

