
Tag: Assembly
A (not very) Blank Slate

Finally, it occurred to me that I hadn’t signed the panels – either of them! Soon rectified, but as I didn’t notice until after the panels were mounted on their frames, the stitching itself was a bit harder than it would have been had I been more alert.
Never mind, the Map is now signed at the end of the scale , and the View of the Excavation is signed just before the A of “Akhetaten”.
Now I have to plan the spots.
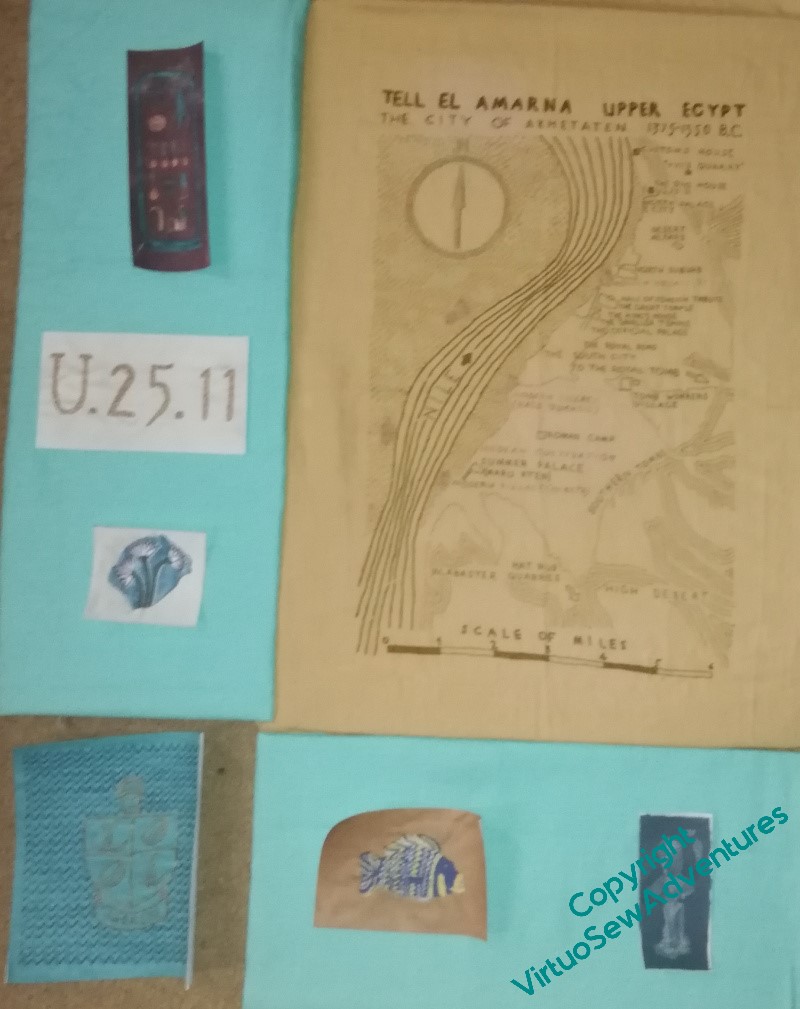
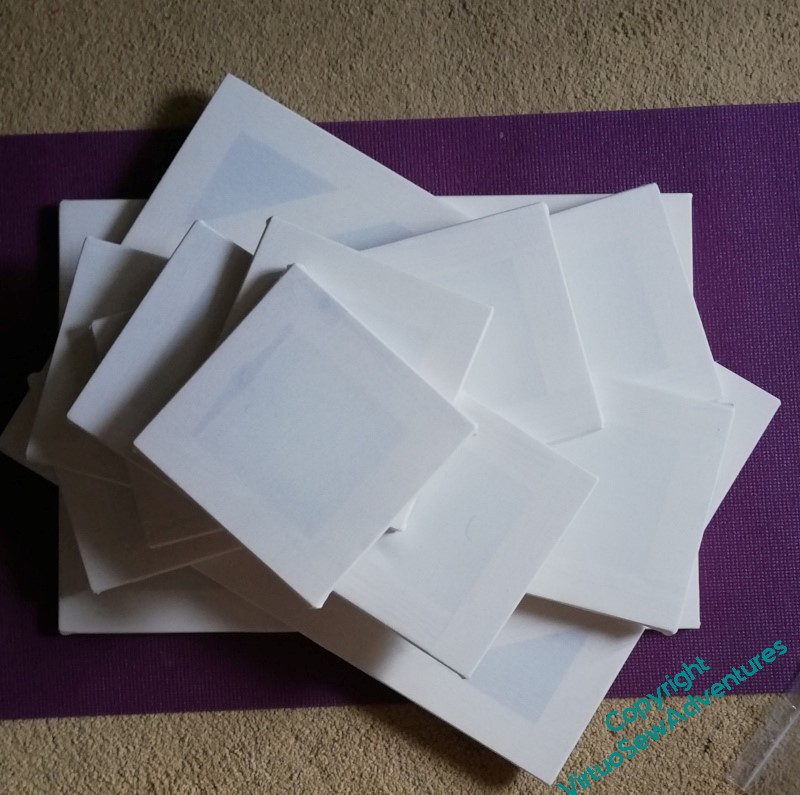
I’ve taken photocopies of the various “spots” that will be attached to the side panels, so that I can use them to play with layouts and avoid too much handling of the real things!
Among other things, I’ve not decided whether to trim close but square, or to trim to shape (the Glass Tilapia, for example).
I think the two panels stand up to each other much better now, and better again in real life than in photographs. The next stage will be a whole series of shuffling of the photocopies around the faience coloured pieces, to see what sort of balance I can create. I’m not even sure that all the pieces will be used – some may end up being mounted in some other way.
When I’ve had a bit more of a play, I will show you how I’ve been thinking…
Presentation for the Amarna Family Group
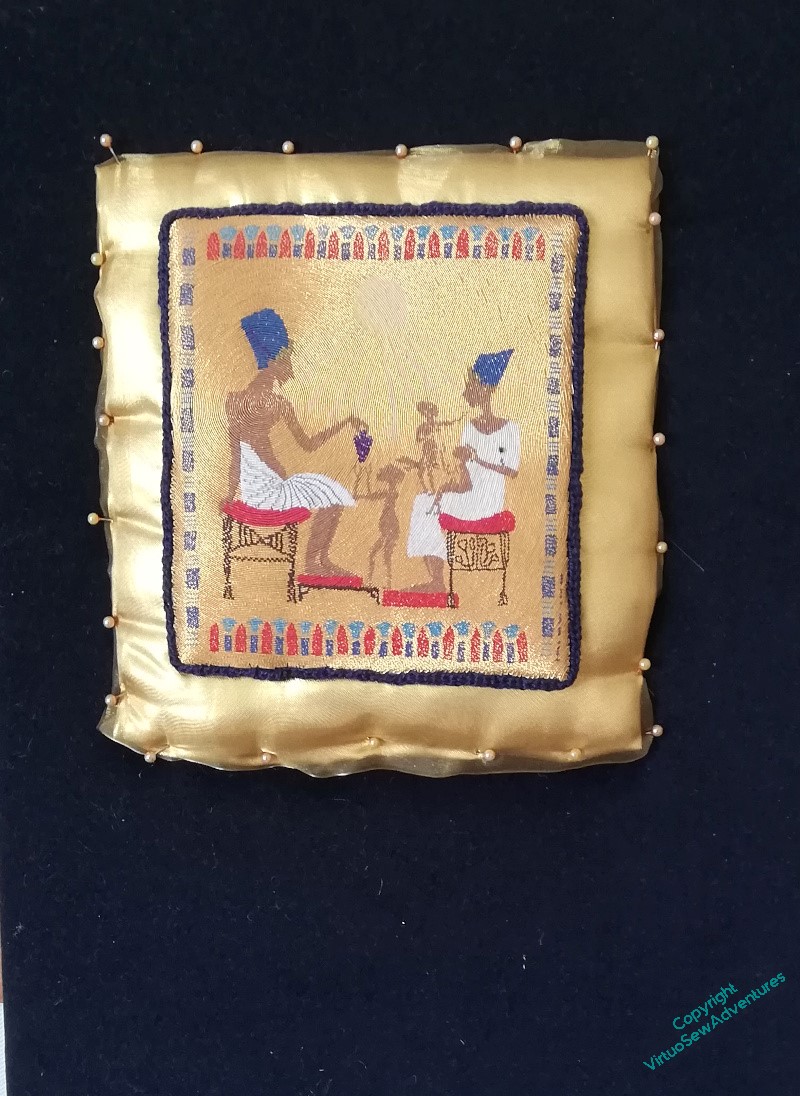
You may recall that when I had finished the or nué I started to apply it to the stela and was very upset because it did not look at all right.
Oddly, it seemed to need backup, as it were. So I thought – Ancient Egypt, gold, let’s give it a gold cushion, as it were.
Only to be less than thrilled with the result. I will grant you that merely pinned in place and without smoothing out the “cushion”, it wasn’t going to look its best, but still..
It has been leering at me across the living room for some months now, and every time I’ve caught sight of it, my head has dropped.
But then I had a thought – maybe what I need to do is pull out the colours in the border.
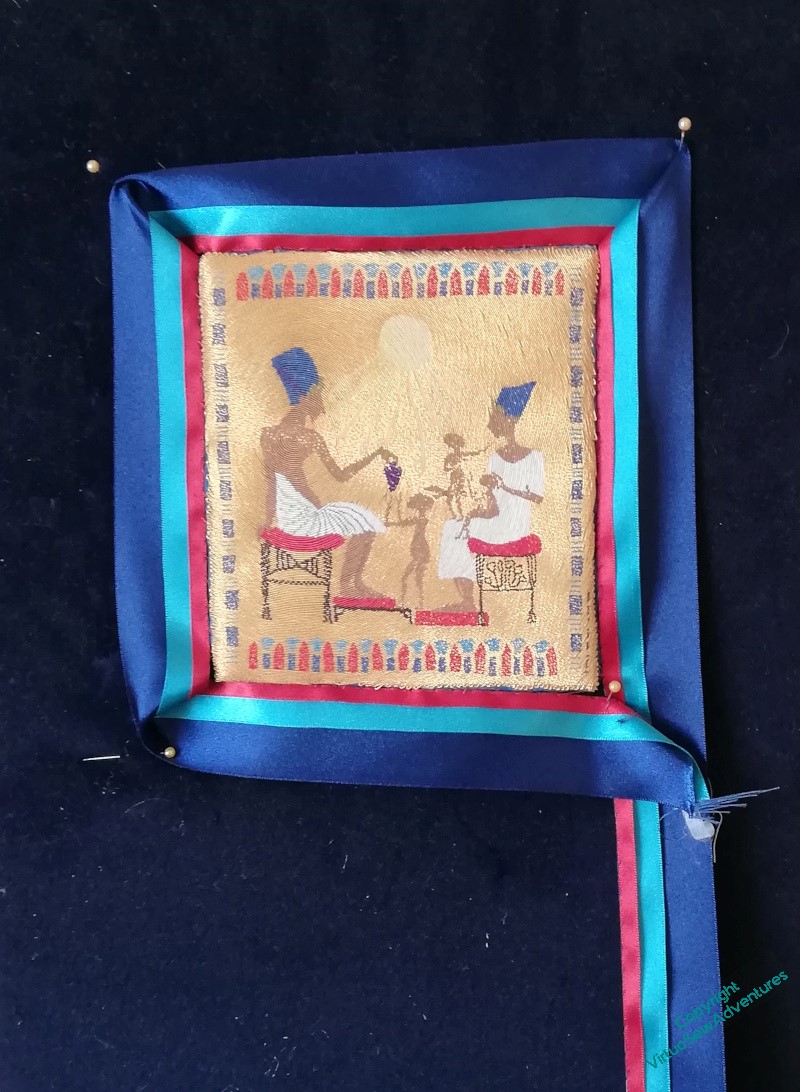
So I bought a couple of metres of satin ribbon in decreasing sizes, and spent quite some time attaching them to one another down one edge.
This is the result, attached in a very off-hand fashion, to be stared at for a while..
I think it’s better.
The question is, is it Best?
Planning Titles for the Excavation
You may remember that I was a bit concerned about ensuring that the View of the Excavation properly balances the Map. When I got the Map out again it was much more emphatic than I had remembered.
Eeek!
Then came a suggestion that if I gave it a title – at the bottom, rather than the top – it would add visual weight, and the presence of lettering on both would enhance the sense of a conversation between the pieces. I liked that idea, so I started making plans.
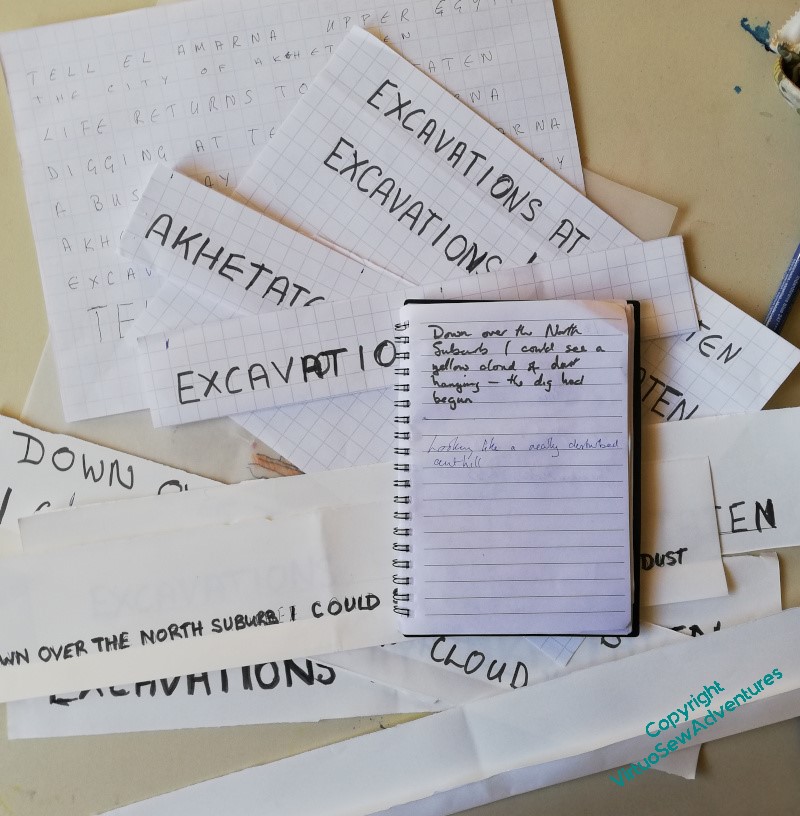
I started with a single large title, but the Map has title and subtitle, so I thought, maybe what I need is title and surtitle. Furthermore, I thought, the surtitle should be in Mary’s words. I’m sure she would approve of my foregrounding of the artifacts and the Egyptians, both ancient and modern, but had she not written so enchanting a book, I would have missed out on years of delightful adventures in embroidery. So, that gave me a perfect excuse to curl up with the book, notebook by my side, which enabled me to feel I was making progress while I was fading in and out of focus with Covid.
Since I’m not at ease with lettering, once I had chosen – or at least half-chosen – my text, it required a whole lot of squared paper and letter counting, and a depressingly uncolourful desk for a while, as I tried to bring it all together. This is the Very Unglamorous side of planning and creating. I’m getting better at it as I learn and invent more techniques to help myself pull my ideas together, but it is still very much the part of inspiration that isn’t inspiring!
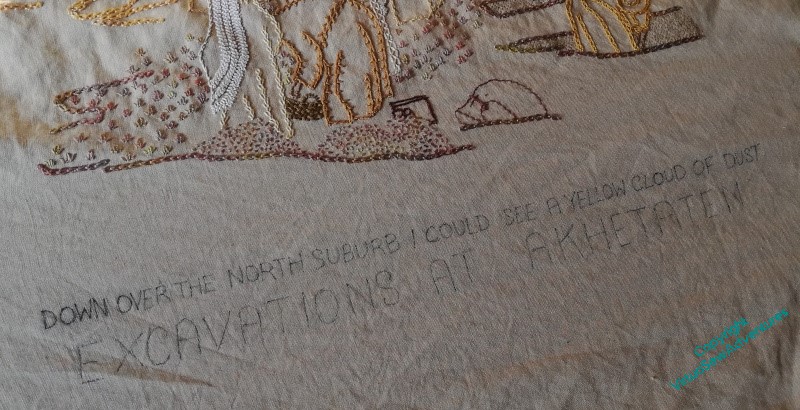
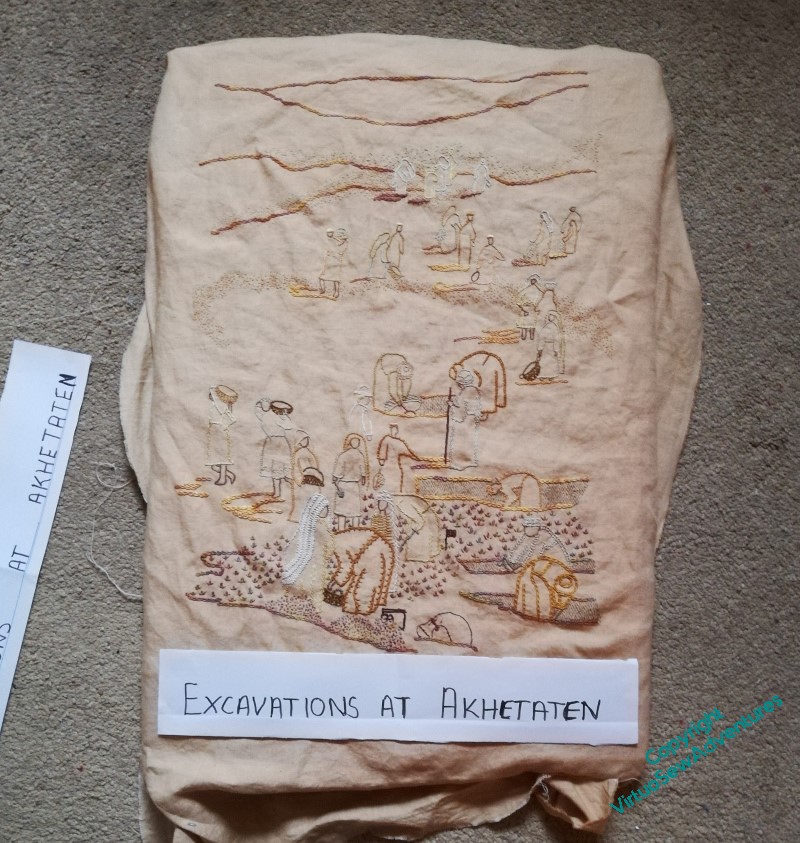
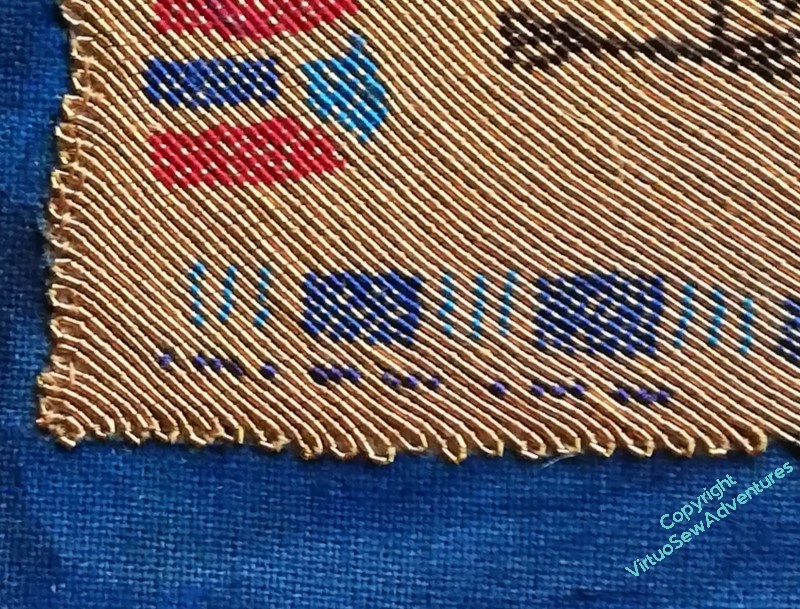
Finally, I chose my extract: “Down over the North Suburb I could see a yellow cloud of dust”, in the smaller capitals of the subtitle, and “Excavations at Akhetaten” in the larger capitals, and transferred it by prick-and-pounce. Progress!
Beginning the additions to the Excavation

There will be a lot to do, I think, to bring the Excavation up to balance the Map properly. In my usual fashion, I will sneak up on this, doing what seems obvious and then waiting to see what seems necessary.
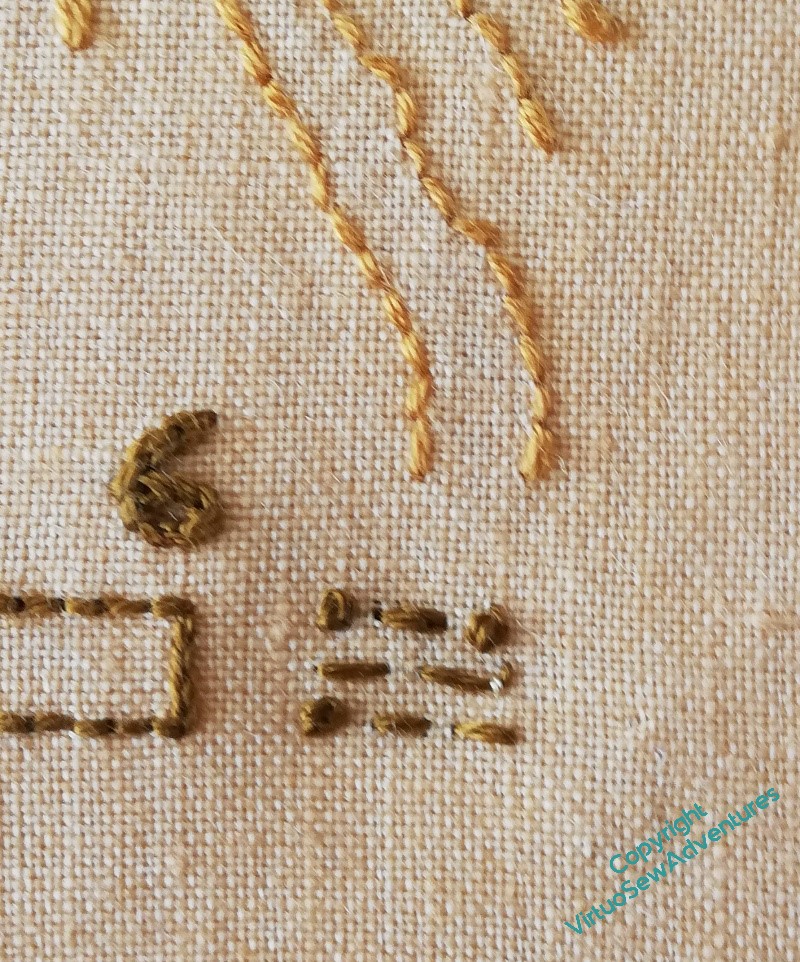
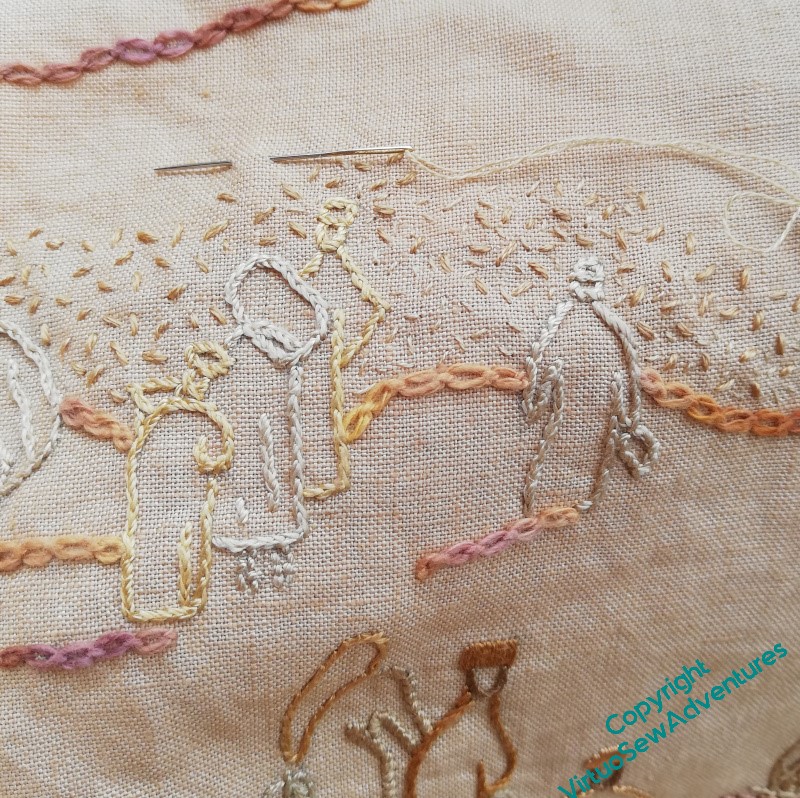
The first thing that was obvious was that something should be done to point up the idea of the trenches being dug. Row upon row of vertical running stitches seemed to me to suggest the walls of a trench – maybe not accurately, since the book suggests more of an open area excavation. The photographs I used as my source for this, however, suggested that there were at least a few individual trenches.
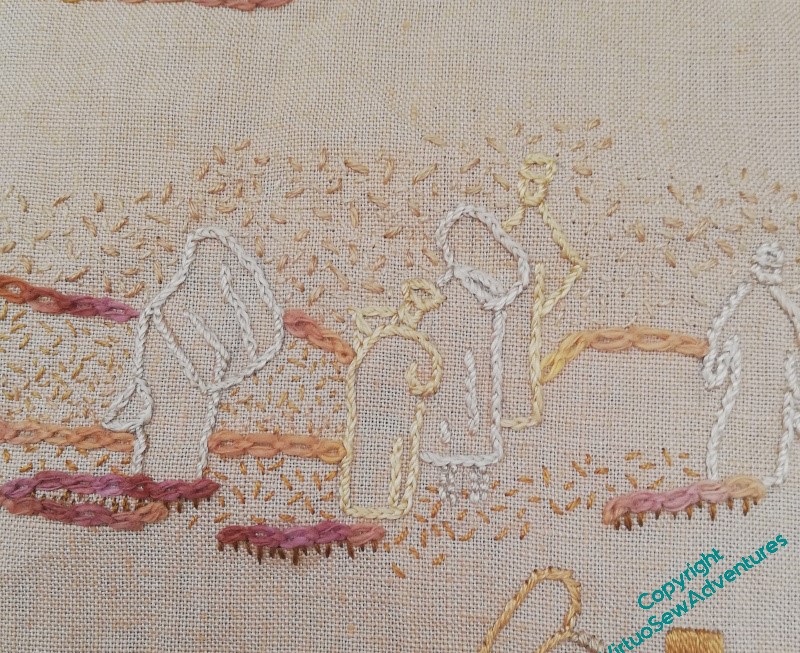
The next obvious element was a dust cloud to suggest activity stretching into the distance. Tiny random seed stitches in two or three shades of stranded silk were, again, the obvious choice, although I do wonder, now, whether those will be sufficiently emphatic when I set the panels side by side again.
As I believe I’ve already mentioned – random stitching is really quite difficult to achieve!
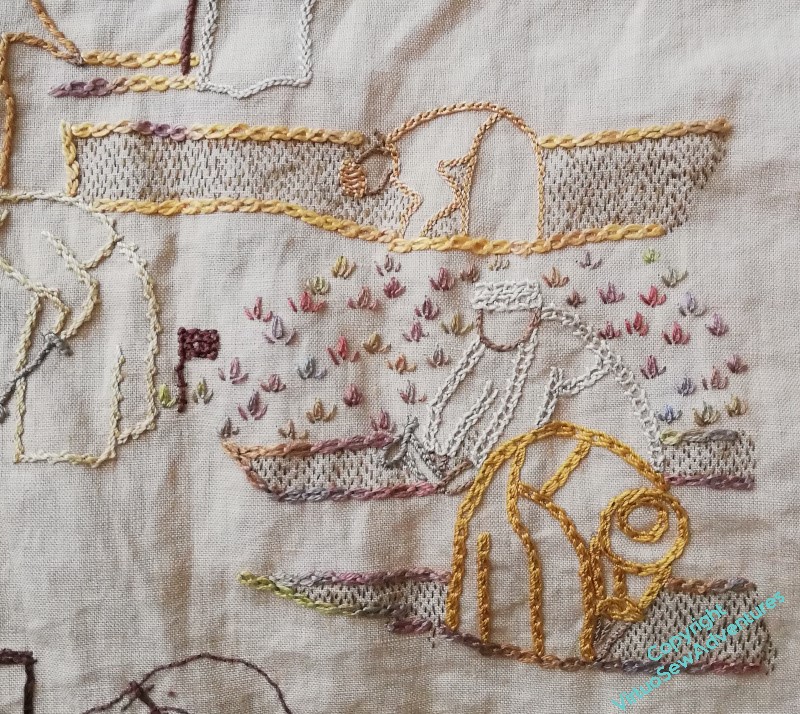
At this point I decided it needed much more “weight” at the bottom of the image, and chose to use tête de boeuf stitch (upside down to resemble a plant) as I did originally on the Map to suggest the cultivation on the far side of the river. These tête de boeuf stitches are much bigger than the ones on the map, using two strands of the variegated silk thread, and I’m going to spread them right across the breadth of the panel towards the bottom.
More thoughts on display
Two elements that sprang into mind very early in my work on the Amarna panels were the Clump of Violets and the bead necklace. The violets are to call to mind Mary’s exasperating experience, familiar to any language learner, of having useful vocabulary and structure retained only with the greatest of efforts, while the entirely useless just sticks – in her case, the Arabic for “violets” stuck in her head with no difficulty, whereas the words for “bread”, “bath”, or “dig” proved recalcitrant. The bead necklace is my reinterpretation of one of hers, owned in childhood and subsequently lost, like the necklaces she helped to excavate.
These two pieces link directly to Mary, and not to Egypt itself, and because of that, and because of their colour, they don’t sit well with the main panels, and I was left somewhat perplexed about them. Until something brought parlour domes to my mind, and the lights went on!
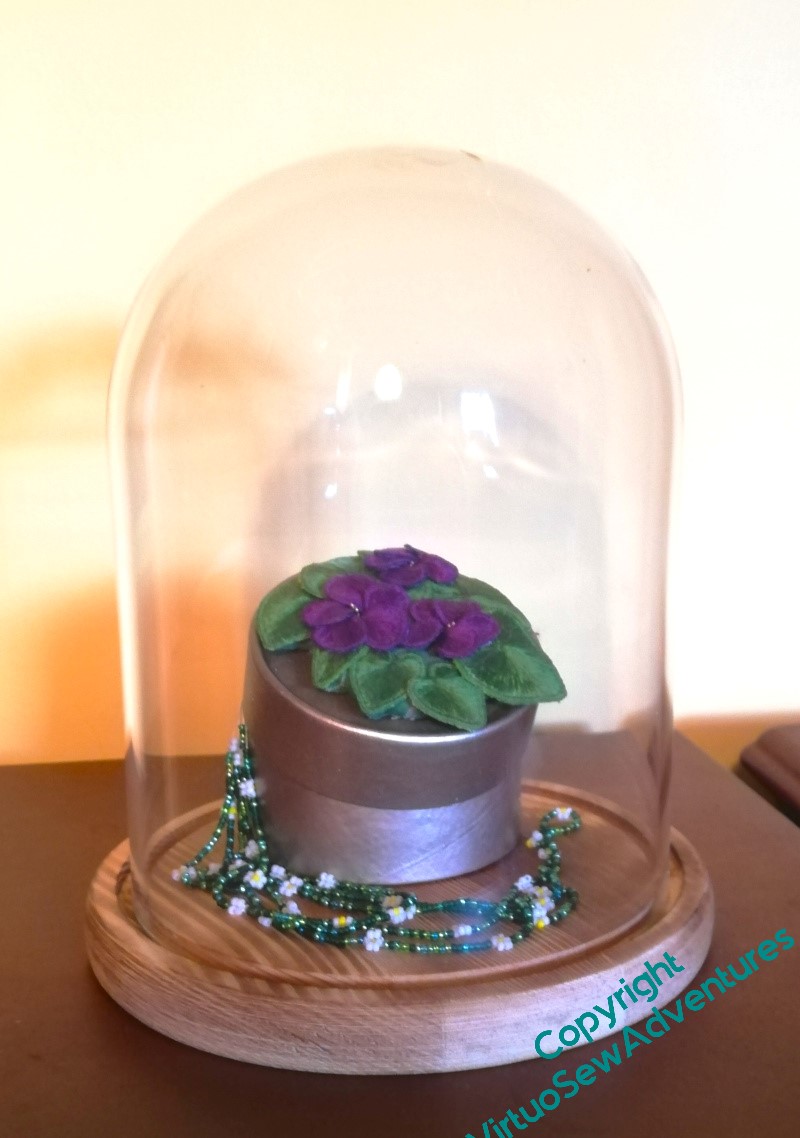
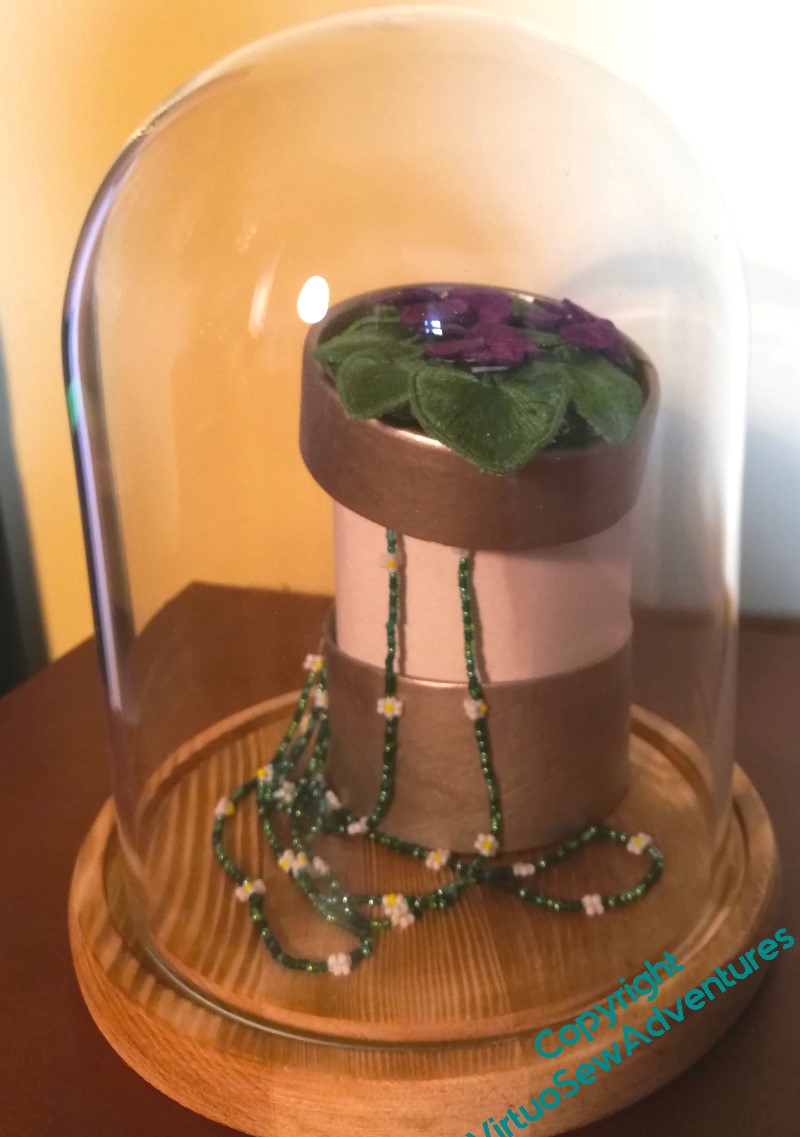
I thought that maybe if I used the clump of violets to top a golden trinket box, and allowed the necklace to spill out, the two pieces might live together happily as my representation of Mary herself. I found a small round cardboard trinket box and sprayed it gold (a very pale, insipid gold, it turned out, too, not at all what I wanted!), and began to experiment.
I think the whole thing needs to sit on a cushion within the dome, and the trinket box should be between the tall experiment and the short one in height, and a little narrower to allow the leaves to droop over the edge.
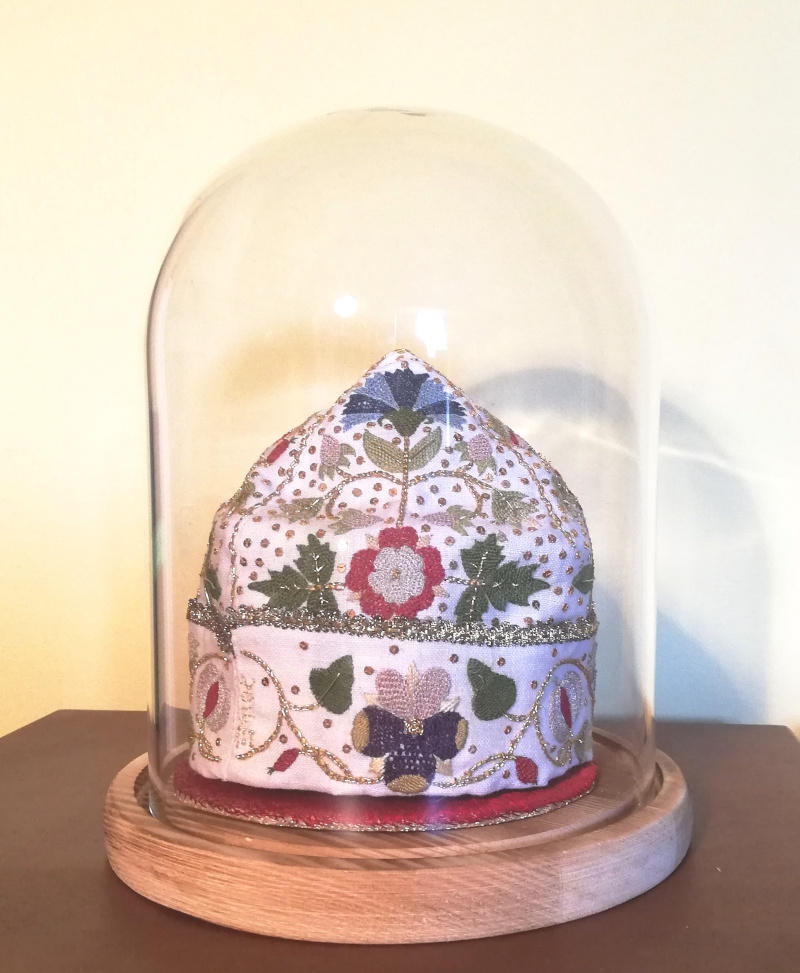
So while I work on achieving that, I have put away both violets and beads, and replaced them in the dome with the Glittering Nightcap.
Which is so happy that it is refusing to give it back, and I will have to buy another parlour dome for Mary’s trinket box!
More work needed…
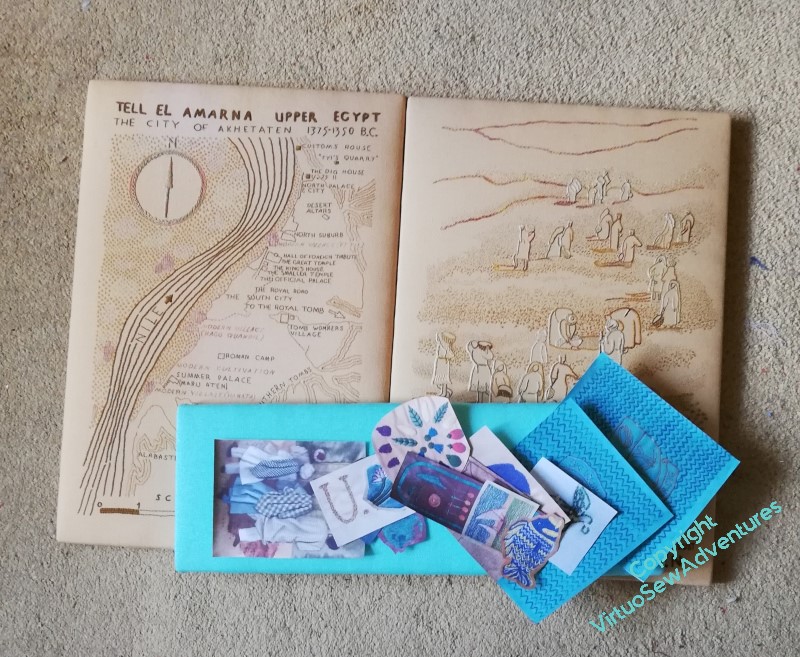
If you compare these two layouts, you may notice a bit of a difference.

When I pulled out the panels to give the measurements to my friendly carpenter, I reduced all the dimensions slightly to concentrate the whole assembly. I’ve noticed recently that whereas watercolours are the better for being mounted with plenty of “air” around them, embroidery is often the better for being framed quite closely. This will help me to achieve that.
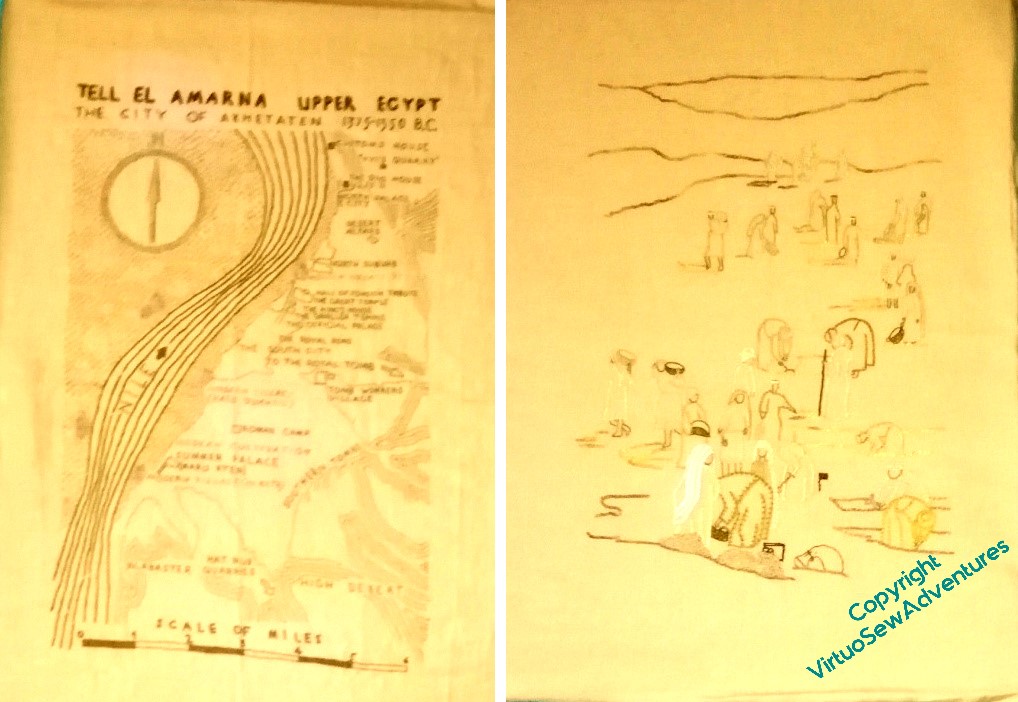
When I have the coloured fabric mounted, I will be able to continue planning the placement of the spot designs. And in the meantime . . . I’ve had to pull out the colour and contrast above here, to try to show what is worrying me here. These two panels are supposed to balance each other, and I don’t think they do, or at least, not yet. I think I need to do a bit more stitching on The Excavation so it can stand up to the Map of Amarna.
I’ve started in the far distance with some seed stitching. It’s going to take some time to get the right level of texture in the right places, but it’s always good to have made a start!
When in doubt, delegate!
You may recall that I was beginning to think about assembling the Amarna panels, and suffering from Alarms, because I wasn’t sure how to make suitable mounts.

I was beginning to think about finding a timber merchant (our local one has closed) when a carpenter and his apprentice came to do some (very necessary) work on our windows. It didn’t take long to realise that they are both fine craftsmen, and it occurred to me that the intelligent choice was to ask whether, during the couple of days when they worked on things in the workshop, they could also make me some mounting frames for my embroidery.
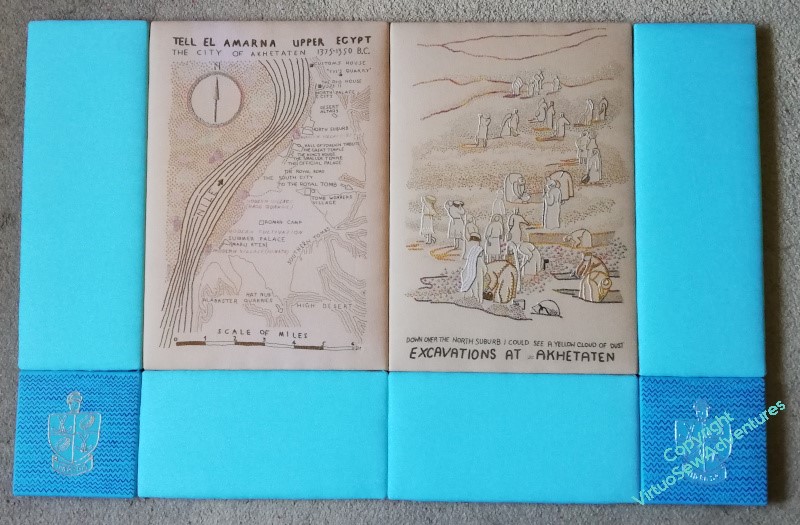
Not only could they do so, but they made a beautiful job of them, as you can see from this test layout of one set of the panels. The wood has been sanded smooth so as not to snag either the cloth or the embroiderer, and there is some bracing to keep everything square and true. It seems a crime to cover them…
In fact, I was so thrilled with them, that I promptly asked for mounting frames for Akhenaten and Nefertiti as well!
Once I had them all, I decided the first thing to do was to cover each with a layer of calico to support the padding.
My word, that was a task. I’m very pleased with the results, but before I start covering them with the padding, and the real fabric, I need to have a break from the staple gun. It has a kick like a Victorian army mule, and very nearly as bad a temper!
Signing and preparing to finish the Amarna Family Group
I decided, when it came to it, that I would sign the Amarna Family Group on the gold, rather than on the support. I’ve been regarding the whole process of assembling the stele with something akin to terror, and signing on the velvet just seemed like bridge too far, especially since it would already be stretched on the frame at the time.
It looks a bit squiffy, I admit, but then it always does!
I’ve also painted the background calico with inktense. I’m going to try very hard to ensure that all edges are properly turned, and either concealed by the pile of the velvet or by other means, but knocking back the gleaming cream should help with the camouflage.
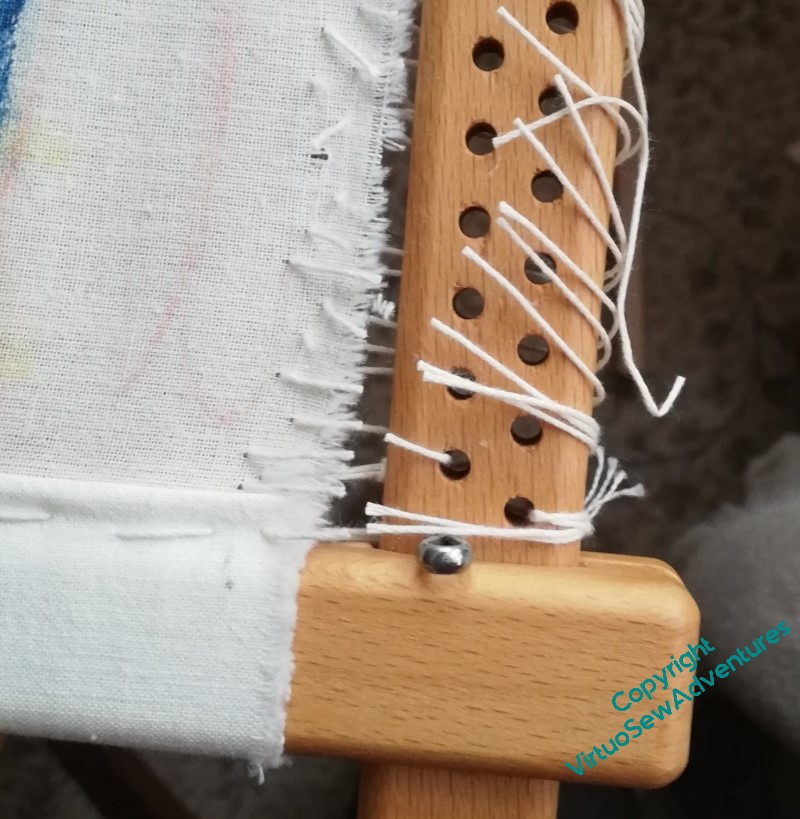
Both of these tasks were done while the fabric was still mounted on the frame, but I want that frame for William Marshall, so I’m going to have to get going…
Finally, I screwed my courage to the sticking point, and cut the threads holding the fabric stretched at the sides, at least half expecting some sort of terrible crinkled effect. But no, everything stayed nice and flat. Sighs of relief all round!
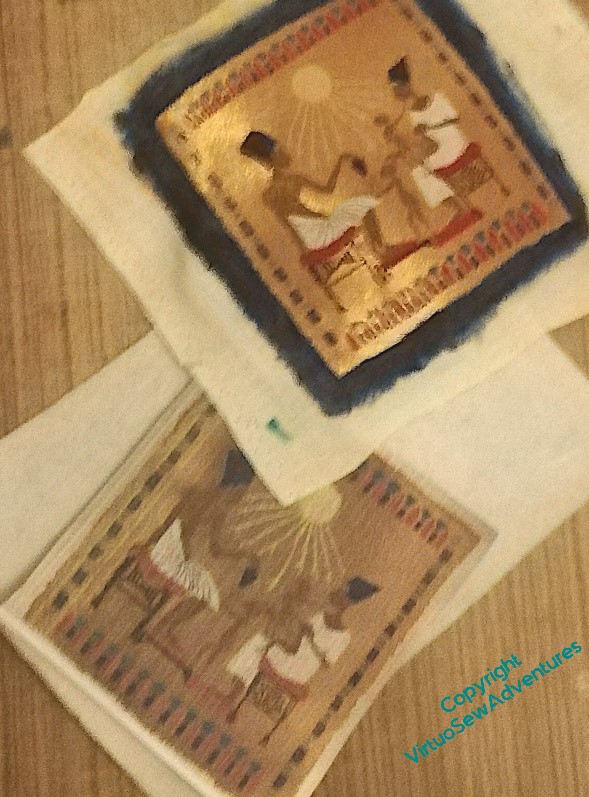
I want to pad the goldwork before I apply it to the stele, so the next stage was to use a photocopy of the goldwork to make patterns for the buckram and wadding I intended to wrap it around.
I could see what I was doing much better than the photograph suggests, I promise – although it wasn’t an entirely straightforward process, and I ran out of oomph at that point.
More in another post…
Beginning to assemble the Amarna pieces
It occurred to me recently that if I were to find somewhere to exhibit the Dreams of Amarna, I might find myself with a lot of assembly to do, rather more rapidly than is entirely comfortable. Pieces mounted for display take up a lot more space than most of us can easily spare, so I’ve been extremely reluctant to start the mounting process – until terrorised by the idea of morning, noon, and night, squinting over some hard-to-light and extremely delicate fragment!
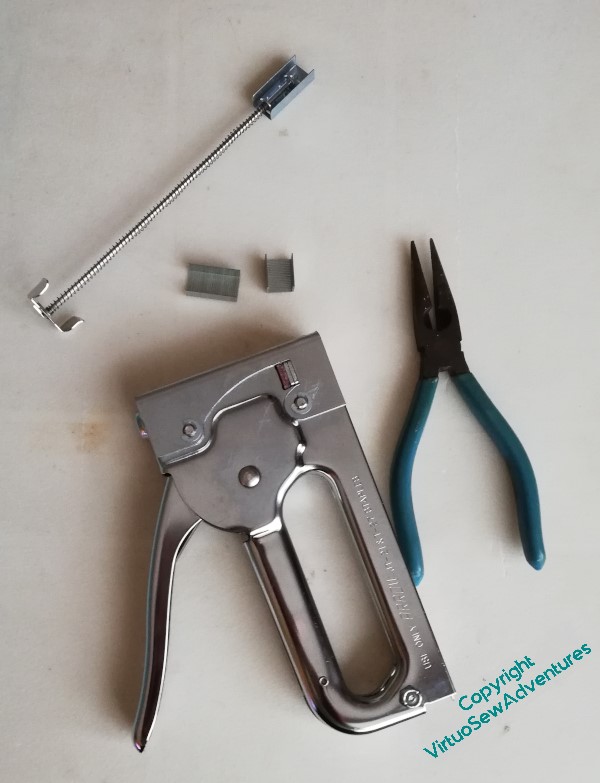
I’m starting with the felt pieces, which aren’t going to be huge, and for which I have a scheme already in my head, and at least some of the materials to hand. Unfortunately my tools have been a bit fractious…
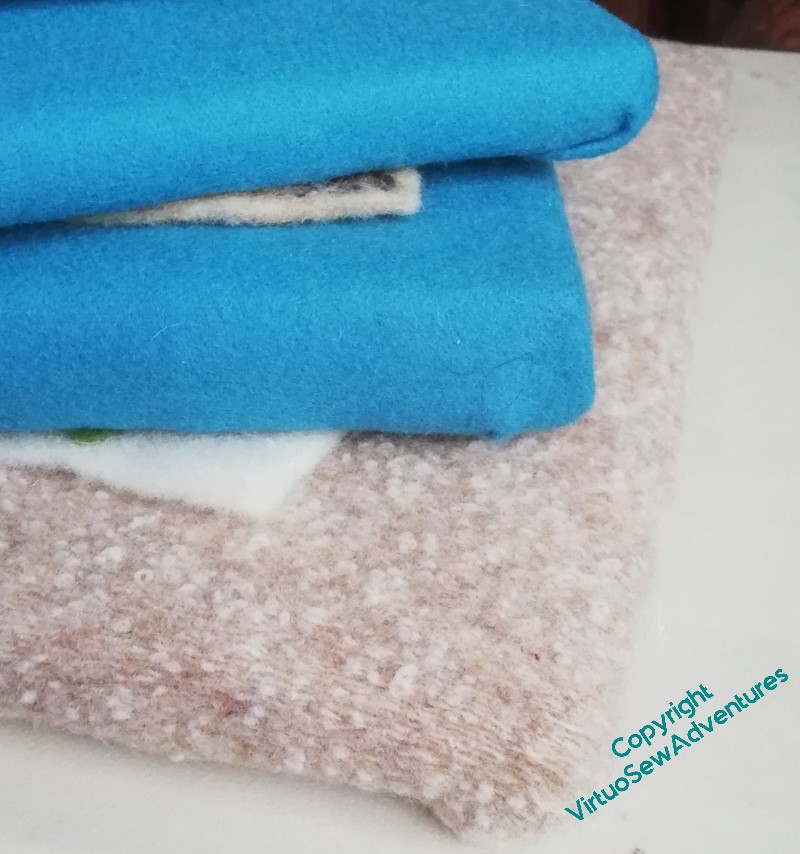
After a day of wrestling with my equipment, and sourcing more staples, which turned out to be what The Australian would term “non-trivial” (would you believe, one of the shops I went to sells staple guns, but not the staples?!), I have finally reached the pleasing situation of having three supports ready to have their finished pieces mounted on them. My ears rang from the ker-KLUNK of the staple gun, and my hand ached, but it is a very satisfying sight, all the same!
After a few days of recovery, I went on to get started on the attachment of one of the pieces, and given the times in which we still live, I’m going to record my witterings as I go. So, herewith the return of Slow TV Stitchery, continuing the sequence from last year with Episode 74.
In which we discuss the assembly of the “fresco” pieces, tackle the first of them, and consider the distant possibility of my embarking on mixed media textile projects, one of these days.