
Tag: Thistle Threads
Well, At Last!
Rejoice with me!
I have finished the polychrome tent stitch on Eve In The Garden Of Eden!
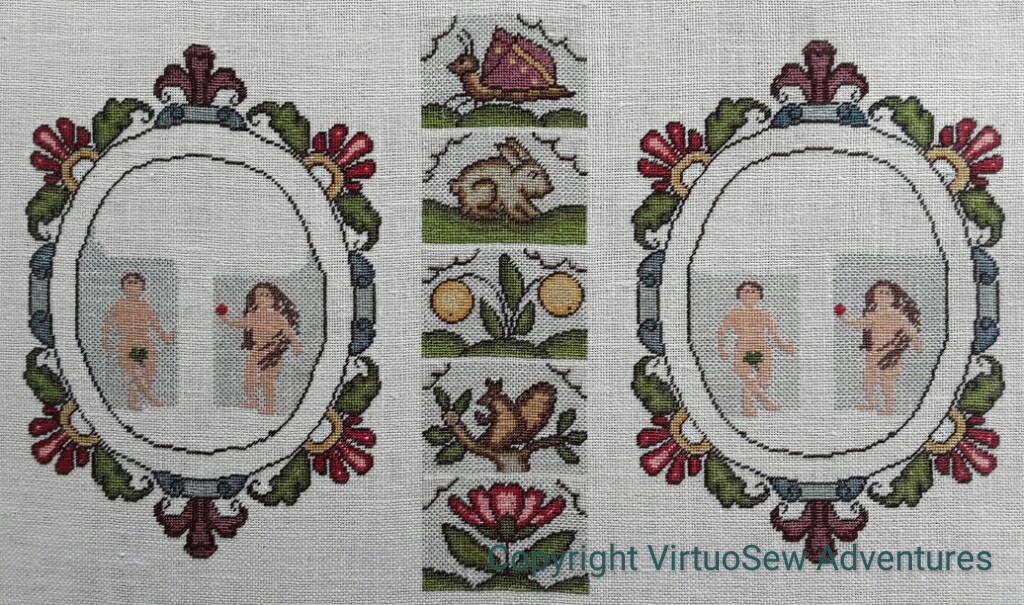
It has taken what felt like forever (although the post describing the start is less than a year old, as it happens), because firstly, I have to do counted work in short bursts or it drives me up the wall, secondly it is very fine and required a magnifier, and thirdly – there’s a lot of it!
In fact, to be strictly accurate, I haven’t quite finished, but that is because the skip tent backgrounds for the cartouches reach under the trees, and I want to decide how leafy I want to make them before I do miles of tent stitch that may all be covered. But I feel as though I’ve reached a milestone, so please don’t rain on my parade!
Flame Stitch Pin Cushion
Pincushion Instructions
I hadn’t intended to do any of the Frostings Box designs, because I was intending to keep all the threads for my own purposes, but I’ve not been able to settle to anything this summer. I lost my “Dreams of Amarna” notebook (and found it again!), and although I have several pieces I want to do for it, I have no idea how I want to do them!
So I’ve been starting lots of little things to do in the intervals of the next major project.

Test Stitching
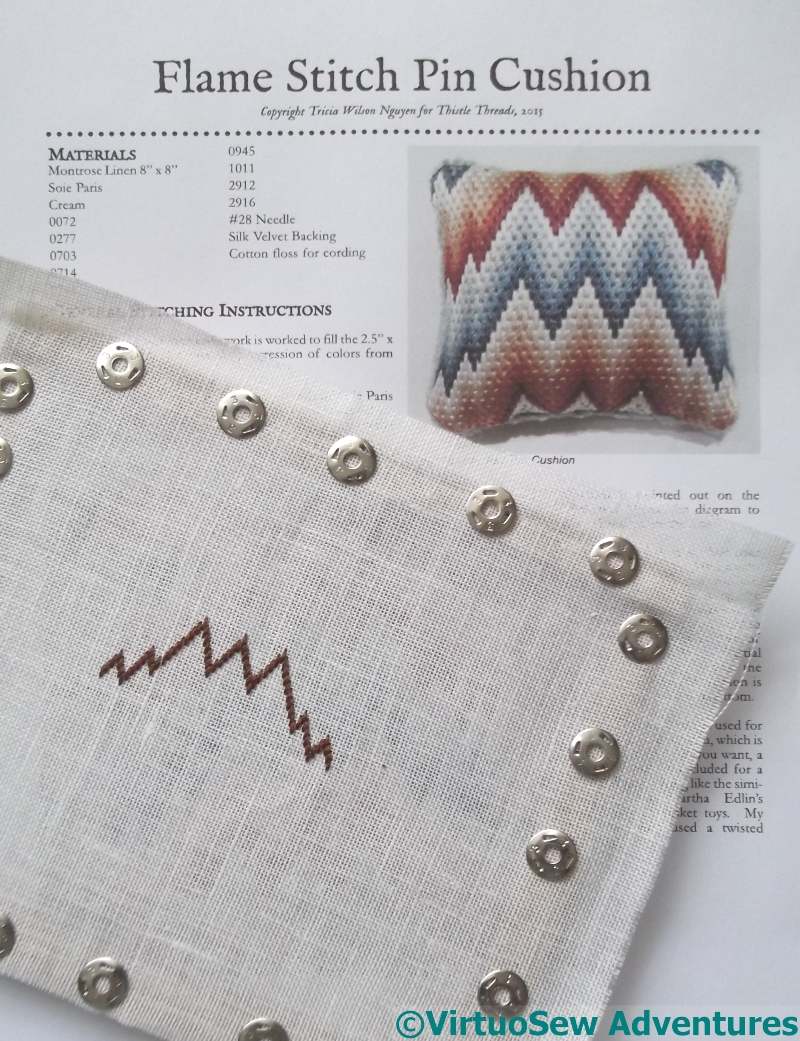
I’m determined not to buy anything for these projects, so I fished out a random piece of linen, and then the next thing was to discover how many threads to use. The instructions said four strands of Soie de Paris, but since I have no idea where the linen came from or what count it was, I thought the choice was worth testing. The left section is in two strands and the right is four.
Four it is, then!
Colour Schemes
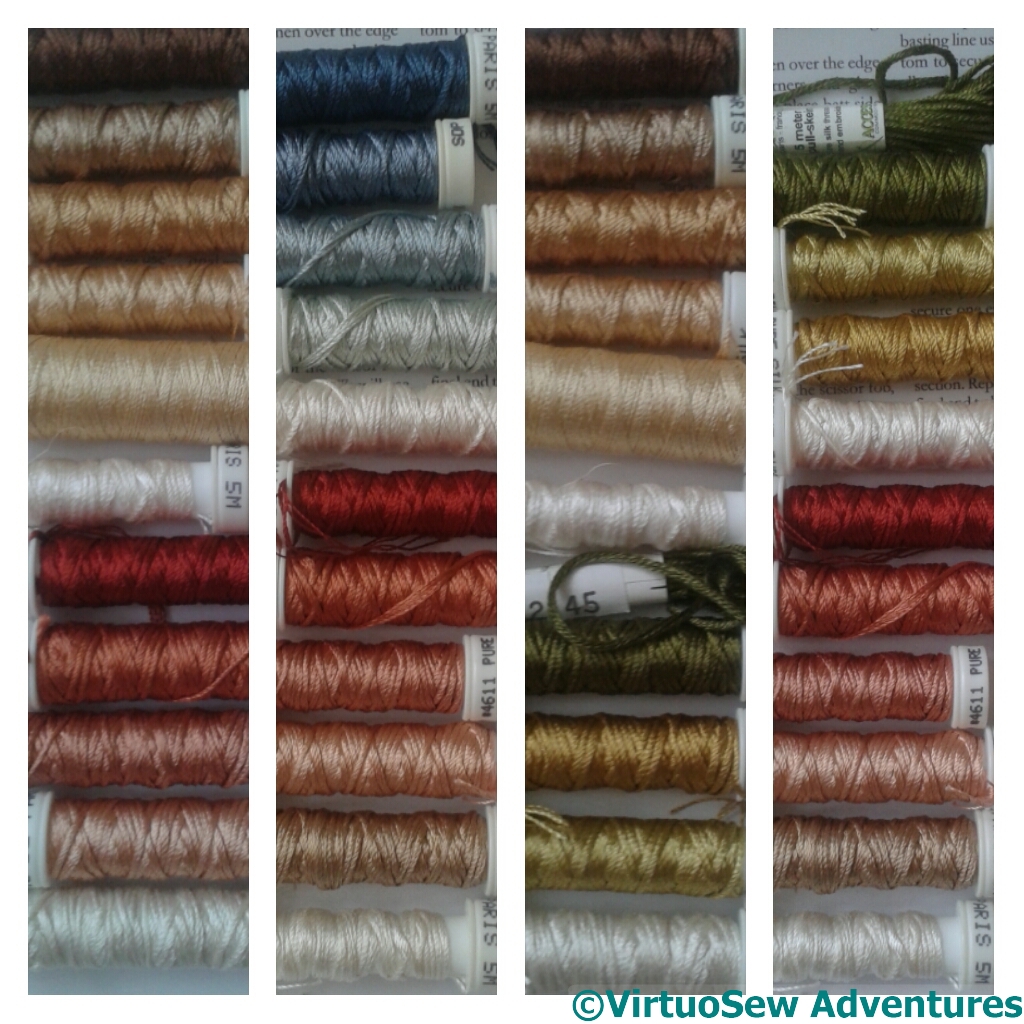
The next decision was colour scheme. As it happens, I don’t have the colours specified, so I decided to play around until I had something that looked interesting.
I’ve decided to go for green and brown.
Second Frostings Box
Frostings Box
Many bounces and squeaks of excitement…
After a trip to the post box to pay the customs charge (I’ve no idea whether the rules have changed, or whether they’ve just got a bit zealous – Tricia has always been scrupulous in declaring contents on the package), I have received my second Frostings Box from Thistle Threads.
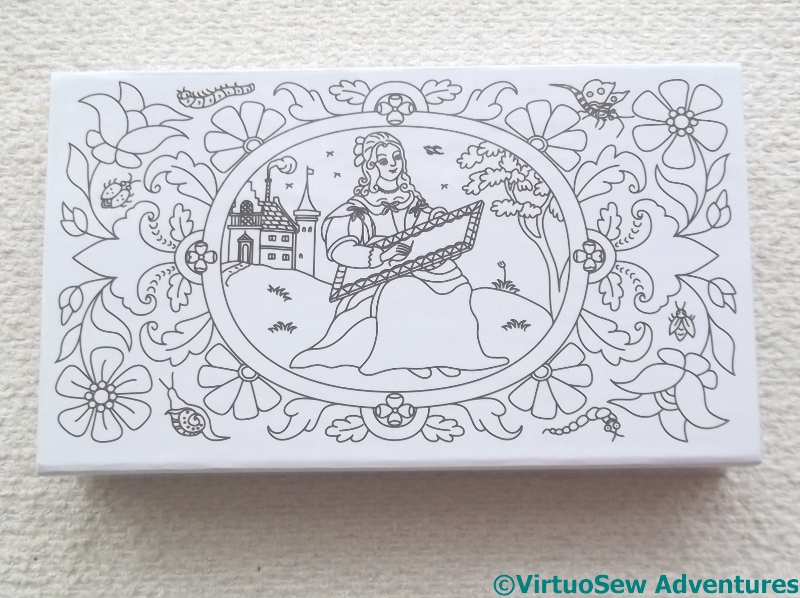
And yes, it’s in the same glazed card box with a magnetic clasp. Sturdy, and lovely to look at!
Frostings 2 – Group 1
At risk of making everyone drool all over their keyboards, here’s the low-down – together with some of my ideas…
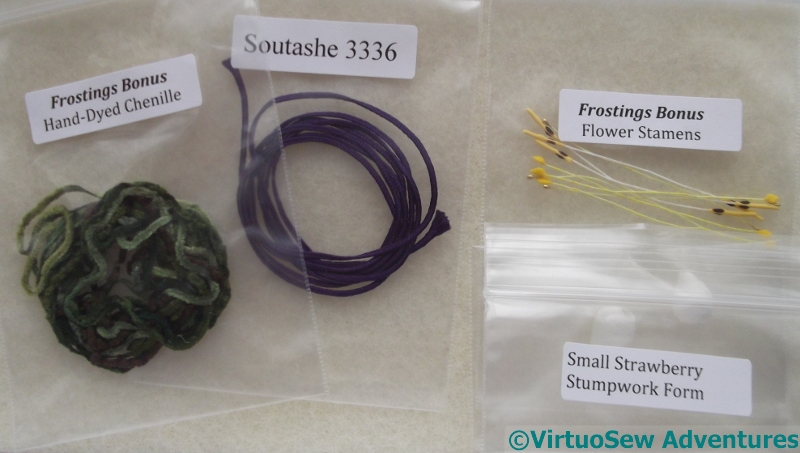
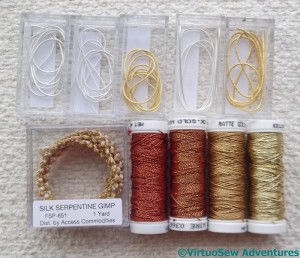
There is some hand-dyed chenille (that’s destined for Placidus, if I don’t find a use for it earlier). I haven’t an immediate use for the soutache or the strawberries, but the Flower Stamens may come in handy for the Violets…
Frostings 2 – Group 2
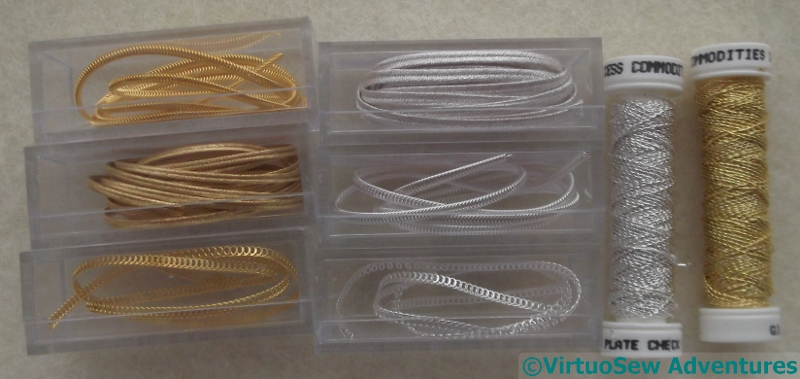
I’m not quite so sure about the metal threads.
I’ve not got them out of their boxes to work out how to use them, but they might make embellishment on the jerkin for Placidus, or on Jason and Medea’s clothing for The Golden Fleece. Or even form parts of Egyptian jewellery for the Dreams of Amarna.
Frostings 2 – Group 3
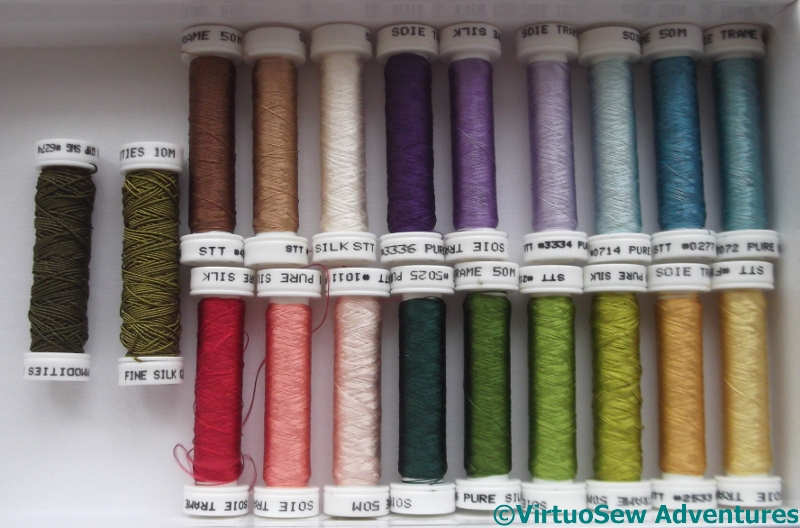
Finally there are two silk gimps (all on their own to the left of the picture) and a lovely selection of fine filament silk Trame. These are in some of the colours used in the Soie Ovale, but much finer, and as Tricia describes in a recent post, the whole idea here is to allow us to twist our own threads, blending colours and thicknesses to achieve the effect we want.
Music to my ears!
Progress on Eve In The Garden Of Eden
Progress on the spine
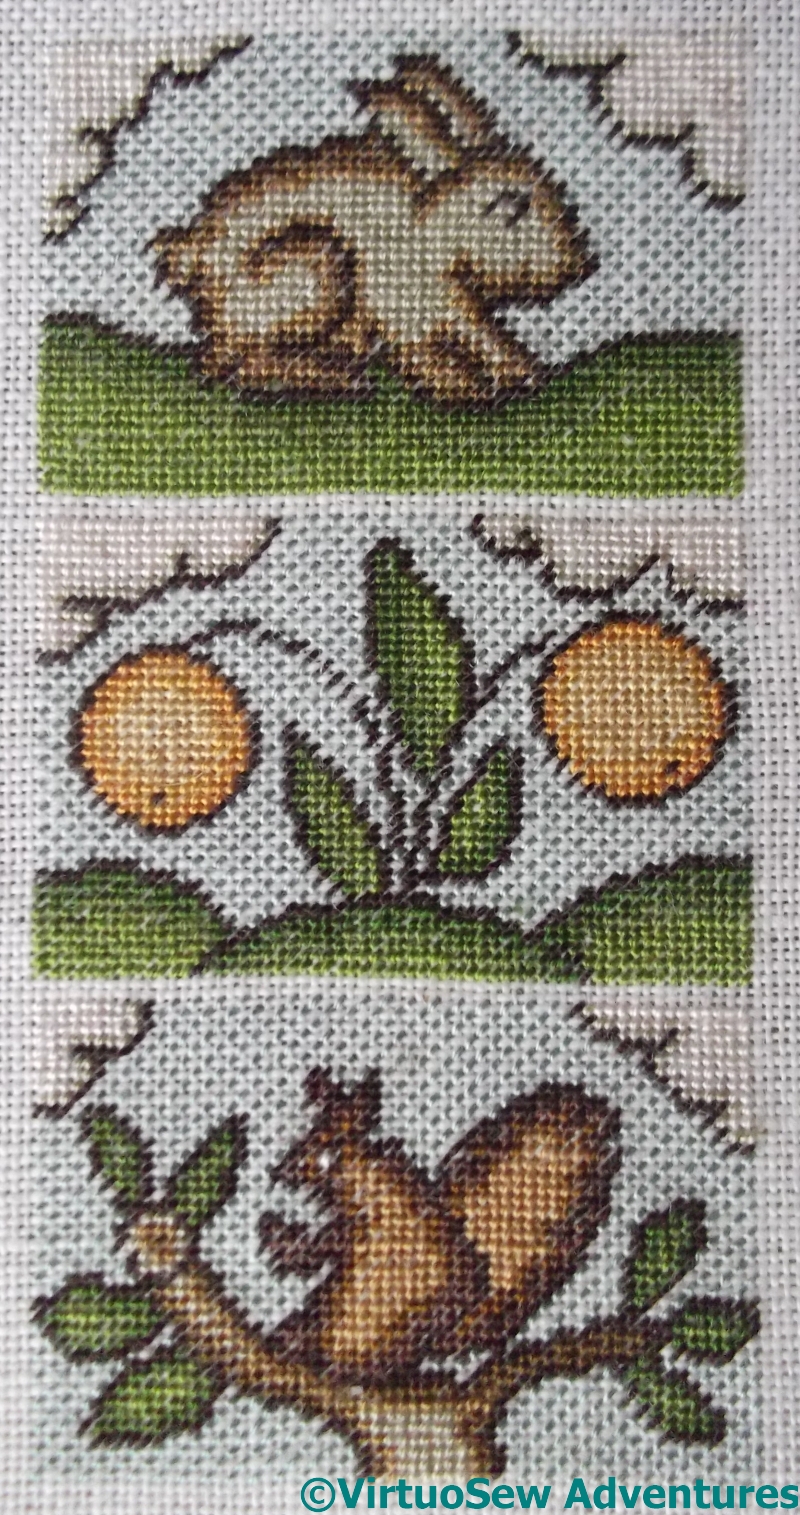
After all those good intentions, I’ve rather fallen behind with “Eve In The Garden Of Eden”. It’s not that it’s difficult – rather fine, requiring the use of the magnifier, but not especially difficult. Unfortunately I’ve only got as far as three of the five panels on the spine of the bookcover. There are two more little panels on the spine, and then two identical ornamental frames, back and front, showing Adam, Eve, the Tree Of Knowledge, and the Snake. And that’s before I start on the complicated bits!
Reasons/excuses for the delay? Well, I moved over to the Canvaswork Angel over Christmas (it seemed more appropriate somehow!), and then I was blindsided by the The Great Lady’s Magazine Stitch Off. Not that I am complaining, you understand – it’s been fascinating to begin finding out about the early days of periodicals and to see the designs provided for subscribers, especially as even more are beginning to come to light!

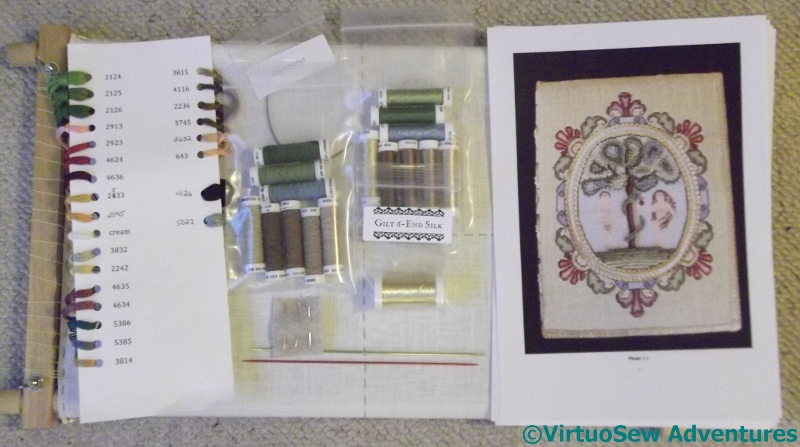
Another Parcel
And now I have been reminded that I really need to get on with it, because the finishing kit has arrived, including some rather lovely silk brocade, and some fancy threads I’ve not come across before.
Still, I need to finish that pashmina first…
A Box Of Delights
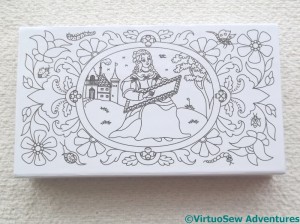
Frostings Box
First View
Tricia, at Thistle Threads, has launched the Frostings Club, which is a thread club specifically concentrating on reconstructions of historic thread. She explains on the page I’ve linked to why she did so, and although historic embroidery isn’t my primary focus, thread is one of my deepest interests. So I joined up for the first session, partly because I want to contribute to the project, and partly because I expect that I will find a whole host of non-historical uses for them.
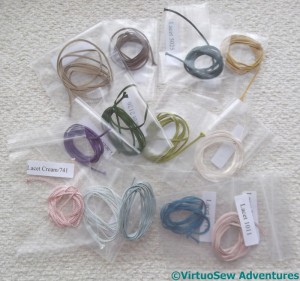
Lacet Threads
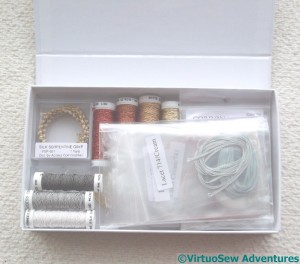
My first box has arrived – after a frustrating hold-up in Heathrow when I knew it was in the country and it wasn’t getting any closer to me! – beautifully packaged in a very solid cardboard box with a magnetic closure. I’ve been having a lovely rummage, puzzling over what I find and thinking about what I might choose to do with it when I get the chance…
I’m not at all sure what Lacet threads are, or what I might do with them, but Tricia has promised to release some designs and suggestions, so if I can’t think of something for myself, there will be suggestions a-plenty.
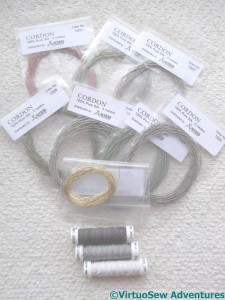
Cordon And Gimp
Metallic And Metal
The Cordon, Gimp and Metal and Metallic threads are possibly a little easier for me to make plans for. The metallic threads have fortuitously turned up in colours I was thinking of using for the wings of the Christmas Angel, so I may have in immediate use there.
But then again, once the Angel’s cape is in place, I may change my mind and who knows what will happen…?
Eve In The Garden of Eden Bookcover
Garden Of Eden Kit
There’s another Thistle Threads course starting, a book cover called “Eve In The Garden Of Eden“, and I was highly intrigued by it.
I was even more intrigued by two of the items that came with the first kit. They look rather like double ended knitting needles, but the picture doesn’t seem to included anything knitted. The kit also includes an assortment of gimps, a gold thread, and a wonderful selection of silk floss. I’ve fallen in love with silk thread since I started following Tricia’s courses, and while I still find uses for my cotton, linen, and wool, silk is always a treat.
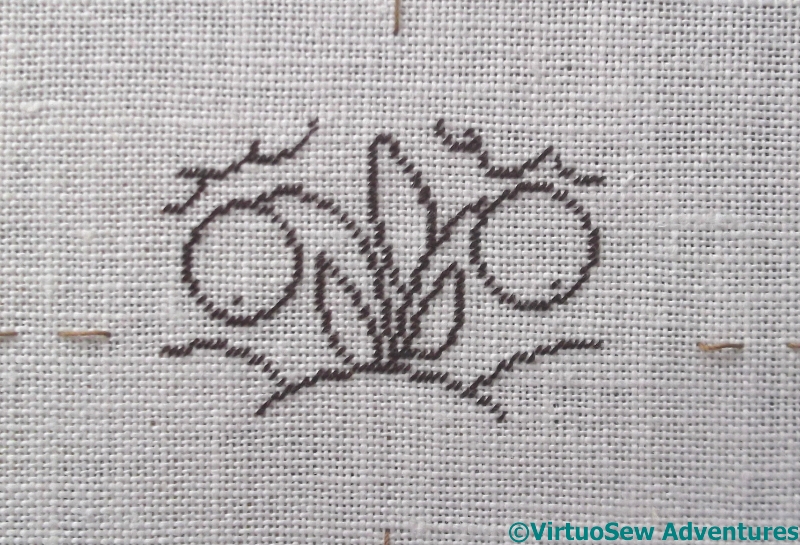
Getting Started
The first stage is all in tent stitch. The fabric is 30 count, which is fine enough to that I have been using both my goosenecked magnifier, and my magnifying glasses. This is the central panel of the spine. I’ve decided to enlarge the chart before I do any of the colour stitches, because the chart is a bit small, but I’m rather pleased with it so far.
I’m going to try to keep up with this course, because I’ve just seen that there is a Stumpwork Lion course being planned, and he looks wonderful!
Tudor Rose Turned Into a Panel

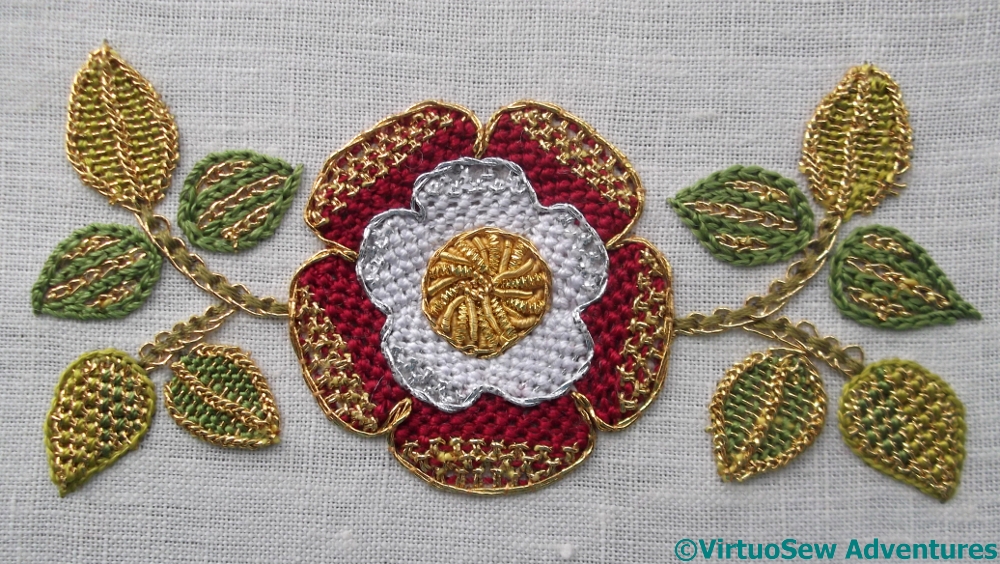
Tudor Rose (Finally) Finished
At long last I got a chance to finish up and turn the Tudor Rose into a little mounted panel. I got a local framing shop to cut me two pieces of acid free mount board, and mounted it over one of them, with a little padding to bring it to life. Then I covered the other (also with wadding) with some upholstery fabric that happened to be to hand, and overstitched the two boards together.
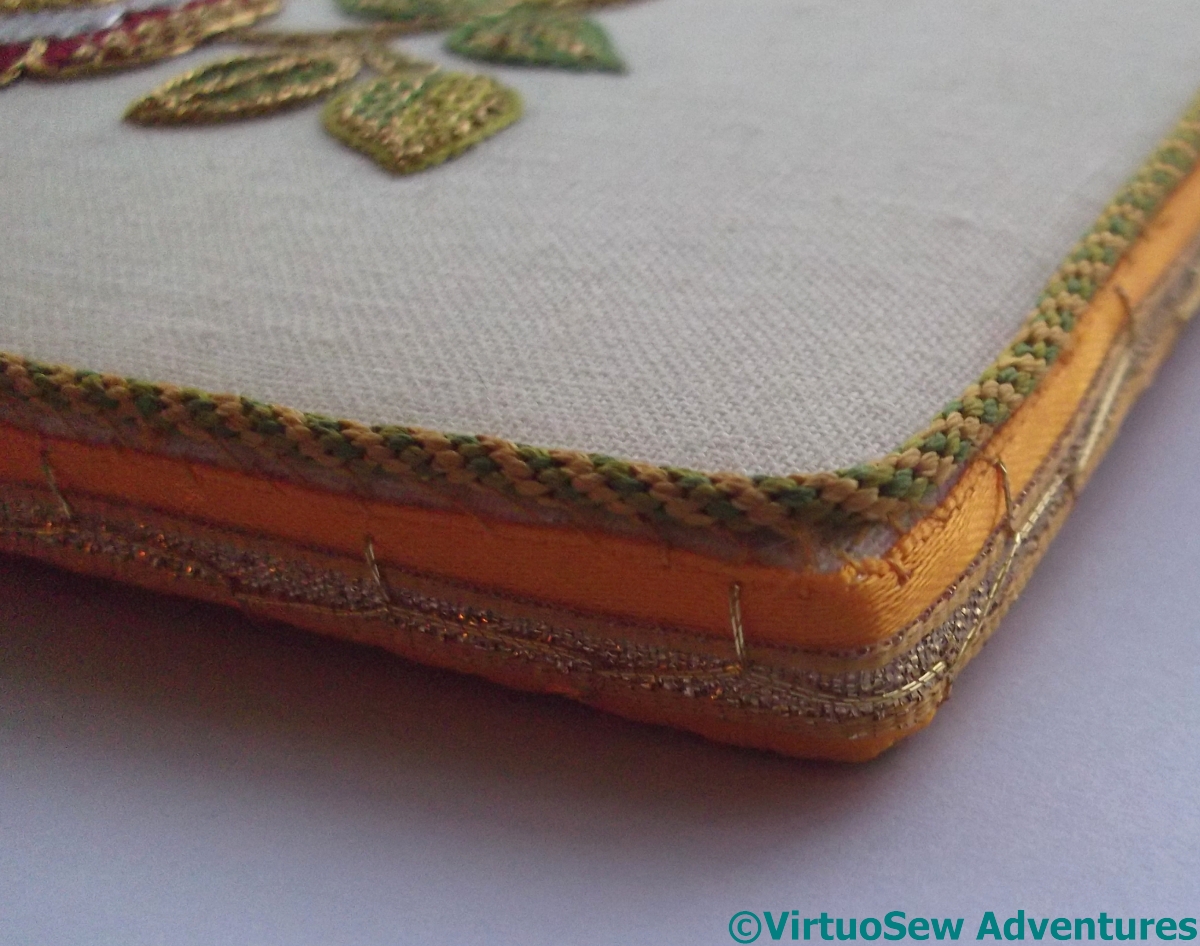
View Of Edges
I covered the overstitching with a ribbon trim left over from when I finally mounted Christus Natus Est (whoo-hoo, some stash busting achieved!) and then, at some length and not without difficulty, attached a fine kumihimo cord around the front edge of the panel to frame it nicely.
It will go in that famed (and so far, still mythological) Winter Decoration Corner that I keep on talking about – when I finally create it.
Continuing On The Tudor Rose

Tudor Rose Leaves
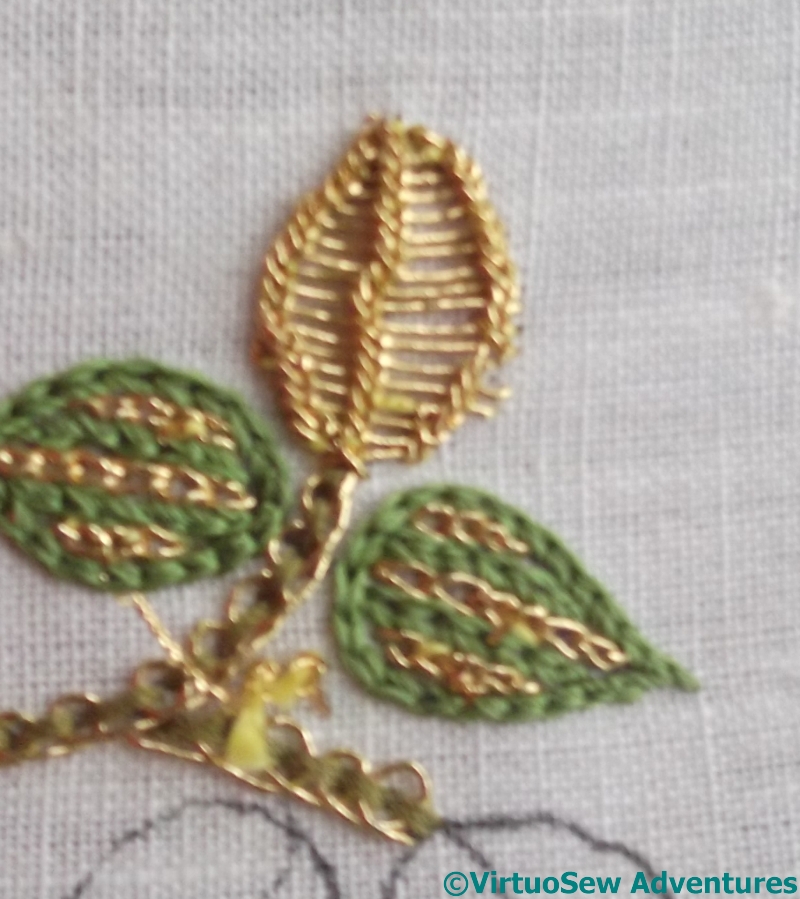
The work on the Tudor Rose continues.. The stitches used for the leaves are what I really wanted from this course, as I am hoping that they will help me to create elements in the Dreams of Amarna – the ancient Egyptians were as keen on bling as the Tudors!
Zoom in on the picture to the right and you will see that there are four different combinations of metal and silk threads.
- The stem – whipped back stitch
- Alternating silk and metal chain stitches
- Ceylon stitch with silk thread woven through it
- Up and down buttonhole stitch with silk threads overcast through it
It was very hard to weave through the Ceylon Stitch – I didn’t pack the threads as tightly as Tricia’s instructions show, even after four leaves (two on each side). I think it would be easier in some of the applications I intend, though, because I am expecting at least some of them to have straight edges!
The overcasting through the Up and Down Buttonhole stitch was tricky to start, but once I’d got it started it was fairly straightforward – and a lot of fun.
Tudor Rose Finished
The final element of the piece was the pearl purl and check purl in the centre. That was quite fiddly, and I am not sure that I worked the initial layer of bullion knots in silk in such a way as to make the layer using metal threads easy to do. I have much more practice to do to get my metal thread work to the level I saw at the Eye of the Needle Exhibition in the Ashmolean Museum a few weeks ago.
Getting Back To The Tudor Rose
What with one thing and another – largely to do with the Hittite Amulet and the consequent overdose on metal threads – the Tudor Rose has been snoozing quietly in a boxfile for months, not drawing attention to itself.
Spot The Mistake!
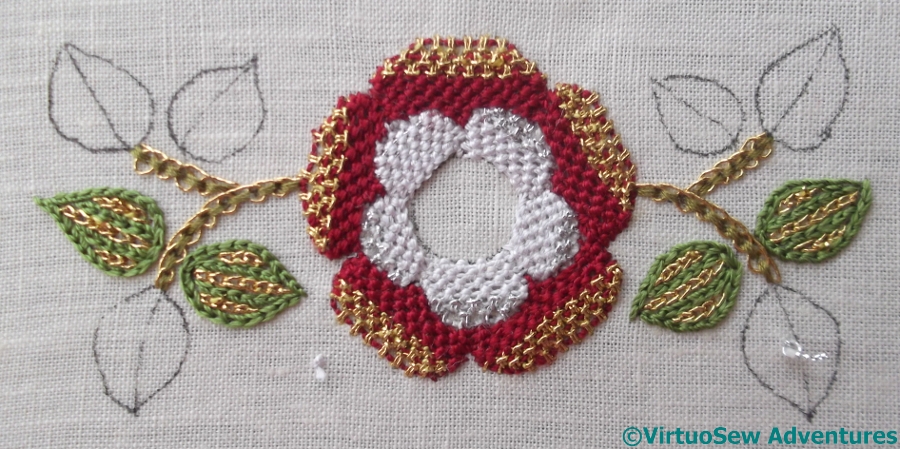
I’ve decided, however, that it’s time it got finished, so that I can move on to other things, and the first step was to complete the white and silver petals of the rose. I was puzzled and confused when I did my first petal after the break, because it didn’t present the same appearance as the other ones. Can you see why?
I’m going to leave it like this, to remind me to pay attention next time…
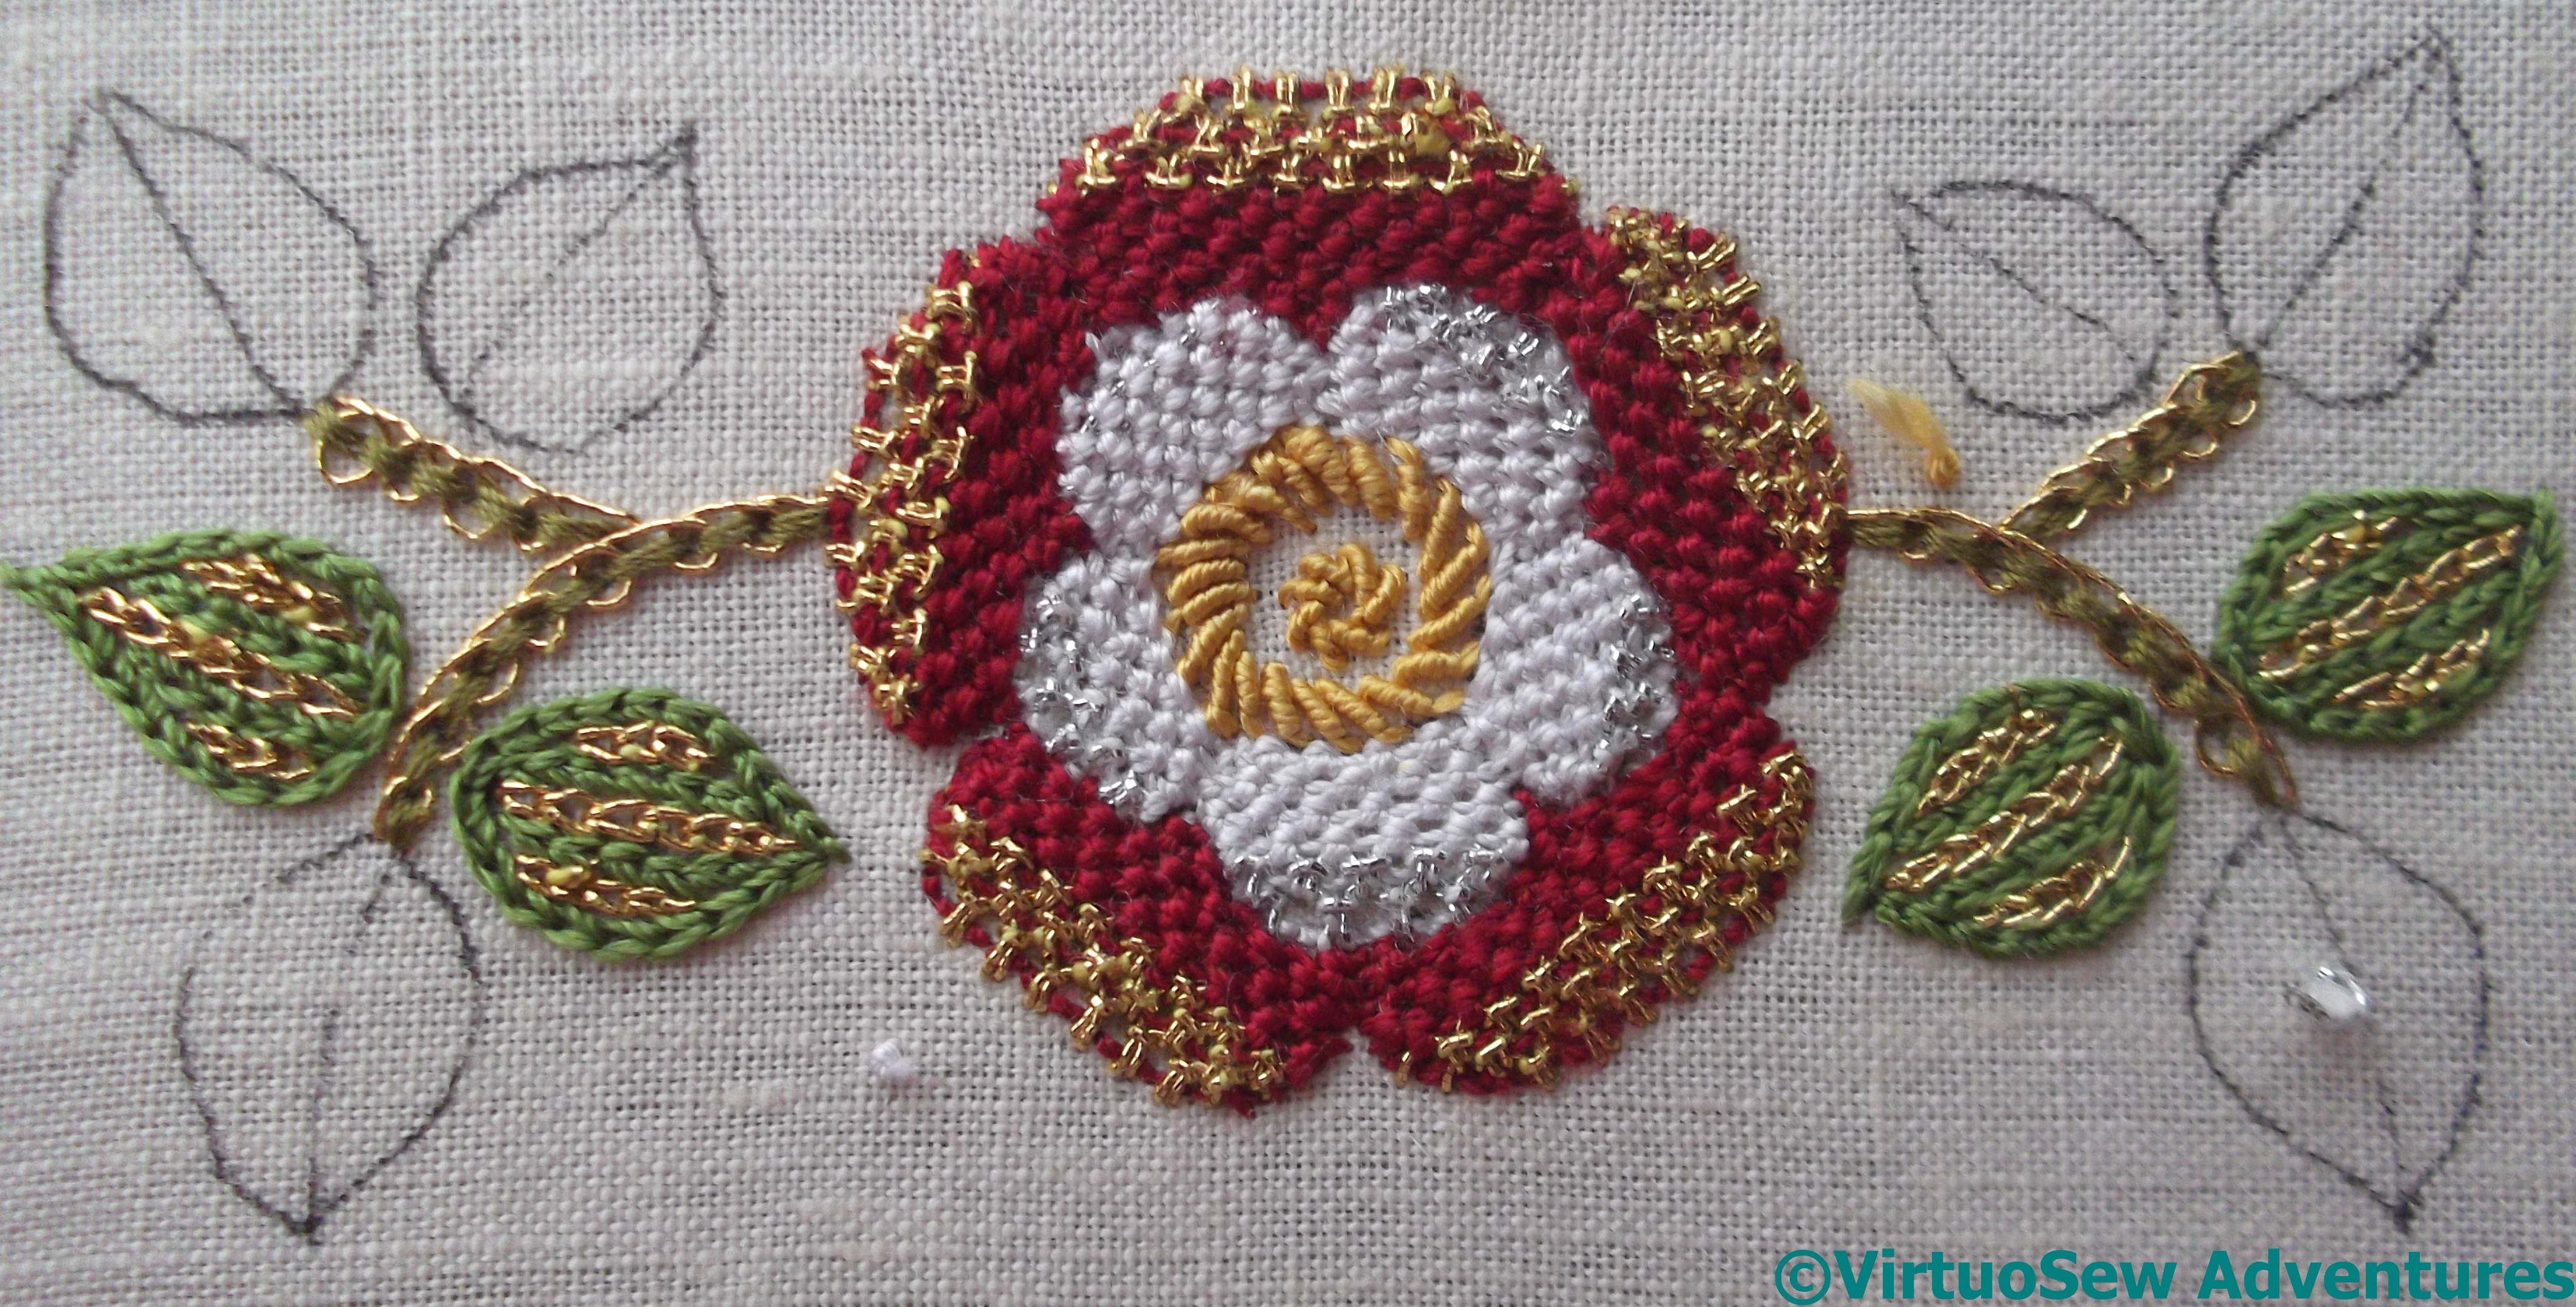
Bullion Knots Done
The next stage was to work the bullion knots in the centre. I’ve decided (again, not quite following the order of stitching in the instructions) that I’m going to leave the cut pieces of purl until everything else is done, so having done the bullions – with varying degrees of success, I admit! – I moved back to the leaves.
So, onward and forward, as my Grandad used to say…
First Stage Leaf
Some of the leaves are worked in Ceylon Stitch which is then woven through using the silk thread. Those of you who were reading my blog when I was working on the Tudor and Stuart Goldwork Masterclass may recall that I found Ceylon Stitch something of a trial. Working it in leaf shapes really doesn’t make it any easier!
There are three more of these, two each to be woven into with different colours of green Soie Perlée. Tricia says to pack the weavings in as tightly as possible.
We’ll just have to see how that turns out, won’t we…
Assembling the Gentleman’s Glittering Nightcap – Part Three
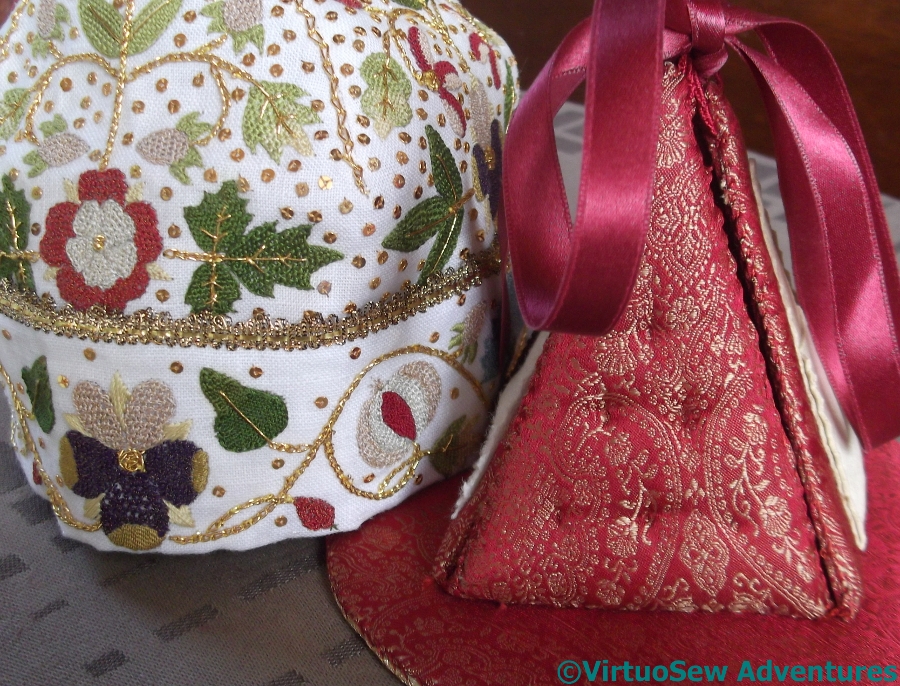
Pincushion
Having attached the ultrasuede and doctor’s flannel to two of the triangles, and made a brocade pocket on the third, the fourth was given extra padding, and extra stitches created an almost upholstered effect, making a pincushion.
Once the brocade backing triangles were attached, the four triangle assemblies had buttonhole loops added at the top corners, to provide a channel for the ribbon that will hold the étui closed. Then they needed to be joined in a chain at the bottom corners, and attached to the circular brocade-covered skirtex base to create a square-based pyramid.
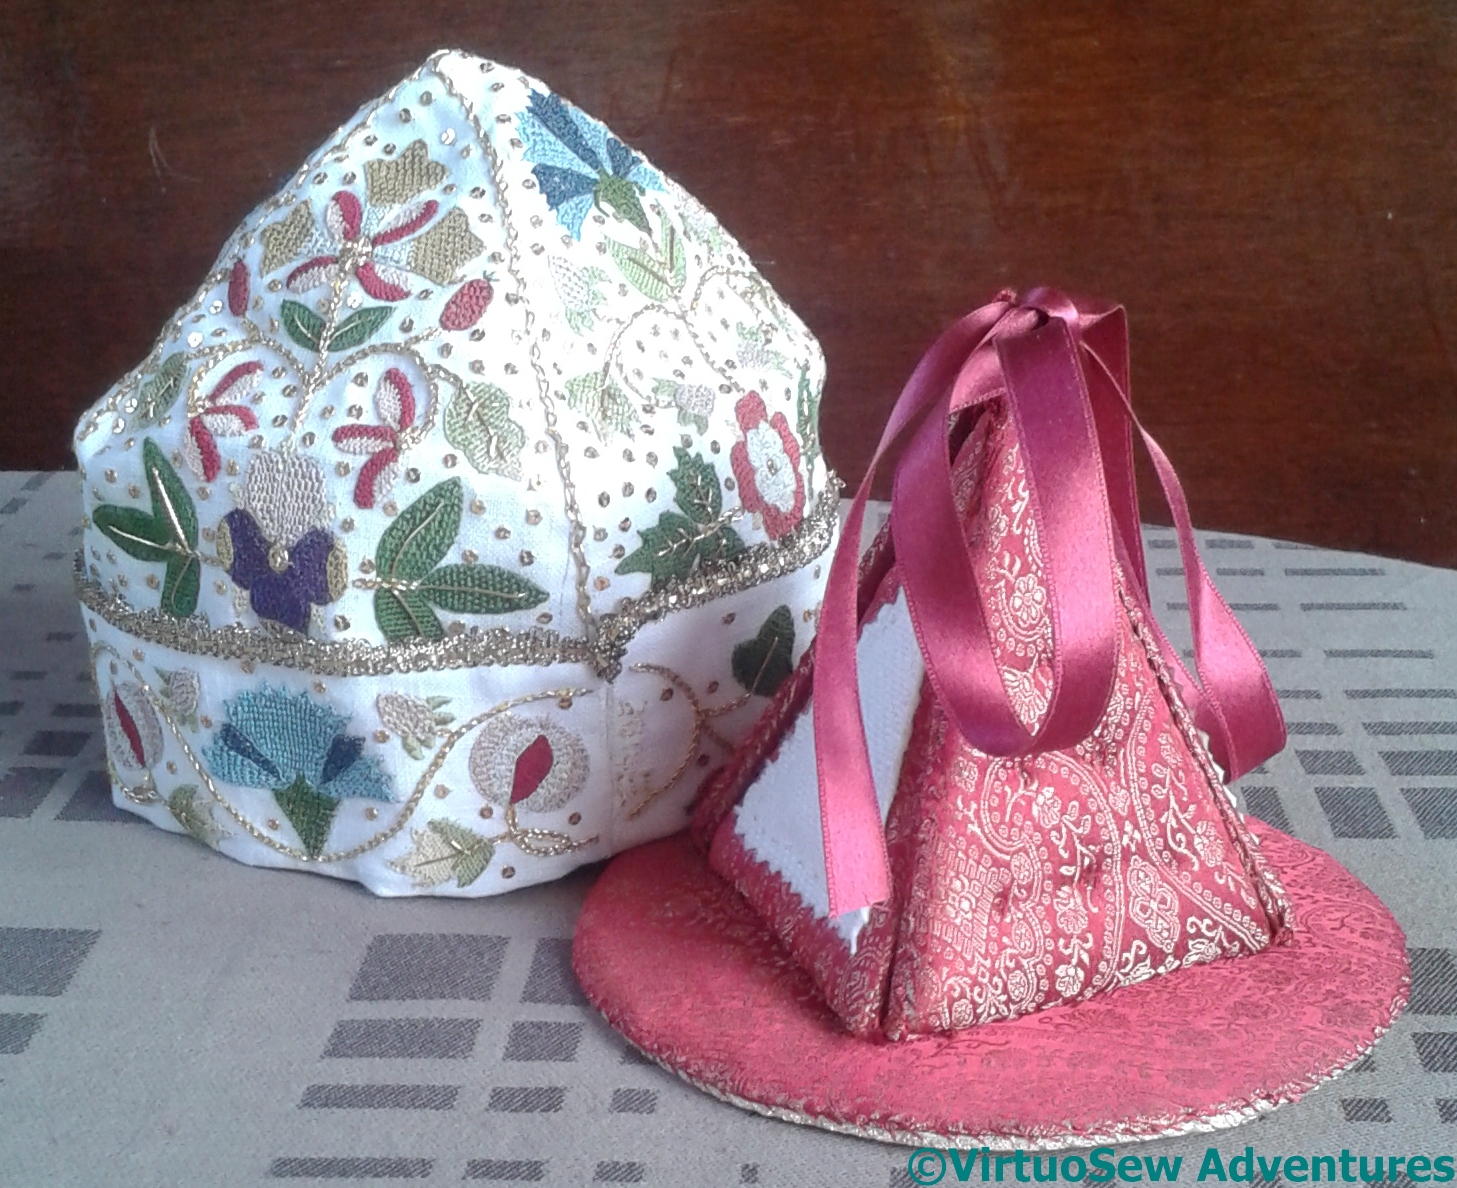
Etui Done
It turned out really well.
I’ve had lots of practice with trellis stitch and detached buttonhole stitch with return, I’ve Spangled until I’m seeing stars, and I’ve done a lot more reverse chain stitch in gold.
I can’t quite see myself using the étui in my ordinary stitching life, but I can see myself putting it in a carefully lit corner and gloating over it!