
Tag: canvaswork
More on the Long Borders

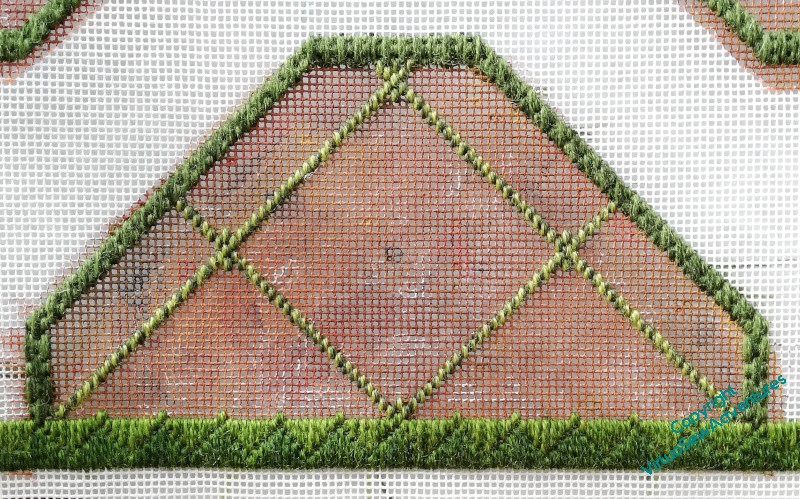
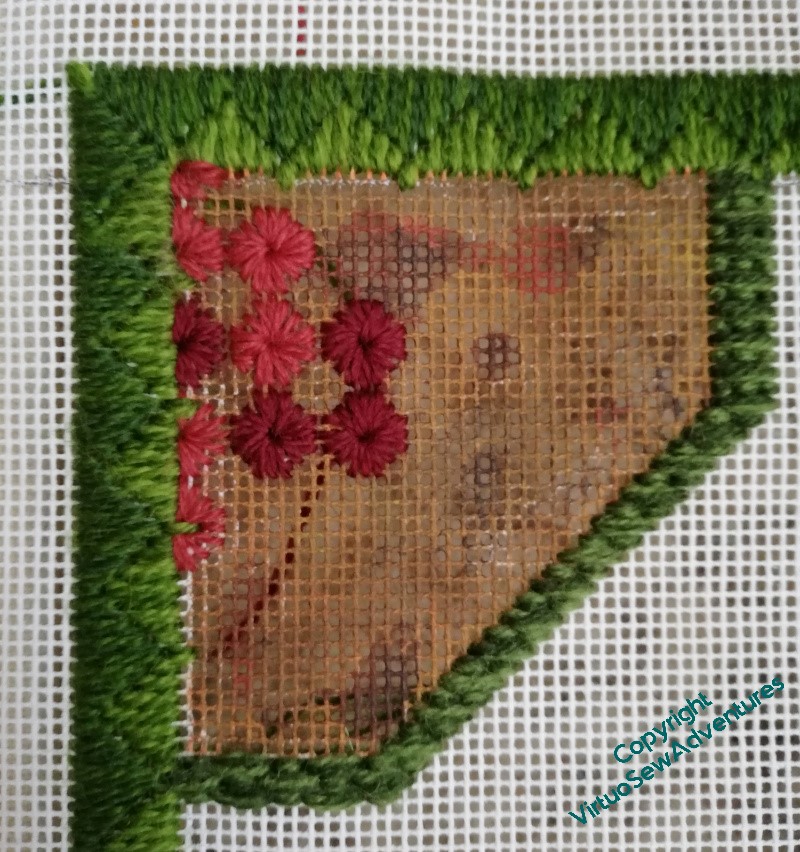
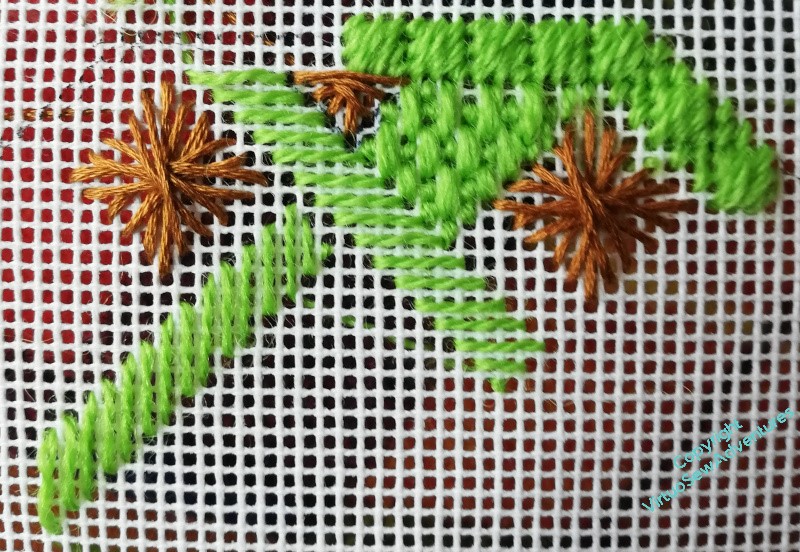
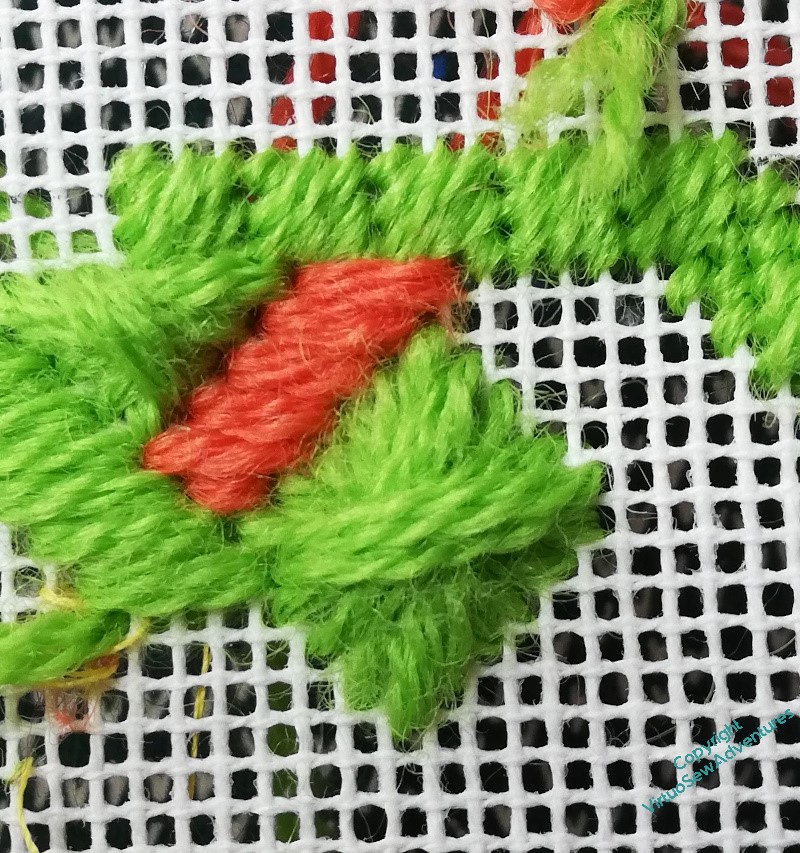
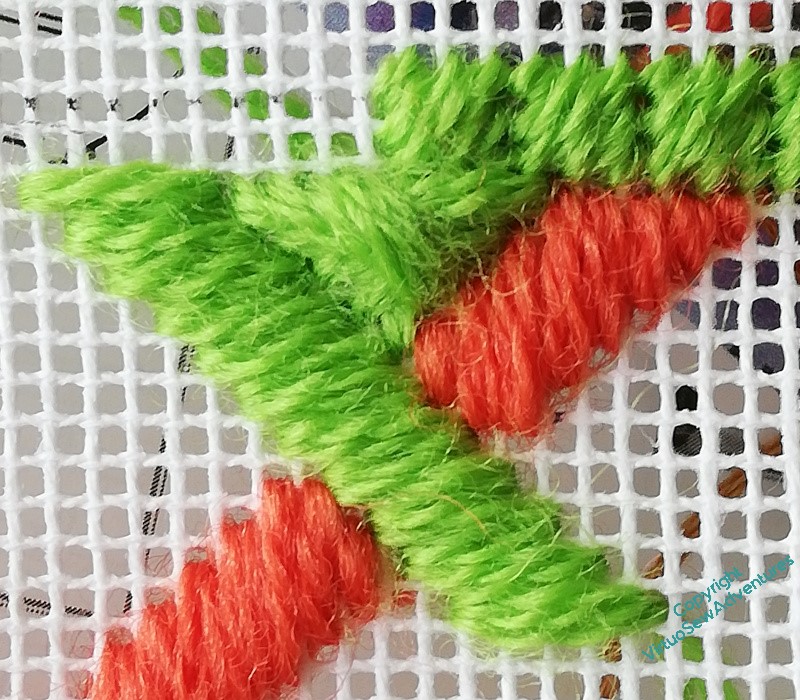
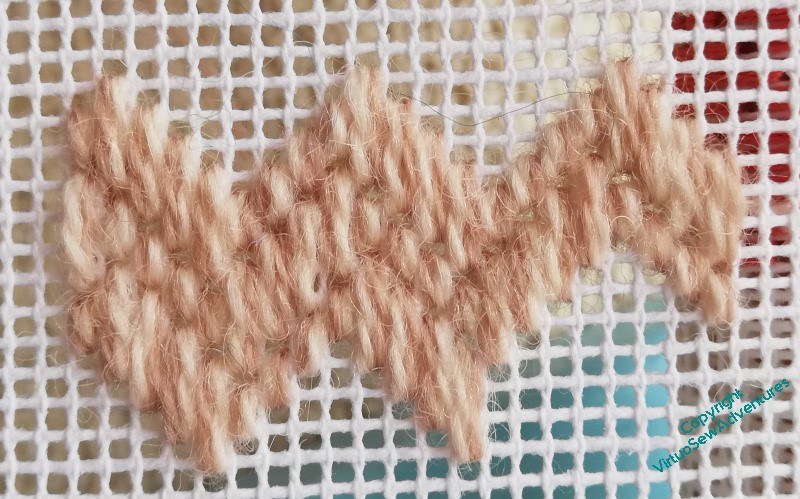
When I found a stitch called “F-106 stitch” and notionally inspired by delta wing aircraft, I thought it would be a good one to include. The section looked a bit monolithic, so I faded the colours of the “background” stitches outwards from the centre. Although I have to say – I’m no flier, but that formation looks dangerously close to me!

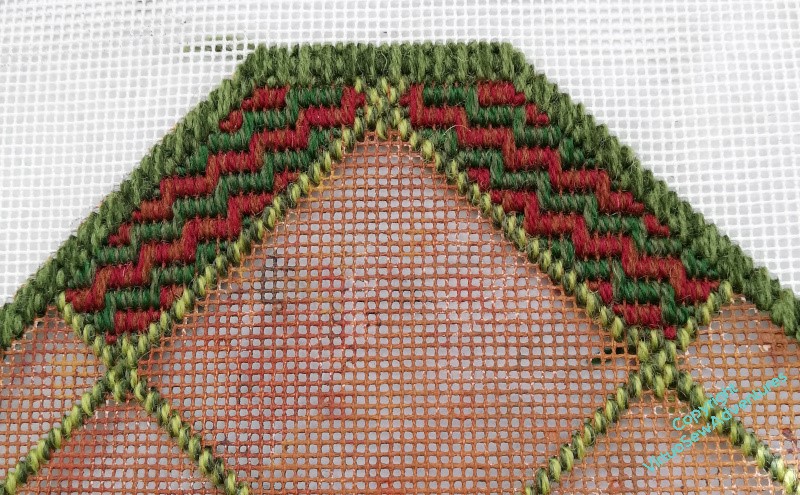
I’m trying to balance the patterns and keep them from proliferating too much so when I’d done these sections (on both long borders), I thought it would be a good idea to continue the Victorian Step Stitch pattern through the second outer sections, only altering the colours slightly. I’ve even tried to keep in step with the first sections across the divider.
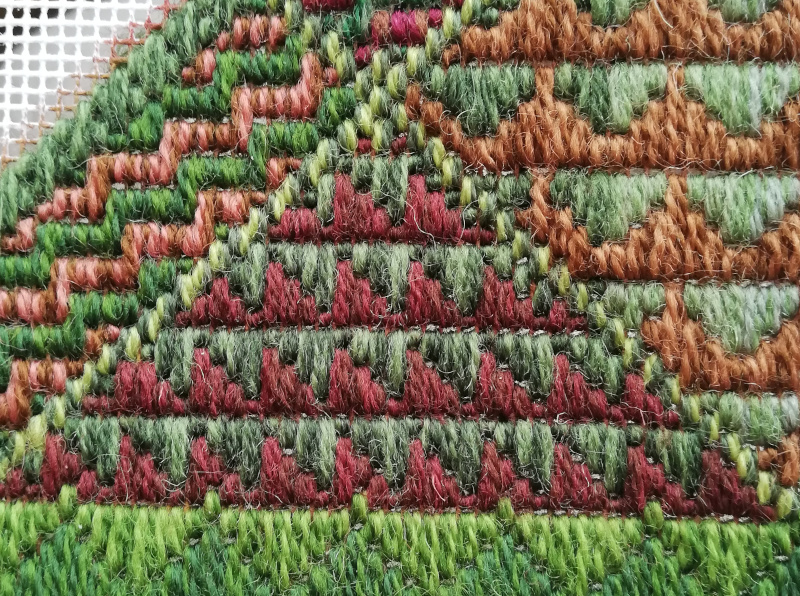
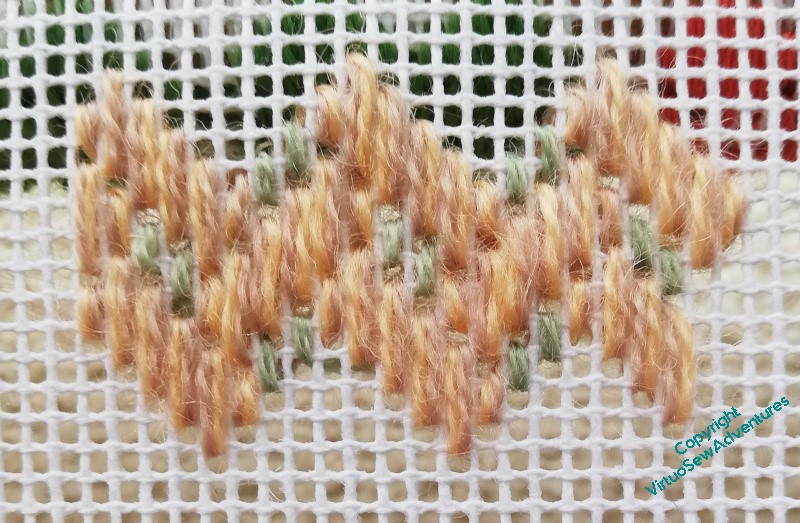
The triangles by the border required another pause, but in the end I kept with the aero theme, and picked a stitch called “Wild Goose Chase”, which I rather suspect may be inspired by a patchwork pattern. Trying to maintain a certain amount of echo and balance, I’ve used similar colours to the first blocks of Victorian Step Stitch, and also reflected the pattern on either side of the centre line.
Long Borders
There’s a good deal of trial and error with this one!
Once I’d divided up the long borders (both of them, so that it remains easy to keep track of) I started to experiment with stitches to fill in the various sections.
For a while I thought I might like to play with voiding some of the patterns, so I started with a sort of skip tent stitch. I wasn’t happy with that – it ended up combining stripes with a general appearance of not being there at all.
So, next trial – what about some large bosses, Diagonal Rhodes Stitch or something like that, which will be nicely reminiscent of the topiary experimentation that inspired the cushion?
I suppose this might have worked, maybe with a river of stitching in another colour to join the three diamonds, but when I looked at it in the context of the entire border, I wasn’t happy with it. Quite why, I’m not sure, but it felt like a false start. I’ve had quite a few of those with this project, and I’m beginning to recognise the sensation!
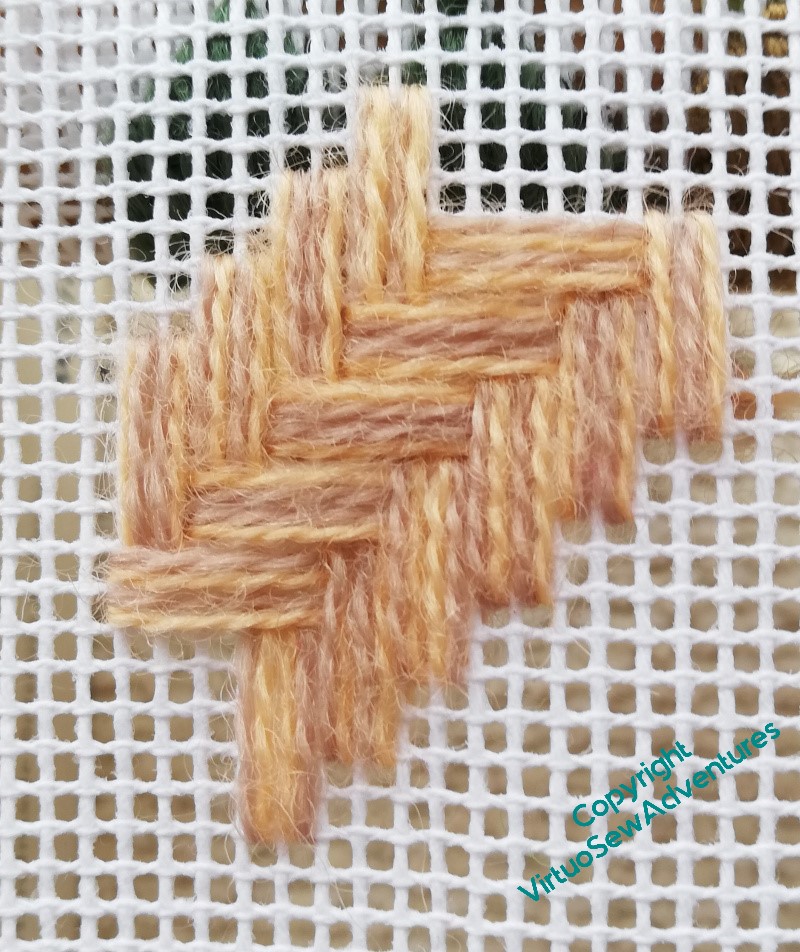
So, in the end, I settled for finding a smallish full coverage stitch, using vertical stitches like the borders, which isn’t on quite the same diagonal as the border edgings, but seems nevertheless to work. It’s called Victorian Step Stitch in Jo Ippolito Christensen’s book, and I’ve never seen it anywhere else (that goes for a lot of the stitches in that book!). A small advantage was that it mirrored relatively easily about the centre line, creating an arrowhead.
Planning the long borders
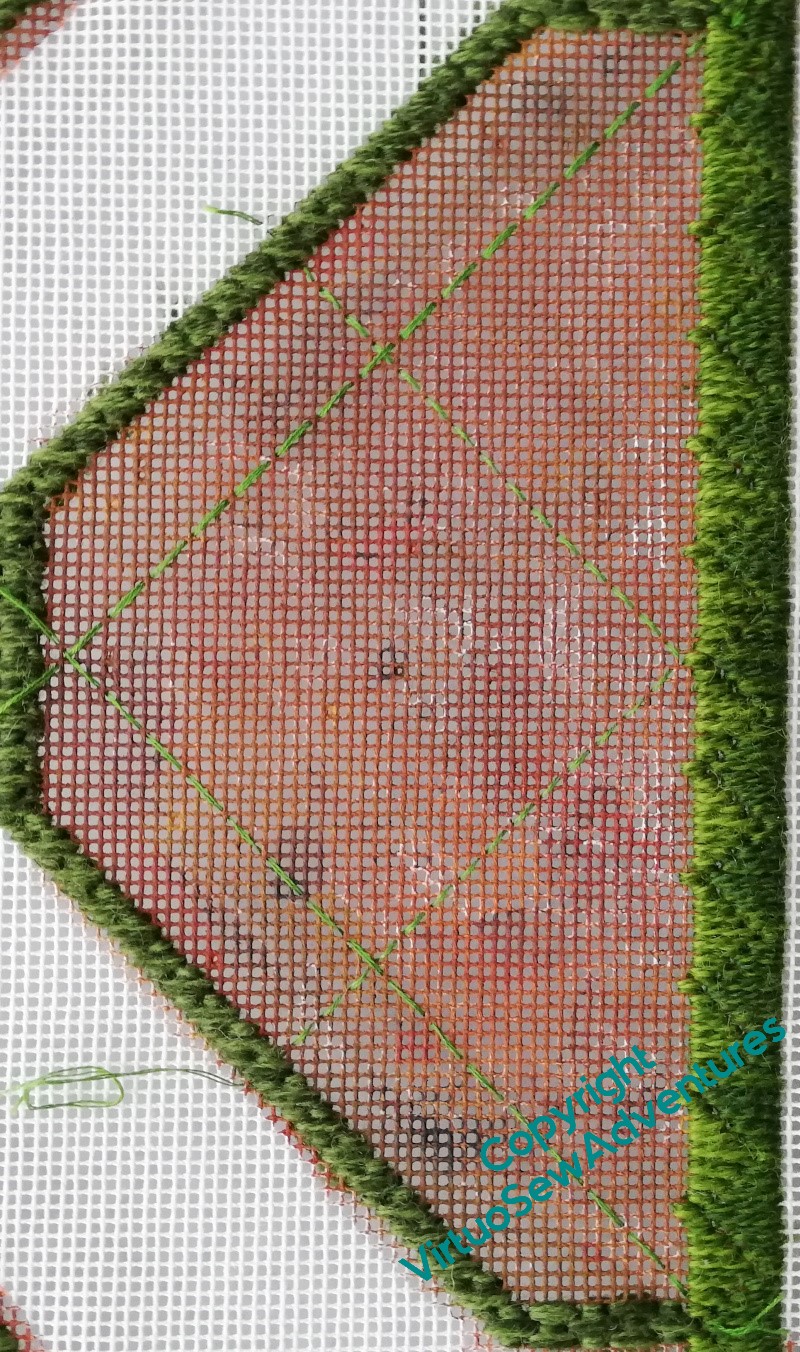
The long borders just looked too big, too monolithic, if you like, when I came to look at them with the corners in place. I don’t want the pattern looking too “bitty” and fragmented, but a certain amount of breaking up of the shape seemed to be a good idea.
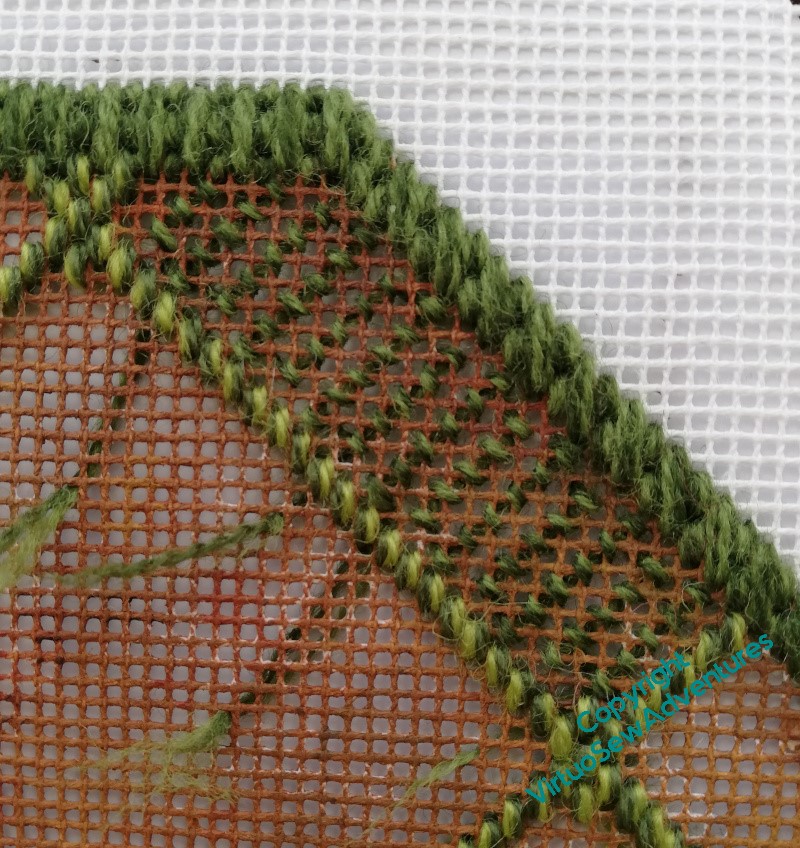
I started by running tacking stitches in stranded cotton so that I could look at the divisions they created and make decisions based on those, rather than using the wool. Tapestry canvas is a destroyer of thread, and it’s rare that you can reuse much of it if you have to take it out. I’ve plenty of stranded cotton, and I can reuse it a few times for experiments – just not for the final piece!
That seemed enough of a division, so I pulled out the stranded cotton and reinstated the new lines using short straight stitches in two shades of the Paterna.
I’m trying to use all the yarn in blends. It makes for a livelier effect, and given I’m not enamoured of Yarn Chicken, it will also eke out some of the yarns!
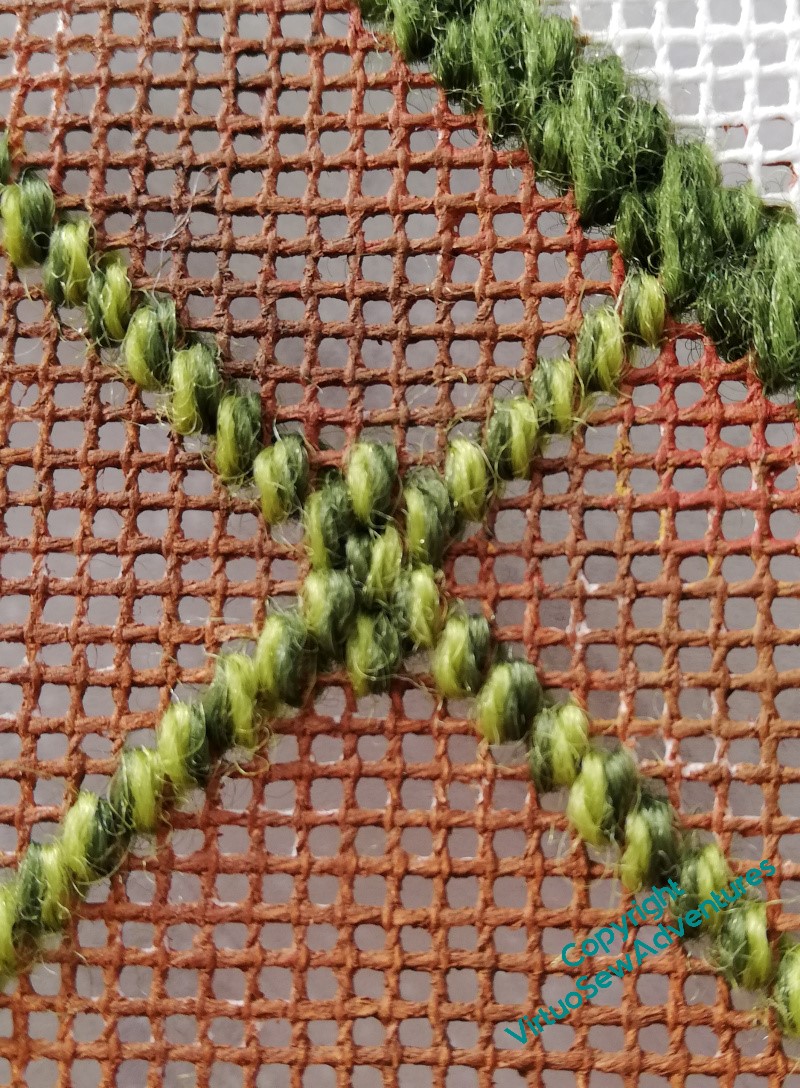
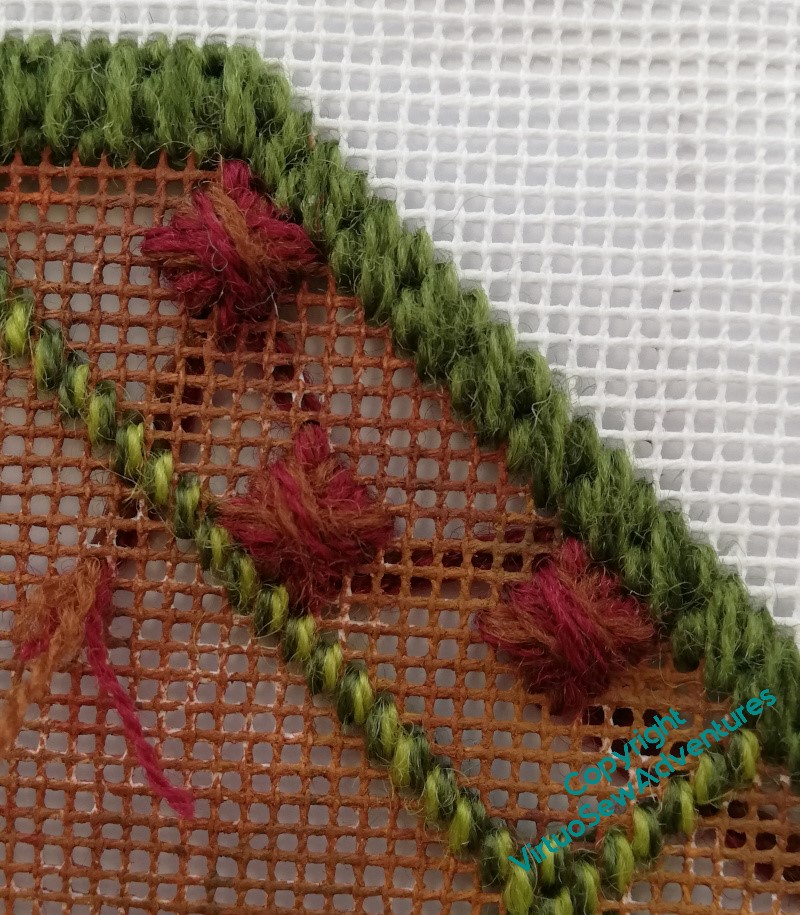
Once I’d looked at the first couple of intersections between lines, I decided to add a bit of subtle emphasis. At this point, I had no idea what stitches I would be using in the “beds” (to retain the link to gardening), but I somehow felt that I needed to blunt the apex of the diamond and triangle shapes.
I couldn’t tell you why – any ideas?
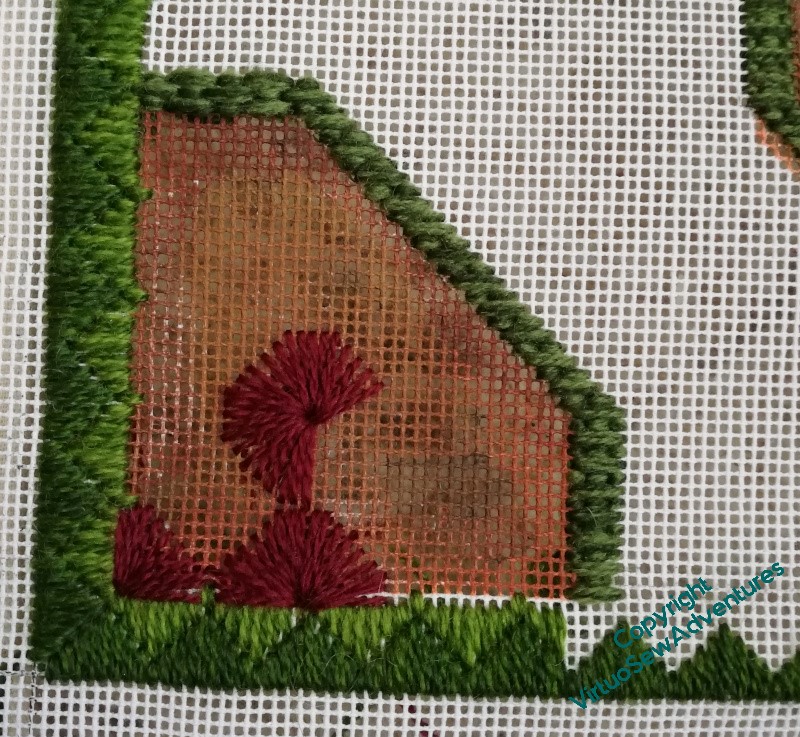
More progress on the corner borders
I wondered, once I’d done the large squared daisies and recovered from the experience of the one which kept going wrong, whether I should use Diagonal Rhodes Stitch again, or do something else, so here I was experimenting with a sort of fill pattern using upright cross stitch.
And no, both the thread (too pale) and the stitch pattern (somehow too incoherent, which is an odd thing for such a regimented stitch to look). Rhodes Stitch it is, then.
Ah, but what size of Rhodes Stitch?
The larger one, I decided in the end. This isn’t to be a cushion for leaning on, and although the “boss” created by the larger Rhodes Stitch had very long floats, it created a really lovely contrast with all those stitches going down in the middle of the Squared Daisies.

As you see here.
Now it’s done, I really like the look of this pairing. I think Jo Ippolito Christenson backstitches between her stitches, which I’m not going to do. I think this is a good enough recollection of the inspiration as it is, while staying true to itself as a piece of canvaswork.
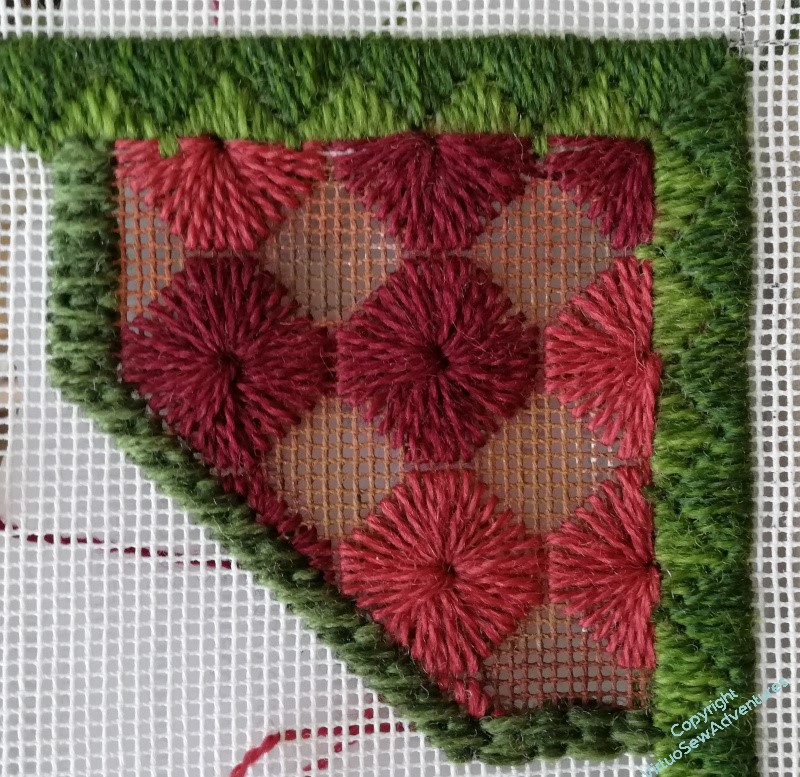
Getting back to the Parterre
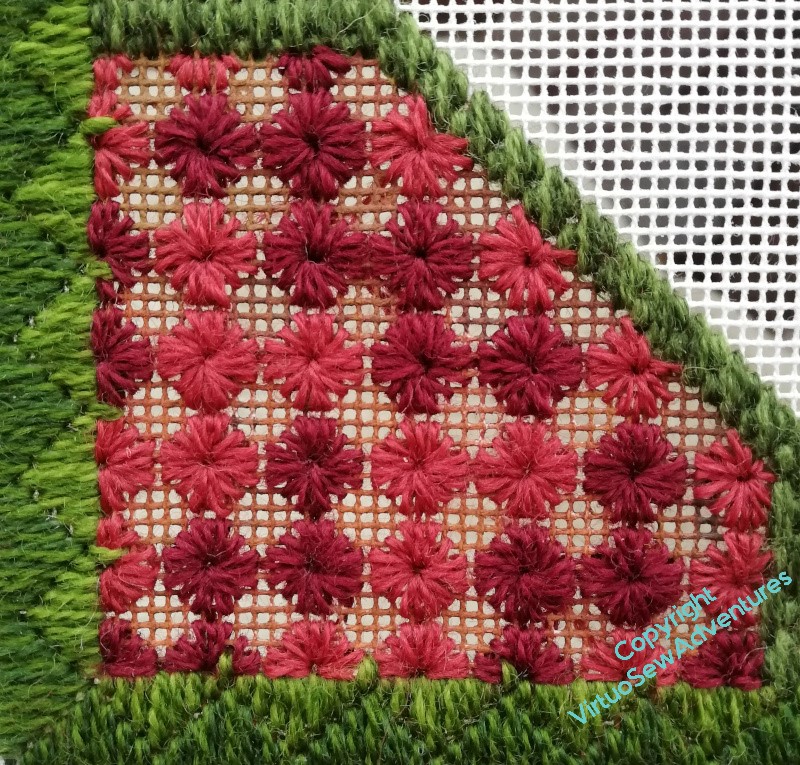
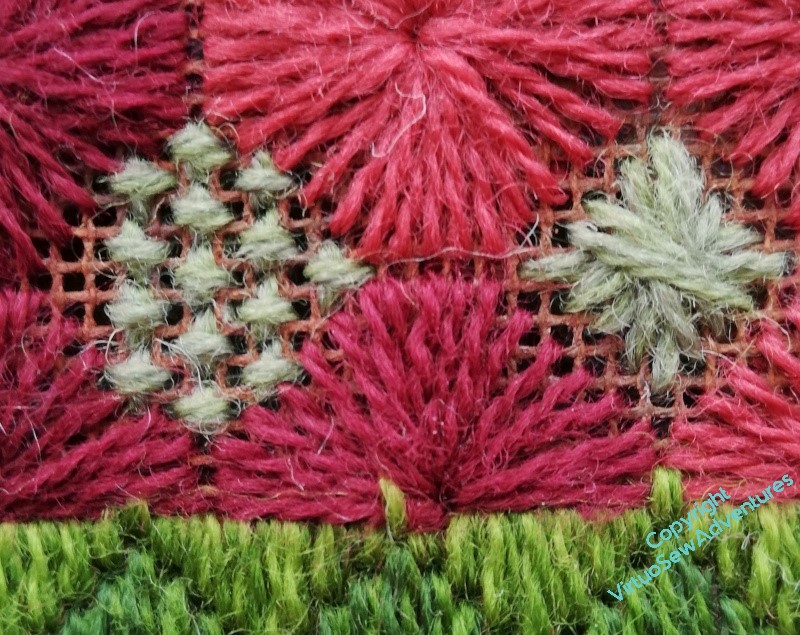
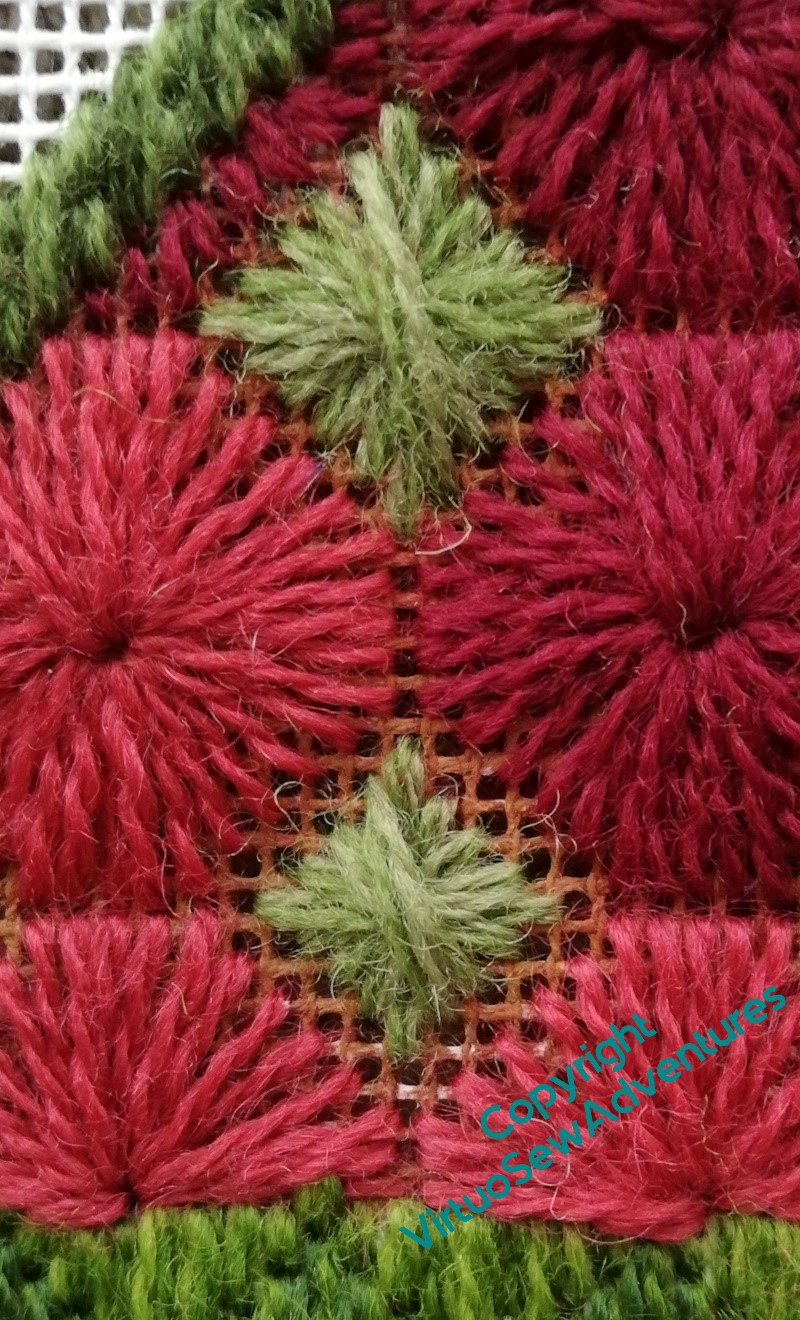
We last saw the Parterre in December, when I’d found a very pretty stitch (Squared Daisies) which was very trying to work, because it involved a lot of stitches going into the same hole.
As I was up to my eyes in exasperation with Amarna and William Marshall at the time, I set the parterre to one side so as to have fewer moments of fury and despair. Now that Amarna is in a totally different stage of effort and William is on the home straight, I’m returning to it, with a quieter mind and greater regularity of effort.
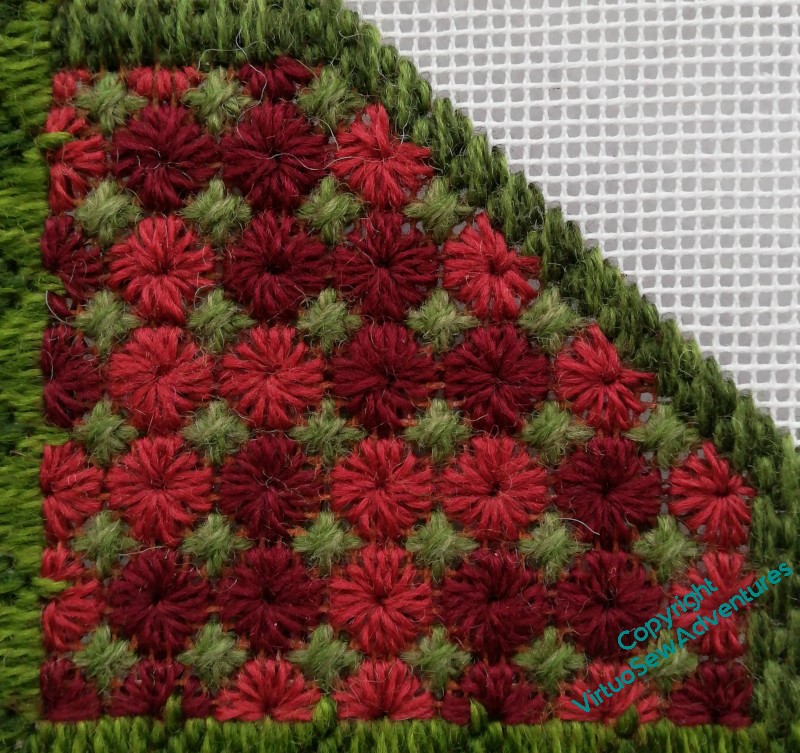
With the very cheering result that you see here. In no time, so it seemed, I’d finished the two panels in small squared daisies, and moved on to infilling them with Diamond Rhodes Stitch. You’ll see that the Daisies are worked in two different shades of red, not quite regularly alternating. The thread is a single strand of Paterna.
For the Diamond Rhodes Stitch, I decided to use a single colour. It’s two strands of Appleton Crewel wool, which is about the weight of the single strand Paterna, and it’s allowed me to soften the colour slightly by using two different shades in the needle.
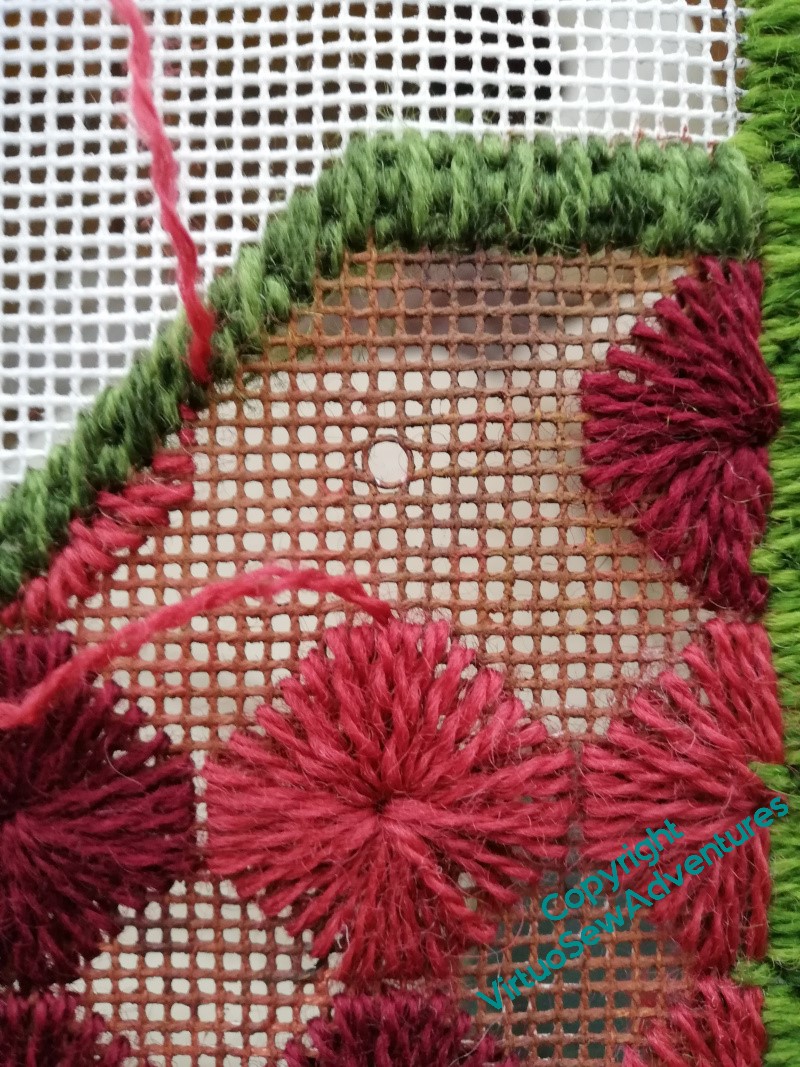
And then I moved on to the Super Large Squared Daisies, and, as it turned out, some repeated doing and undoing on one particular one, because I had misplaced the central hole.
Howl and Growl!
And do you know what is really infuriating?
It only went wrong in this particular case. All the others were fine.
Borders in the Knot Garden
There’s still a great deal of to-ing and fro-ing on the Knot Garden/ Parterre. There’s a lot of border elements to do, and I’m quite certain that I’m going to have to find a way of making sense of a middle section on the short sides: the “Princess Stitch” border I’ve chosen for the outside border is symmetrical around a stitch, and the circular border in the centre is centred around a thread, so something may well look a bit too “off” to be fudged, if I’m not careful!
This pattern is called “Squared Daisies” in my copy of Jo Ippolito Christensen’s book on needlepoint. It looked like a very big pattern in the book, full of interest and personality, but while it has personality , it looks a bit small here, and I’m having Doubts about it.
So, in the spirit of exploration and investigation that I usually apply to needlecrafts, I found another corner and tried again, twice the size.
Yikes, that’s big. And Yikes, again, for the number of threads going through the central hole.
But I think I might rather like it.
In fact, I’ve carried on, and decided I do rather like it. I’m varying the colours to maintain the variation shown in the original inspiration, and now I’m thinking that – again in the spirit of variation – I will also finish the smaller stitch size version.
The other two corners can be the same stitches but in the other order, so that the similar corners are set diagonally to one another. And the only trouble with that is that these stitches are remarkably trying to do, and after a day wrestling with goldwork or Amarna, all I want to do is curl up with a good book!
Knot Garden progressing
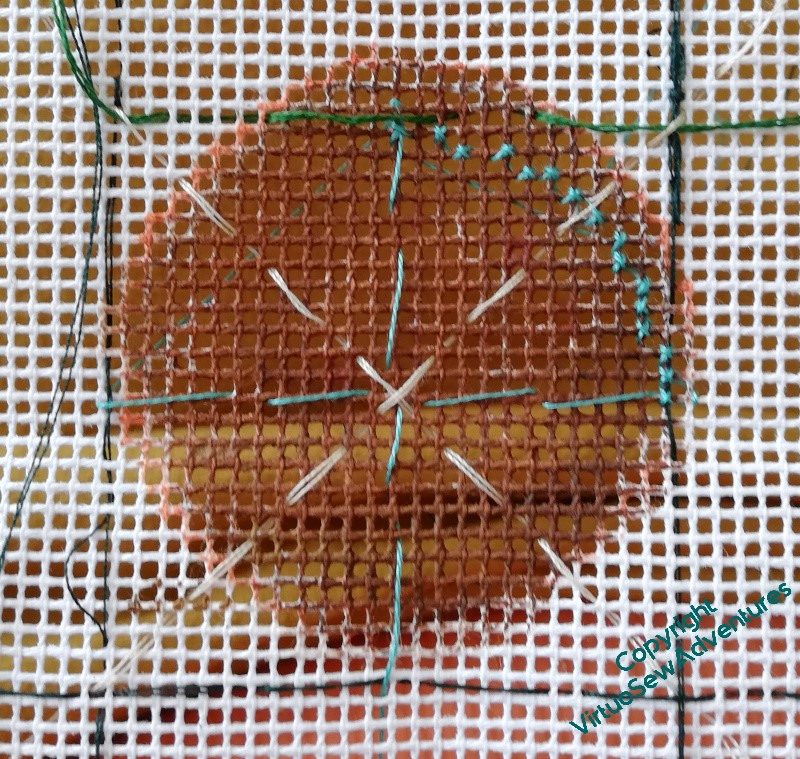
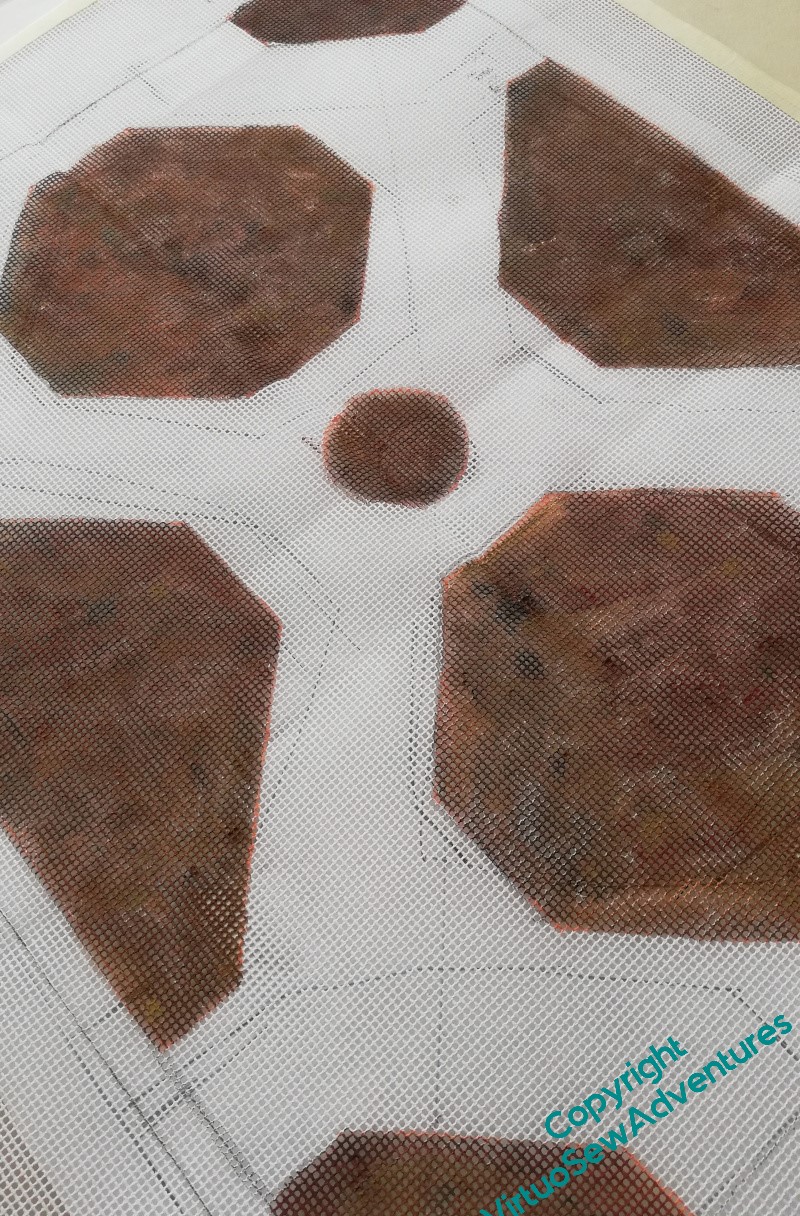
One of the original stars of the inspiration picture was a circular bed with something exuberant in it, at the centre of the garden. As you can see, I put some effort into planning where it would go, and how I would get something close enough to circular, using the gauge of canvas I’m using.
The intention is to create a sculpted Turkey Work boss, but now I have the outline in place, I think that should wait until the last moment, when everything else is done, and I’m not scrolling backwards and forwards across the frame all the time.
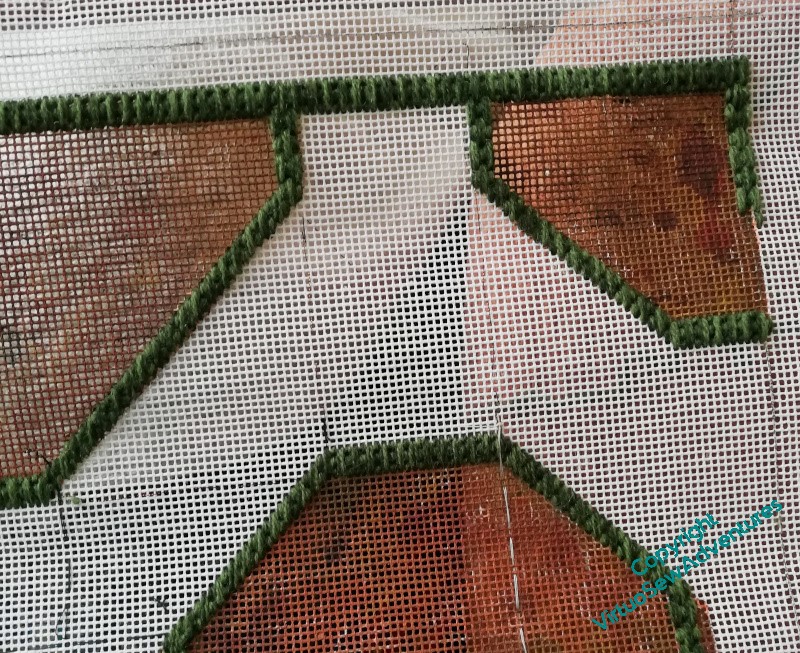
So I went back to the borders representing the outlines of the beds, trying to keep the design crisp and balanced, so that whatever I put in the borders can be suitably displayed. And therein lies a problem. When I sat back and looked at what I’d done, I thought it didn’t look nearly strong enough for what I was going to create.
Why, I wonder?
Well, I think it relates to a certain sameness. All the borders are the same stitch, and it makes it look less like something inspired by a garden, and more like something inspired by a drawing of a garden.
So I’ve changed the outer border to something chunkier and with a slightly different shape, and so far I think it may be working!
Beginning The Knot Garden
A “Site Visit” recently gave me the chance to look at my wools in the room for which the cushion is destined, and to talk to my cousin about the whole thing. It also provided a reminder of the truism that, no matter how extensive the stash, for any particular project, the stash will prove inadequate!
I had my experimental panel with me, and one of the things my cousin said was that she was not particularly taken with the effect of the tent stitches or straight stitches infilling between the pattern stitches. I agreed that it looked a bit clunky and congested, so when I got home again, I got out my acrylic paints and painted the canvas, just the area of the borders.
What I have done is to use three different shades of brown, solo and in mixtures. And I’ve painted both sides of the canvas, to make the coverage a bit more thorough. This way, I’m not trying to produce an absolutely flat colour, as though the canvas were dyed or coloured from the start.
You can also see in this picture that the “pathways” spill out into the surrounding canvas. I was intending the stitching to do so as well, but there’s an old saying in military circles, that “No plan survives contact with the enemy”. I would adapt that for stitchers – I don’t regard the canvas as my enemy, but no plan survives the first stitching session unchanged!
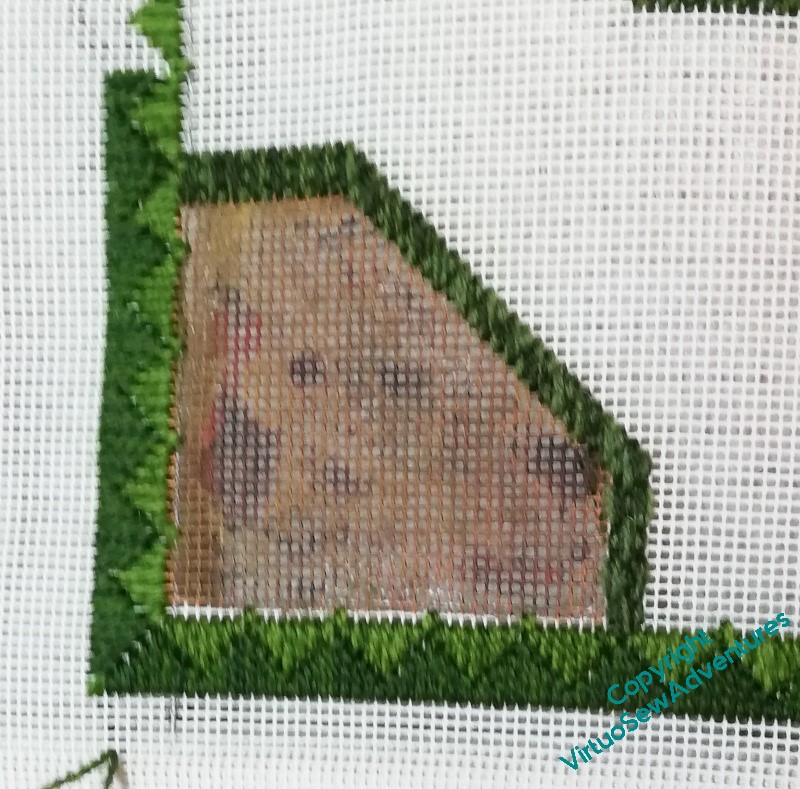
I started to work the Parisian Stitch border around the beds, using two different colours of crewel wool in the needle, and soon decided that although I want to have a couple of rows of tent stitch around the outside, to help with adding the back to the cushion, I also want the pattern area properly delimited. So the line between the beds will be filled with a line of Parisian stitch as well.
Testing, Testing (phase 3)
There is still much to play with, with regards to the the stitching for the Knot Garden Parterre.
At this point, I’m trying to balance accurate impressions – and therefore useful testing – with not tearing my thread to pieces or wasting any of it. At present I am still thinking of doing this out of stash, if possible, which is why I’m using an impossibly bright shade of green here – I’m unlikely to want it in the real thing!
Now, you see here that the short Parisian Stitch enticed me into a broader strap than I was intending, and it has unbalanced the Mosaic Stitch of the border, which in turn became Scotch Stitch as it turned into the diagonal, and lost the pattern it had.
Here, by contrast, I have demonstrated one of the other hazards of canvaswork, especially for my astigmatic eyes – I’ve suddenly managed to turn a Diagonal Rhodes Stitch into a slightly oblong and twisted diagonal Rhodes stitch. I didn’t see it happening, so I am going to have to guard against it with some care.
I think I need to make my stitches and straps bigger, too: the shape drawn on the canvas is the size of one of the ones on the finished piece, and I started the outer border on the centreline, and turned onto the diagonal at the appropriate point. The first horizontal row of diamonds should have two in it. Two properly square diamonds, that is!
And here you see the challenge I need to address: the diagonal Rhodes Stitches start with a horizontal or vertical stitch, so what I need in the angle between the straps is a gap (as you see top and bottom of this intersection) and not a thread (as you see left and right)
At this point I’ve been stitching and unstitching so often that I have lost count of myself, and keep on losing track of the stitch lengths I intend, so there will be a pause to regroup!
Testing, Testing (phase 2)
I’ve been playing around with possible stitches for the pathway in the Knot Garden. In the source picture, it looks to be made of bricks laid in a pattern, rather like a parquet floor.
I don’t feel I’m obliged to replicate that pattern, but this one on the left is altogether too square, and won’t help the sense of movement I’m going to need to counterbalance the borders, which I rather expect to be rather static, given all the Diagonal Rhodes Stitch that’s going to be happening.
The one on the right is the same Medieval Mosaic Stitch from Jo Ippolito Christensen that I used, voided, in the sunglasses case, but this time worked exactly as diagrammed. I like it, and it’s easy enough to work, but I don’t think it does the job I will be asking it to. I’m sure I will work it for real one day, but not for this project!
When I replaced the stitches that were voided in the sunglasses case with stitches in a different colour and thread, to point up the woven pattern, I got something a lot more hopeful…
I like this one a lot. Although I must admit it does rather recall the diaperwork you sometimes see on Tudor buildings, so maybe not very floor-like!
And then I found another, one that actually looks a lot like herringbone brickwork without any adaptation.
I like this one a lot, too.
I will have to see which of these presents itself most strongly when I’ve got more of the ideas crystallised.