
Tag: Crock of Gold Hoard
Crock of Gold Hoard – Working the Rim of the Lid
Trellis Stitch Finished
While continuing to work the eccentric spiral trellis stitch for the lid, I’ve been thinking about the rims.
Before I move on, though, this picture shows how I’ve tried to introduce darker colours inside the lid to create an impression that it is hollow.
I think it’s worked, too!
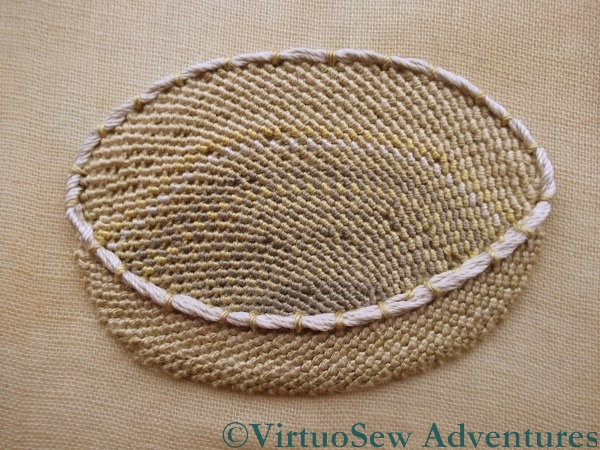
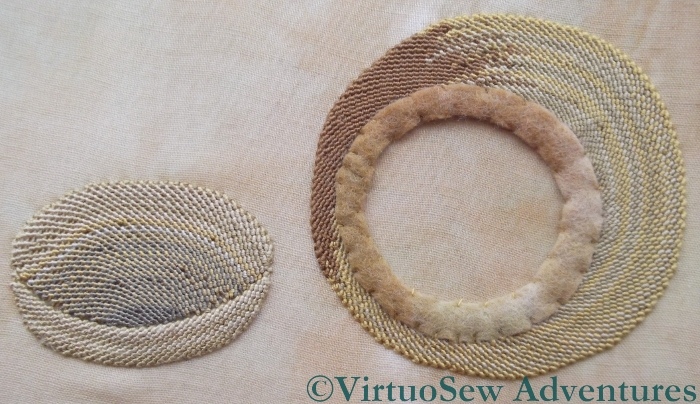
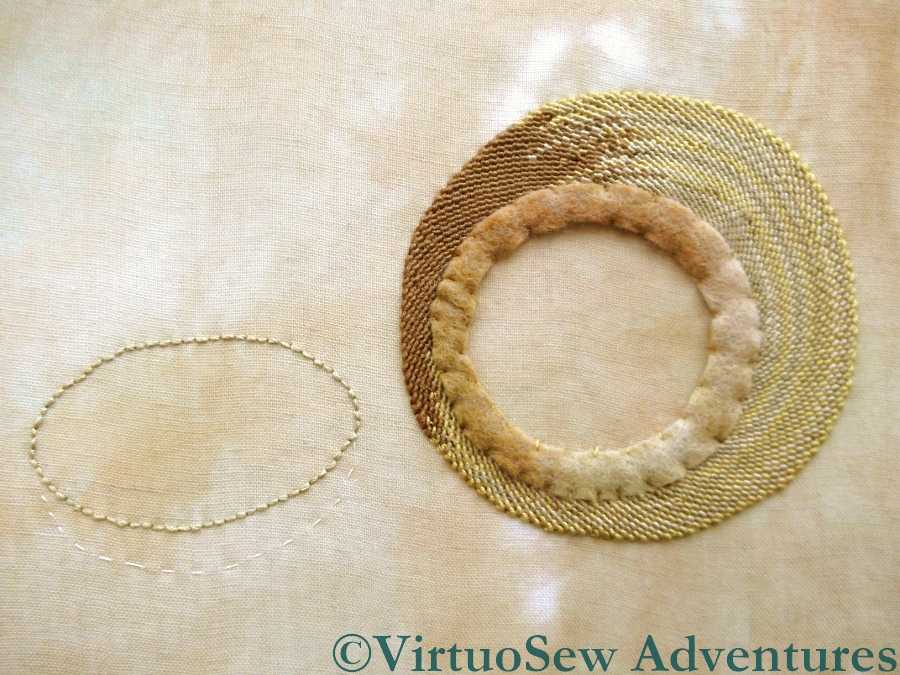
Padding Lid Rim
It’s clear that I’m not going to be able to use the same techniques for both rims, since one is so much wider than the other. I used felt for the rim of the crock itself, and four lengths of silk thread twisted together to put some padding on the lid rim. As much as anything else, this is to create a visual sense of depth when I put in the chipwork. Even without the padding covered, this works pretty well.
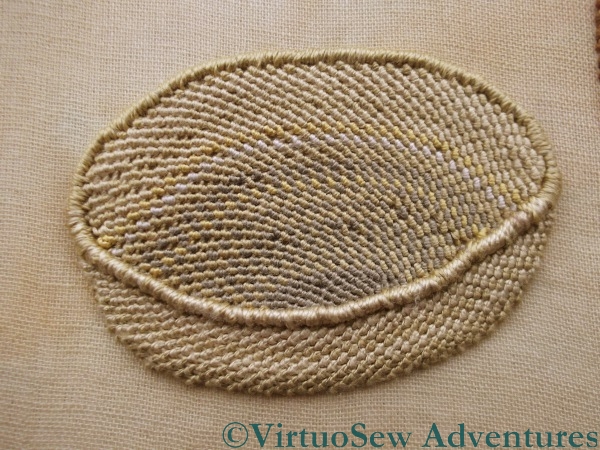
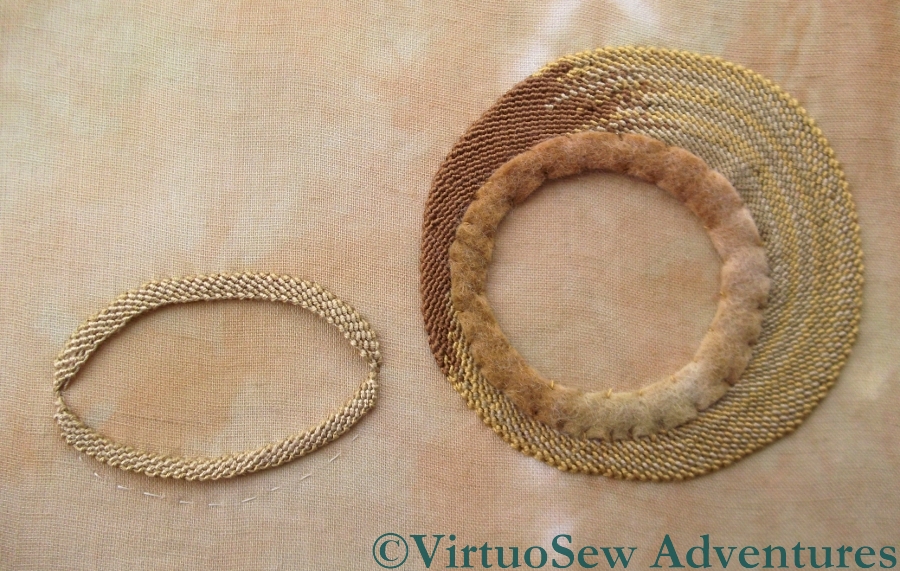
Lid Rim Done
However, with the padding covered with satin stitch, it looks altogether better. Working the satin stitch was something of a trial, because I have a layer of calico, a layer of turban cotton, and then the edge of the trellis stitch to deal with. I’ve varied the colours around the rim to create some sense of depth and highlight.
I’ve realised while I’ve been working on this that the next serious challenge on this piece is going to be working out how to put the shadows in. As it stands, it is interesting, but not visually satisfying, because the crock and the lid seem to be floating in mid-air. They need to be brought back to earth, preferably without a crash!
More on the Crock of Gold Hoard
Asymmetric Spiral Trellis
I’ve been making progress on the Crock of Gold Hoard. Quite a lot of progress, in fact. Working spiral trellis stitch in such a way as to leave an asymmetric gap in the middle was a rather odd experience! If you click on the picture to look at it at full size you will see that some of the crossover points where I changed colour break the spiral a little, but in fact I think the effect is working reasonably well.
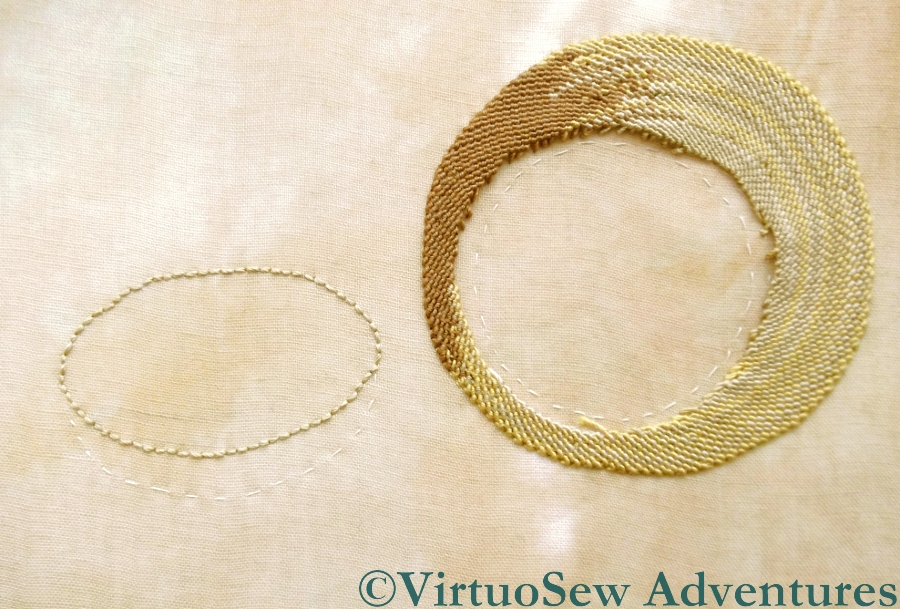
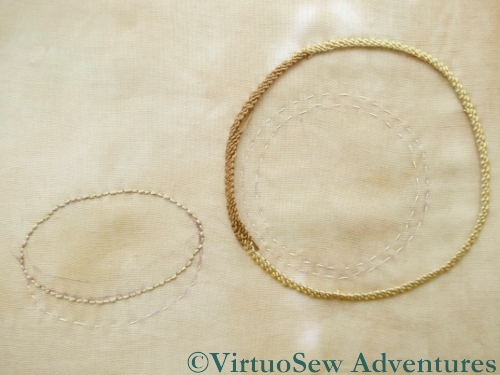
Padding For The Rim
I decided not to pad this version of the Crock – although who knows what other versions I may try? – but I did feel that padding the rim would help to put the chipwork in the right context when I do it. I happened to have some variegated felt that toned nicely, so I’ve cut two hoops of it and stacked them to form the padding for the rim. It has the added benefit of concealing the raggy edges of the spiral trellis stitch, and should help the rim to stand out a little against the main body of the Crock.
Making A Start On The Dish
What I’ve yet to decide is how I shall work the rim, so for now I have set the problem to one side while I work on the dish that was used for a lid. In this case the spiral trellis is worked on the inside of one half of the backstitch foundation and the outside of the other. This may seem another eccentric variation, but bear with me – I have my reasons! I want to maintain the continuous slant in a single direction, which I feel better reflects the texture of a hand made pot, whereas the zig zag effect of trellis worked back and forth across a shape (look at any close up in Month Two of the Glittering NightCap) doesn’t feel quite the right. I grant you that it’s another tiny detail that may not really effect the overall impression, but if I’ve learnt anything in the last few years from Thistle Threads and others, it’s that small details do count.
Starting On The Crock of Gold Hoard
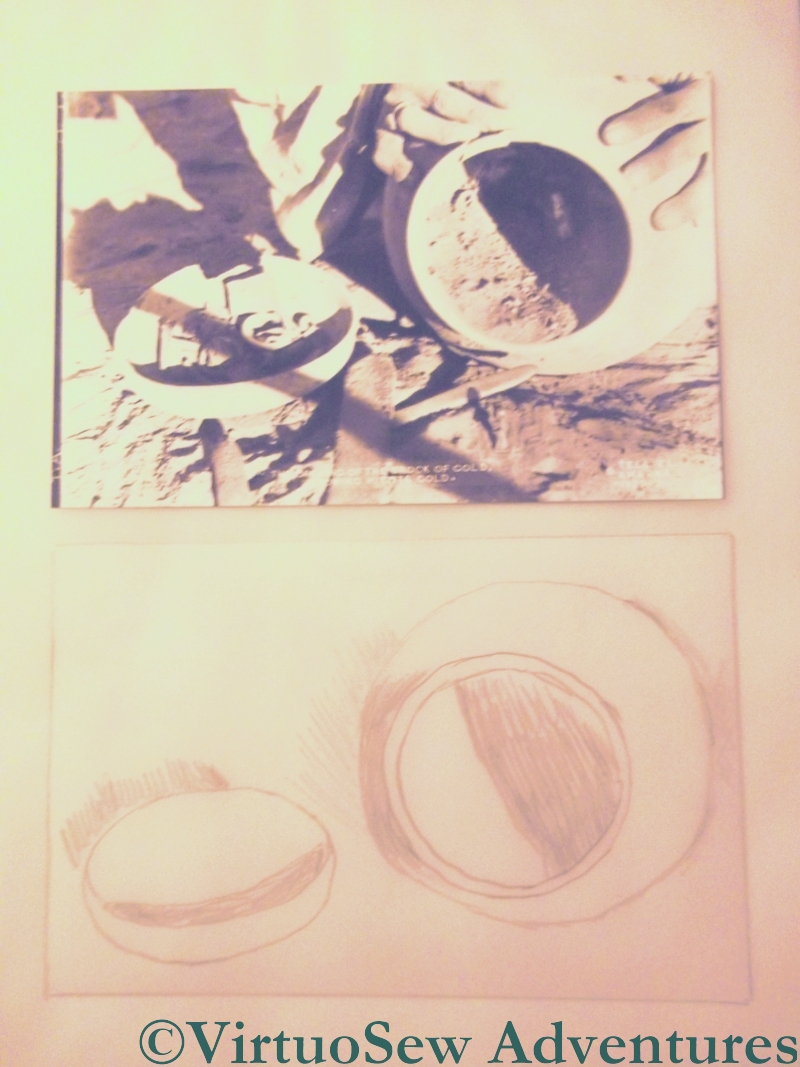
Photo (courtesy of the Egypt Exploration Society) And Sketch
I’ve already written about the historical background for the Crock of Gold hoard, and described two possible planned “patches” based on the idea. Now, what with completing the Map of Amarna, I have energy and enthusiasm to start on a first representation of the discovery of the hoard.
I began with one of the photos that the Egypt Exploration Society was kind enough to let me copy for my reference material. The sketch that I worked from it has eliminated such details as the archaeologist’s hands, the confusing shadows cast by items and people outside the frame, and even the splinters of wood that the pot is sitting on. I can add such details to my stitching as I go along, but for transfer to the fabric I want something that is as simple as possible.
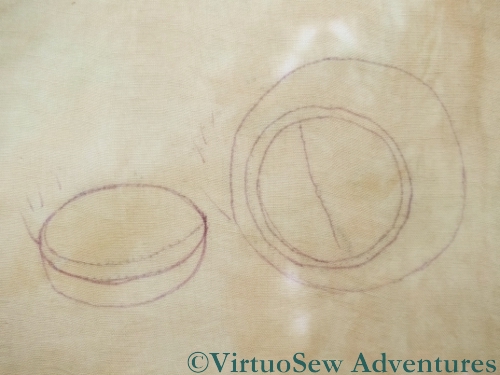
Sketch Transferred
Since this panel is going to include gold and silver chipwork to represent the ingots in the hoard, I’ve used calico to back the flimsy sandy overdyed turban cotton that I’m using for the main background fabric. I transferred the design using the prick-and-pounce method, and then gave the lines a little more staying-power with a quilter’s pencil.
Starting the Spiral Trellis Stitch
I’ve decided to work this version of the discovery at the same size as it appears on the photograph. I may decide that this is too large and I need to work a smaller version – since I had that fright in looking at the borders, I’m acutely aware that some of the pieces I work will be classed as “explorations” or simply mounted separately.
I’m working the pot in spiral trellis stitch, using a fairly heavy silk thread, a Silk Twist of medium thickness from Mulberry Silks. There are several close shades in the pack I have (it’s called “Old Cotswold”) and I shall be swapping between them. Maybe not entirely randomly, but close. I’m aware that this risks looking more like a woven basket than a terracotta pot, but the other obvious choice, I think, would be long and short stitch curving over the pot, and that risks looking too polished. As I am stitching I will be able to think about other possibilities, and if this ends up as an “extra”, I will be able to tackle the smaller version with a much better understanding of the shapes and design elements involved.
It’s precisely this sort of challenge that brings embroidery to life for me. I love picking stitches for what they might remind me of and how they might illustrate the elements I have in mind. Perhaps it won’t surprise you that my favourite painters are Impressionists rather than exponents of photo-realism!
Dreams of Amarna – The Crock of Gold Hoard
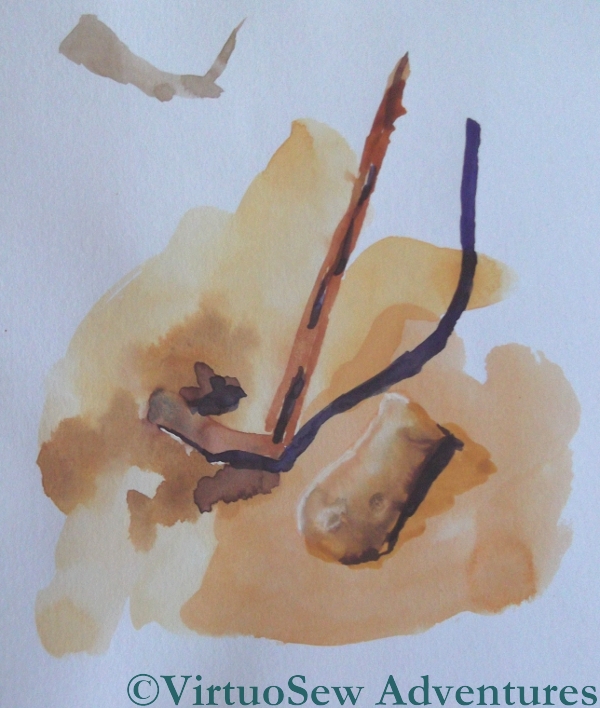
Watercolour of Tourieh
As I am thinking much more seriously about the Dreams of Amarna project these days, I am developing ideas and plans faster than I can stitch them. That’s not a problem; it just means that I need to document my ideas as well, so that I don’t lose them before I get a chance to stitch them. In this case, I’ve included doing the occasional watercolour of some of the possible projects – this is a tourieh (a sort of mattock) with a terracotta pot. The shadow isn’t necessarily in the right place, but at least it shows I’m thinking of the right things!
The Crock of Gold Hoard, as it was called, caused the Expedition considerable anxiety, but in the end contributed the finance for several weeks of work to the next season, so perhaps it was worth it! It consisted of gold and silver ingots in an earthenware crock, guarded over the centuries by a small silver amulet, thought by JDS Pendlebury to be Hittite.
I am thinking of working two references to the Hoard: a small or nué panel of the amulet itself (in fact, you may recall that I’ve already bought the materials for this!), and a panel showing the discovery, which will give me the chance to include some gold and silver chipwork to represent the ingots.
In some ways the Hoard has been easier to research than other incidents, because I discovered a somewhat later article (behind a paywall, so I shan’t link to it) about the Hittite amulet, as well as having access to the photographic archive of the Egypt Exploration Society. There were probably a good many articles in the ordinary press as well – nothing catches a journalist’s attention like gold. That said, I’ve been Googling and discovered that Dr Henri Frankfort, JDS Pendlebury’s predecessor as Director of the Excavation, also found a Crock of Gold.