
Assembling the Glittering Gentleman’s Nightcap – Part One
Materials To Finish The Nightcap
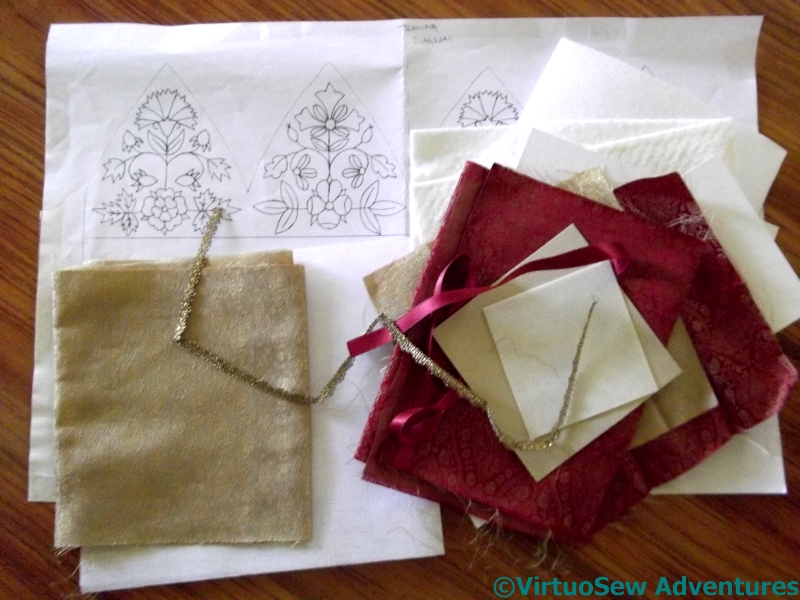
So now, having finished the embroidery, I need to assemble the Nightcap. In addition, Tricia has designed a stand for it, which is in the form of an étui. Consequently I have a rather distracting heap of brocaded silk, doctors flannel, ultrasuede, ribbon and gold lace. Not to mention batting and buckram…!
As I’ve said before, I am never entirely at ease finishing a piece into three dimensional form. So there was a slight hiatus while I gathered my courage to begin.
In Three Dimensions
I decided to finish the Nightcap itself first, as – not least – I was rather keen to see it!
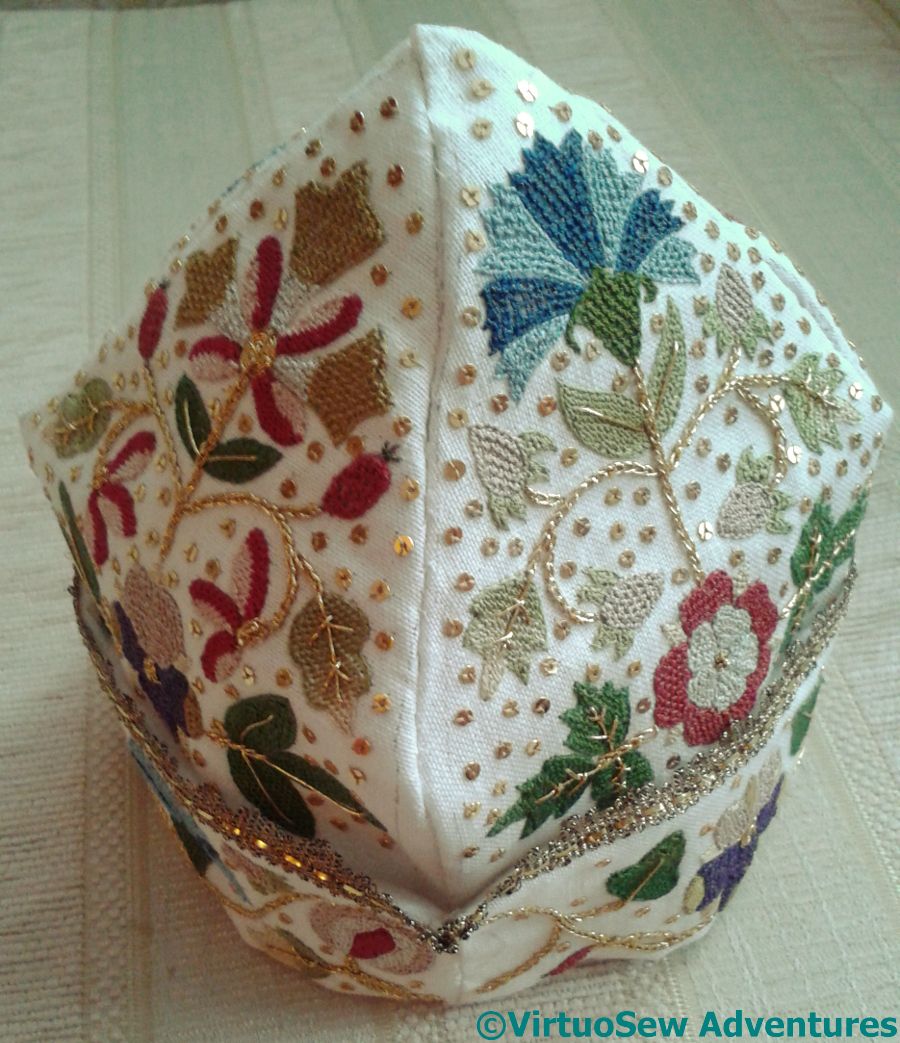
The first stage was to add the lace to the top of the brim, and then create the shape by sewing up the seams on the crown. The lace was easy enough to apply, once the folds were in place, but sewing up the seams on the crown was surprisingly fiddly!
I had wondered, in looking at the instructions, why the seams were embellished with reverse chain stitch, and I think you can see why in this photo of the Nightcap finished (externally) apart from that detail.
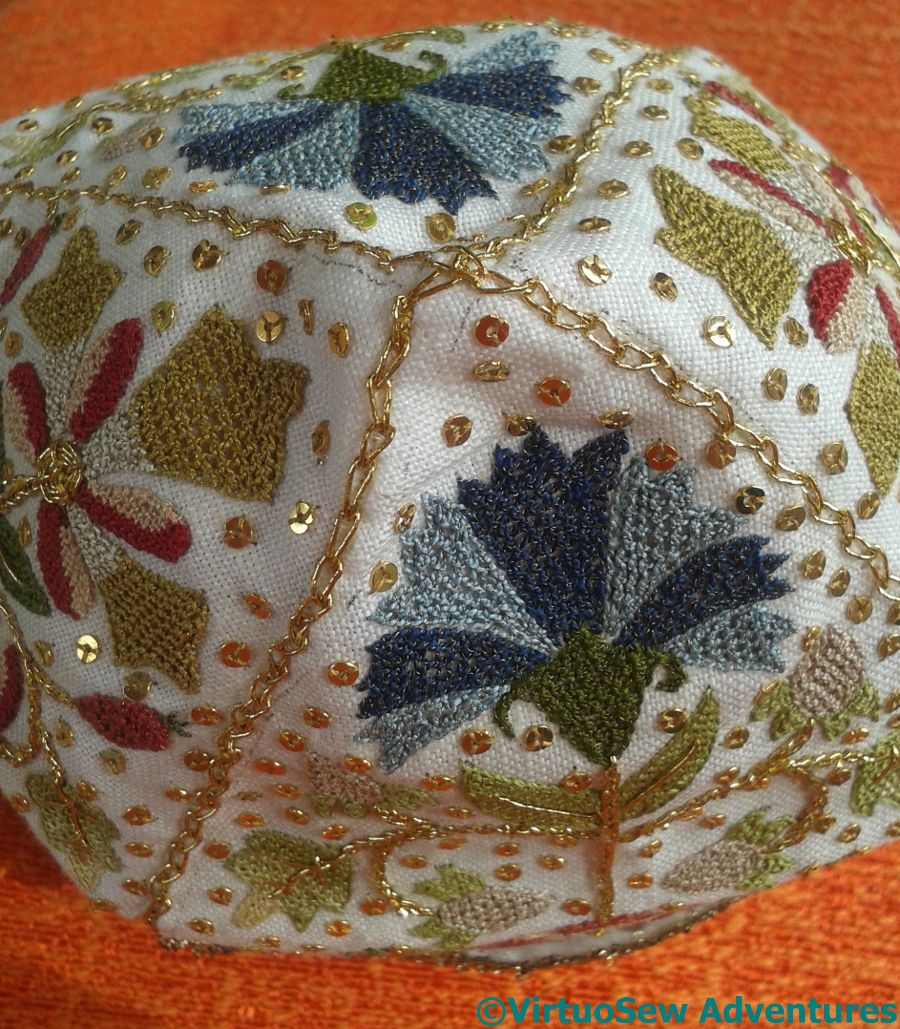
Aerial View With Gold
As this picture shows! Admittedly the orange background also helps to bring the Nightcap to life, but the reverse chain stitch in gold is another detail – like the pearl centres on the Floral Glove – that adds sparkle and polish to the piece.
The next stage was to line the Nightcap – using a lovely pale gold silk brocade. Again, simple enough to state, but slightly tricky in execution!
Lining completed, another deep breath and pause prepared me for the next stage…
Looking brilliant so far, Rachel!=)
You’ve been achieving a lot of late. Sorry I’ve been so remiss in commenting, but I’ve been leaving my computer turned off as many days as possible. It just devours my time and, whilst it’s not on, I’m productive! Means that I comment less, but I’m still reading.=)
The reverse chain stitch in good really does add the finishing touch, doesn’t it. It is beautiful, Rachel. The amount of work and skill involved is plain to see. Very well done.
This is beautiful — really too pretty to go on someone’s head! It will be so lovely to see it on its stand.
The reverse chain stitch does make a tremendous difference. I’m looking forward to seeing it on its stand!
I agree, that reverse chain just makes such a nice finish.
That nightcap looks very regal and so lovely!
the chain stitch is the icing on the cake so to speak!! Massive admiration here in Lancashire for your skill and your patience….
It’s a big project and nice to see how it looks now. Very fine and detailed stitches. You’re amazing.
it’s looking wonderful. The gold chain stitch really does work so well, looking back to the previous photo, it looks a little bare without this embellishment
Another reader impressed with the difference the chain stitching makes to the seams. I really, really do not like the finishing stages of things – too many places where I can make a total mess of something that I am proud of. Good luck with completing the task.