
A closer look at the overlays
It occurred to me that I rather skipped over quite a few elements of the rather haphazard development of the overlays, and a slightly closer view of the way the overlays have been managed might be rather interesting, at least for some of you, so here we are.
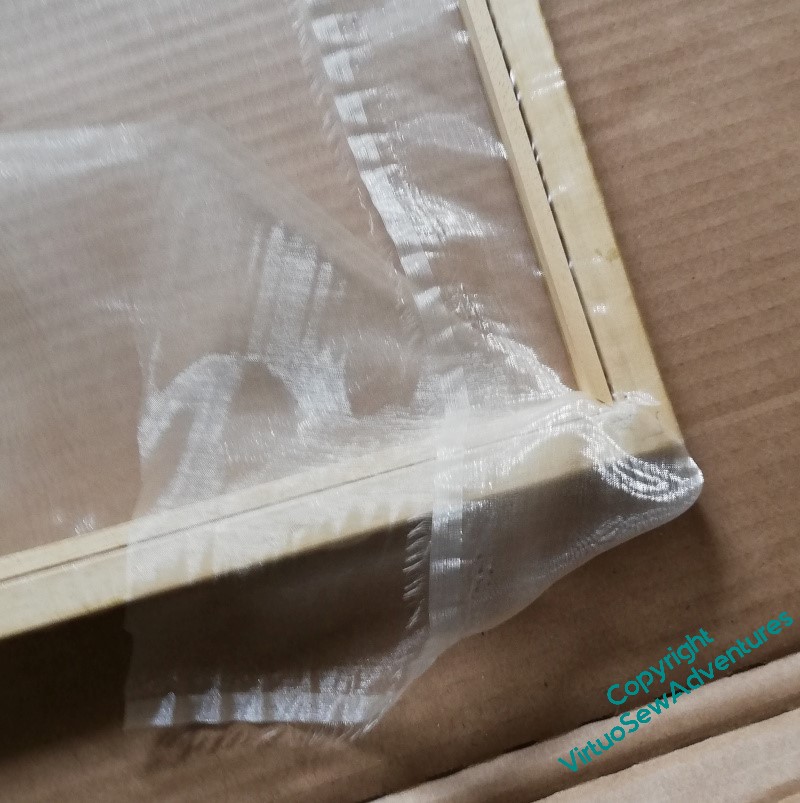
In fact I got the framer to make two frames, one the frame that will be seen, which is what I painted gold, and the other a fillet, very fine “infill”, in effect, that will not be visible, but will be part of what keeps the gauze tensioned and in place.
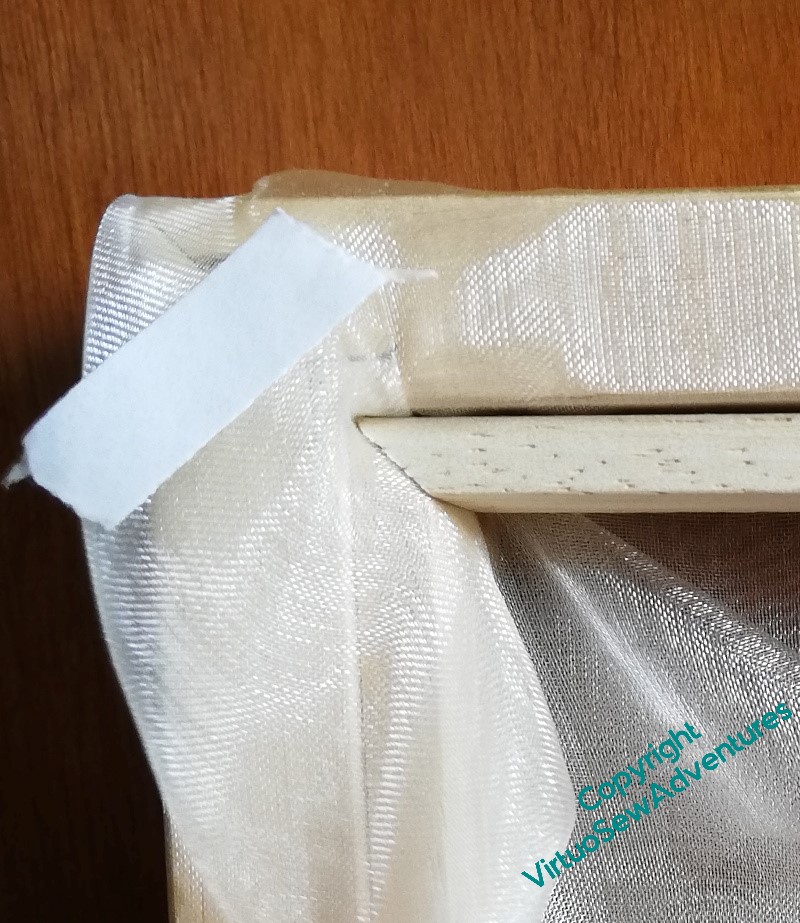
Here is a close view of the corner. This is the point where I had quite a bit of wrangling to do. The gauze stretches over the front of the frame, and around the back, and is then caught into the ledge that would normally hold the glass. There is double sided table on the frame, and double sided tape on the fillet, and in effect I used it to tack the gauze in place.
So I worked from front to back, and around the frames, to make sure that the gauze was taut, and on the straight grain. Then we (at this point, The Australian was acting as Studio Assistant!) hammered nails through the fillets and the gauze and into the frame. And then turned it over, all panicky in case something had sagged.
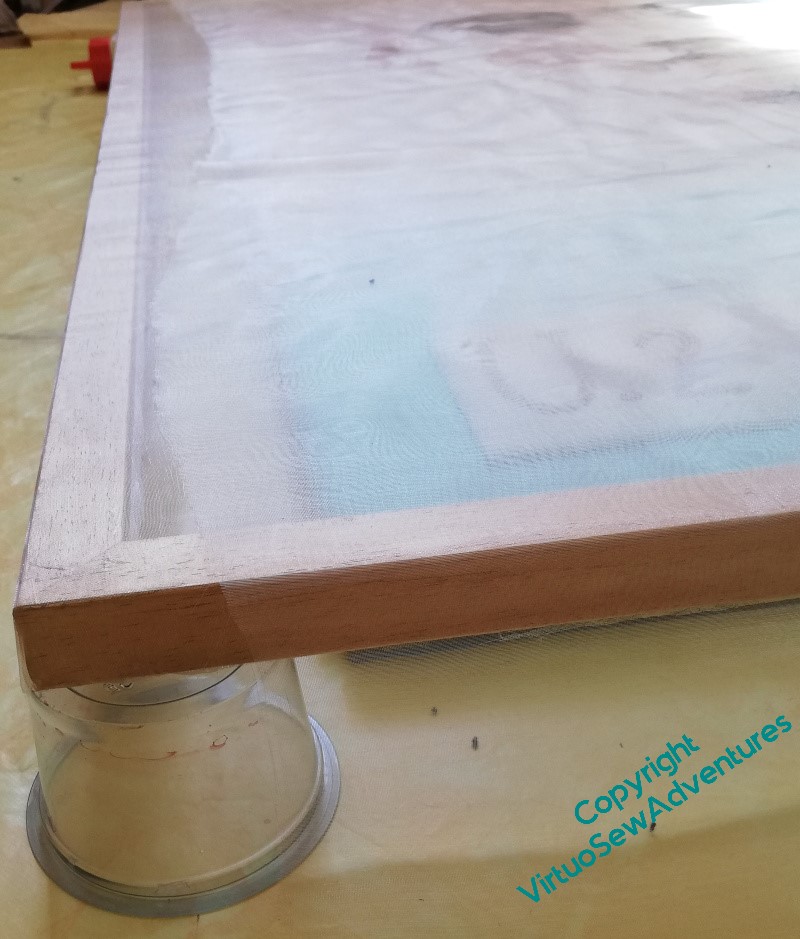
Which, fortunately, it hadn’t. So then I spent a bit more time wrangling the gauze, gluing and trimming it in place. In fact as long as the glue holds long enough to keep the gauze held back until it doesn’t want to straighten into odd directions, that will do me, but the other advantage of copiously gluing the gauze (me and glue – aren’t I being brave!!) is that it now won’t fray.
The next complication is that I need to work out how to get the design element in the right place, given I don’t want it bang in the middle…
I was wondering how you would tackle that stage. A very sensible and neat solution. Good luck with getting the design where you want it.
Good solution!
I am glad you wrote up this blogpost and hope you keep it, and others, in a ‘The Making of Dreams of Amarna’ journal for people to see all the work behind this piece of Art.
So often the visitor to an exhibition has no idea of all the challenges and solutions behind the work on display.
You do take on some tricky tasks!
I’m fascinated by your process.
You’ve done well, gauze is difficult to work with.
Wow, that is quite the feat of planning, engineering and executing and the result is so beautifully neat is a consequence. Well done!
very glad to see this post, I hadn’t quite been able to visualise the overlay process and this makes it much more clear. Also it’s always interesting to see the work behind the scenes (or behind the frame, in this case).