
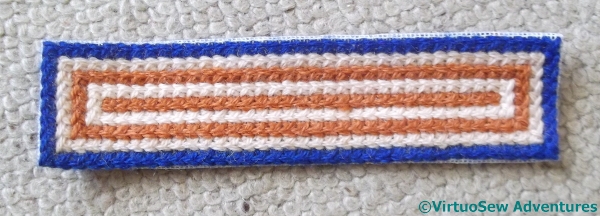
Stones of Venice Footstool Finished
One Side Turned
Once I had finished the sides of the footstool, I cut out the sides and the top and turned in the edges, leaving one thread of canvas all round, to help sew them together.
The next task was to assemble the pieces to create the box shape for the top of the footstool. I used a herringbone stitch which creates a fairly strong edge, and nicely echoes the stitch I used for the sides.

Canvas Stapled
I covered the foam (freshly cut – the old foam was disintegrating as fast the old cover!) with an old teacloth, and then unpicked the lower edge of each side, and covered the combination with the canvaswork.
Next came the challenge of fastening it all down. Fortunately I had help! We turned the whole assembly upside down and leant on it, and then my mother held everything in place while I wielded the staple gun. As I’ve said before, staples don’t damage the wood as much as tacks or nails, and I think they also do a better job of holding everything in place. They are also much easier to take out !
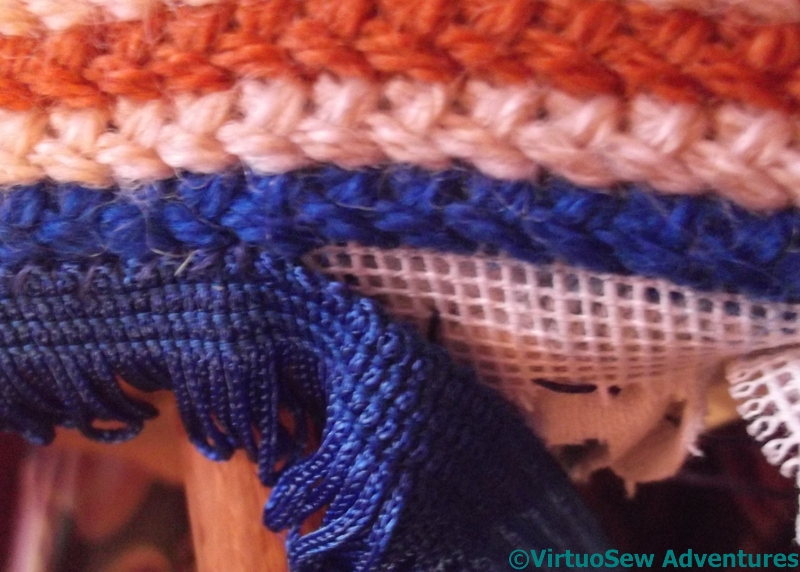
Attaching Blue Fringe
Finally, I decided to hide the edge of the canvas with fringe. I found in the end that the best way was to sit cross-legged on the floor, like a tailor, because then the legs of the footstool brought the edge I was concentrating on to a convenient distance from my eyes, so I didn’t have to bend over it and strain my back. It’s very important to find the right angle to work at, because there is no point enjoying the stitching only to find you can’t sleep for backache!

Finished Footstool
So here is the finished footstool.. It was really very lucky that I found fringing to go with the wool, and what’s more, in the little needlecrafts and notions shop in our local indoor market. The fringing isn’t long or luxuriant, but it’s just enough to hide the canvas – unless you want to lie on your tummy and examine the whole thing at close quarters, and who would do that?
Er – apart from everyone who reads this blog, and anyone I’ve taught to look at handiwork when I’ve shown it to them…
Ah, but a needle worker will want to examine it to see how it’s constructed, and will expect – indeed want to see – evidence of hand-made, rather than the ‘perfection’ of machine made! A job very well done, and a new lease of life for the old stool.
Oh gosh – it looks just fabulous!
A neat job, well finished. Now relax and put your feet up!
It looks lovely! Well done.
Well done! I foresee comfy feet whilst stitching!=)
Lovely! But I wouldn’t want to put my feet on it for fear of getting it dirty!
Your finished piece looks really good. I’m inspired to do my little dressing table stool but it won’t be as fancy as this.
I can just see a party of visitors picking up the footstool and carefully checking out its construction *smile*! As you well know, one of the oft asked questions is “how did you do that?” You’ve brought your little footstool back to life in a lovely way.
it’s fabulous Rachel….and I won’t look underneath…..but I do agree with what Janice had to say on that one.
What a fabulous transformation! I love the colours and pattern – and it was great that you found the perfect fringe to finish the edge. I would be lost without my footstool – I have sat with my feet up since I was in my 20s!
Very classic and great transformation.
That really does look lovely now. You’ve made that stool into an heirloom for the future!